Image

Front Derailleur Destructor

Tags

, , , , , ,


Blast from the past post…

I’ve had two derailleurs on my Hilsen self destruct.  The first on a 300k keeping me in the big ring for the 2nd half of the ride.  The second on a commute home.  Different manufacturers, same bike and crank/chainrings.  Strangely, they both broke in August – exactly one year apart.  The other strange thing here, I have the exact same crankset on my Vélo Routier, and have never had an issue.  It uses an older derailleur – Suntour XC Pro, however.

I’ve gotten advice from “ignore it – probably just unlucky” to “need a stronger derailleur”.  Something is going on here.  I have always been careful to align the derailleur within 2-4mm of the outer chainring.  Perhaps this bike just needs a 1×10?  I’ve never had another bike destroy even one front derailleur, so I was suspicious of the following:

  1. Chainring 16 tooth spacing (44t – 28t) too great a jump
  2. Chainring thickness (chain seemed to stick to big chainring)
  3. Derailleur construction

On to the specifics:

The first one let go on a 300k brevet on August 4th, 2013.  It was a Shimano CX-70.  Luckily it happened after my big climb for the trip up to Artist’s Point on Mt. Baker.
BH-1.jpg

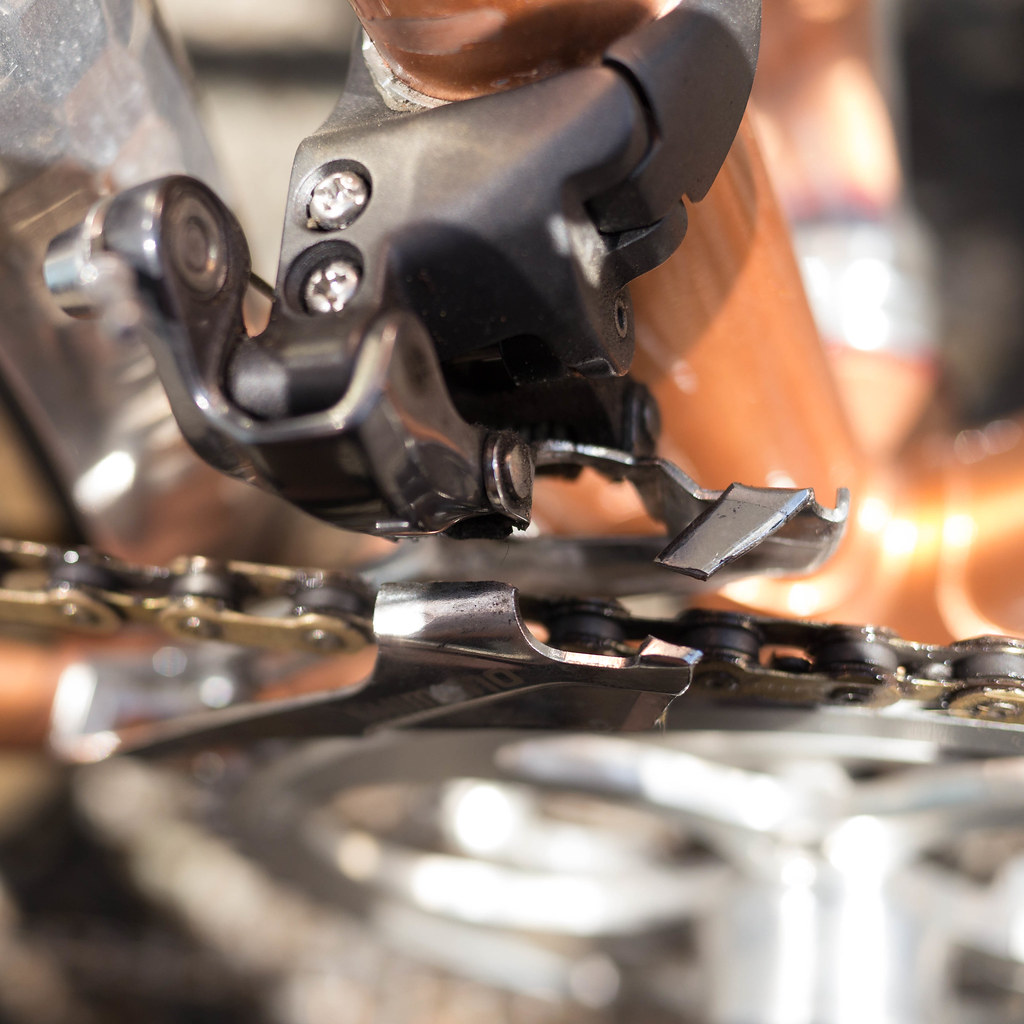
Popped on the outside

As you can see, the outer cage popped out at the top with a fairly clean break.  To be fair, I had several instances of chainsuck over the prior year that spread the derailleur apart.  To fix, I would just push the cage back into the normal shape after I re-railed the chain.  I assume it finally fatigued to the point of failure after the last chainsuck.

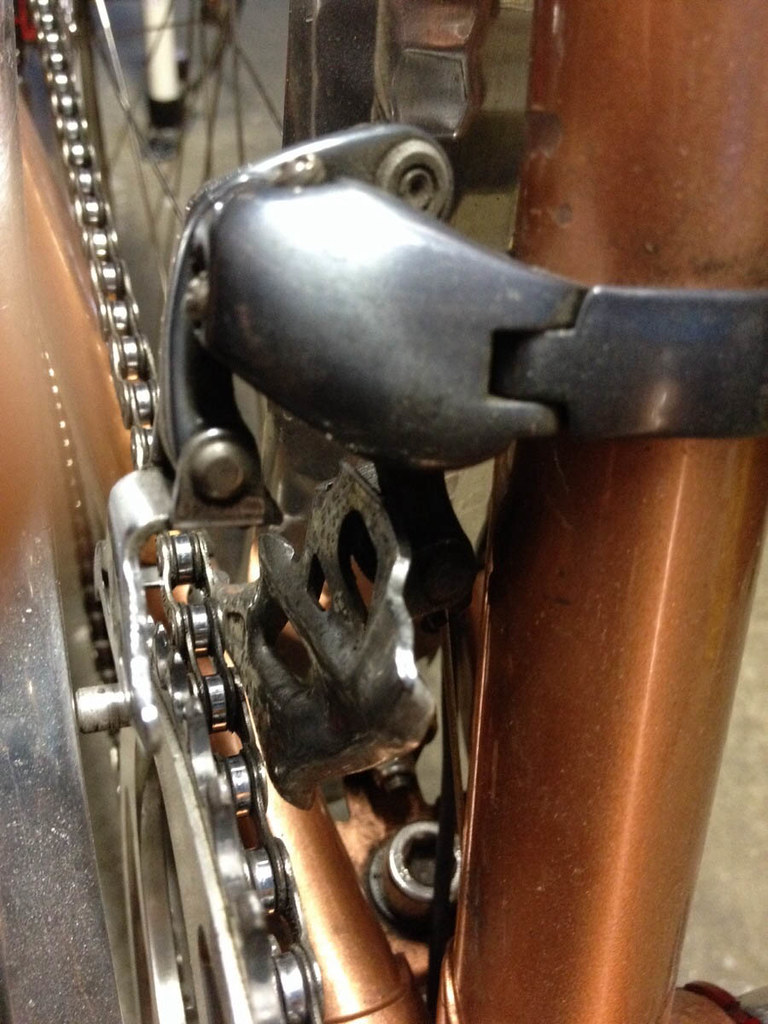
I then mounted a Campagnolo Centaur CT that had worked well on other bikes.  This lasted for approximately 1 year, but then self destructed in much the same way on August 12, 2014, breaking on the upper inside plate.
BH-1.jpg

Popped on the inside

At this point, it was clear that the shifting pressure was too much for these modern derailleurs.  I decided to swap the big ring from a 44t to a smaller 42t so the gap was not as great.  With an inner ring of 28t, I dropped the spread from 16t to 14t with the hope that it would not be as much distance to push, however, the problem always happened when dropping the chain from the large ring to the small.  I had an extra CX-70 that I put on this bike.  It came from the Hunqapillar, which had never mis-shifted or chain-sucked while it was mounted.

A year and a half later, and all is well.  No sign of problems with the new CX-70, and no further instances of chain-suck.  I have a feeling it was the large chainring causing the problems.  C’est la vie.  One of the more frustrating things about biking (and food/diet) is the sparse amount of useful information out there.  Anyone else had front derailleurs go boom on a road bike?

Ah, the simple days of not having to worry about shifts.  Tech will get us there again, soon.  Can’t wait for the variable ratio belt drive bike that you can control with your embedded chip.


Image

New Toussaints

Tags

, , , , , , ,


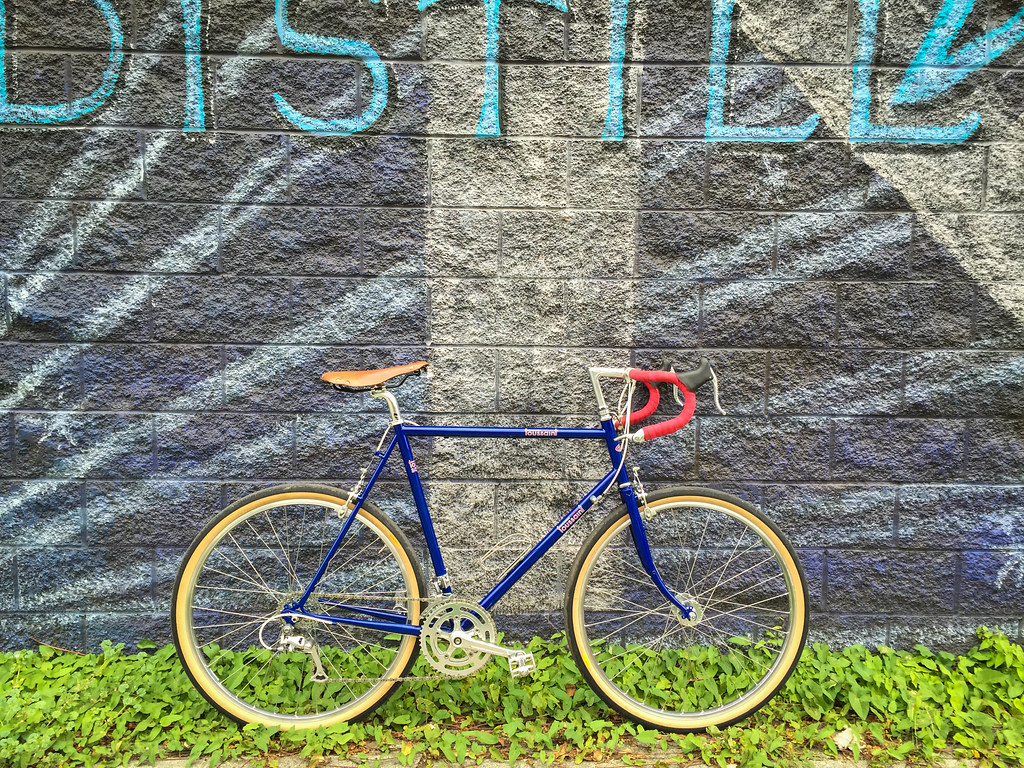
Our northern buddies at Cycles Toussaint in Calgary have introduced a new Vélo Routier.  I took one out for a spin to see how it compared to my v1 bike.

BH-2.jpg

V2 Vélo Routier

My first impression was that it felt just like my Vélo Routier. I’m not sure that I would be able to tell the difference in a blind test. It felt planted and quick steering.  Comfortable, not quirky.  This was set up similar to my own bike, with a Selle Anatomica, Noodles, bar-end shifting, and Compass tires.  This geometry just works for me.  Nice bike, great brakes.  They offer the v2 in 2 versions – one with braze-ons, and one without.  I really like the braze-on centerpulls and the quirky seat-stay pump mount, so that would be my choice.  The blue color is a nice change, too.  One new quirk – there is a slotted rear axle mount now, to better accommodate IGH or fixed/single gear hubs.  While this opens up the bike to more options, it may make bikes with fenders tougher to change out a flat on, but there are ways around the problem.

BH-4.jpg

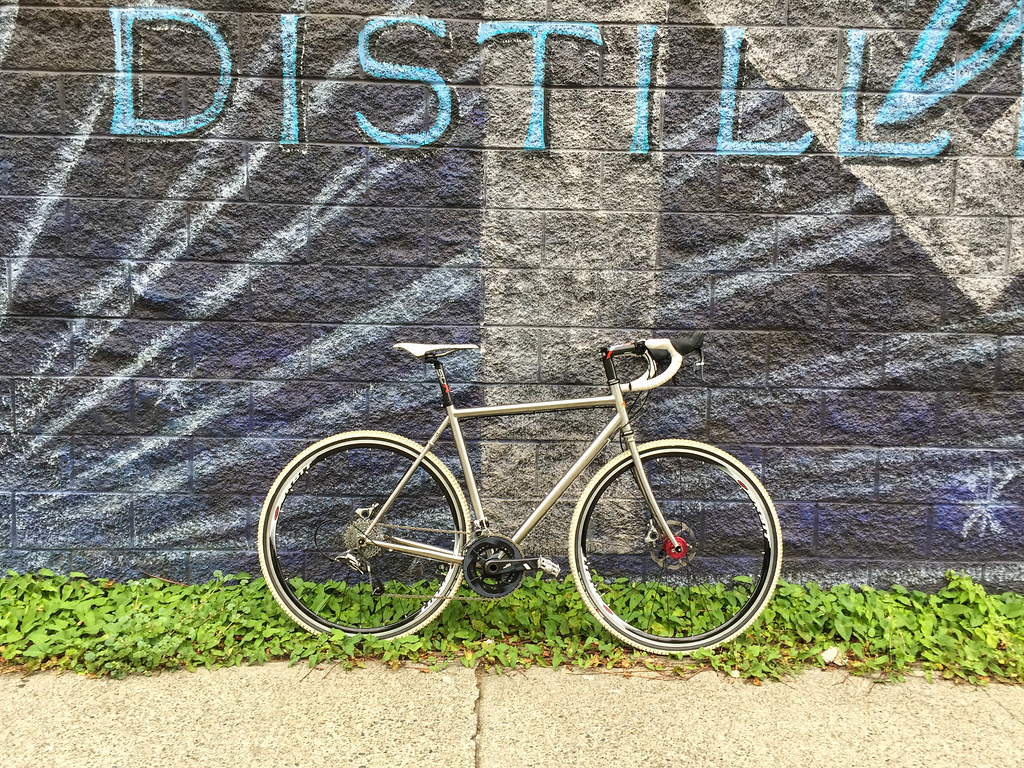
Toussaint Pavé

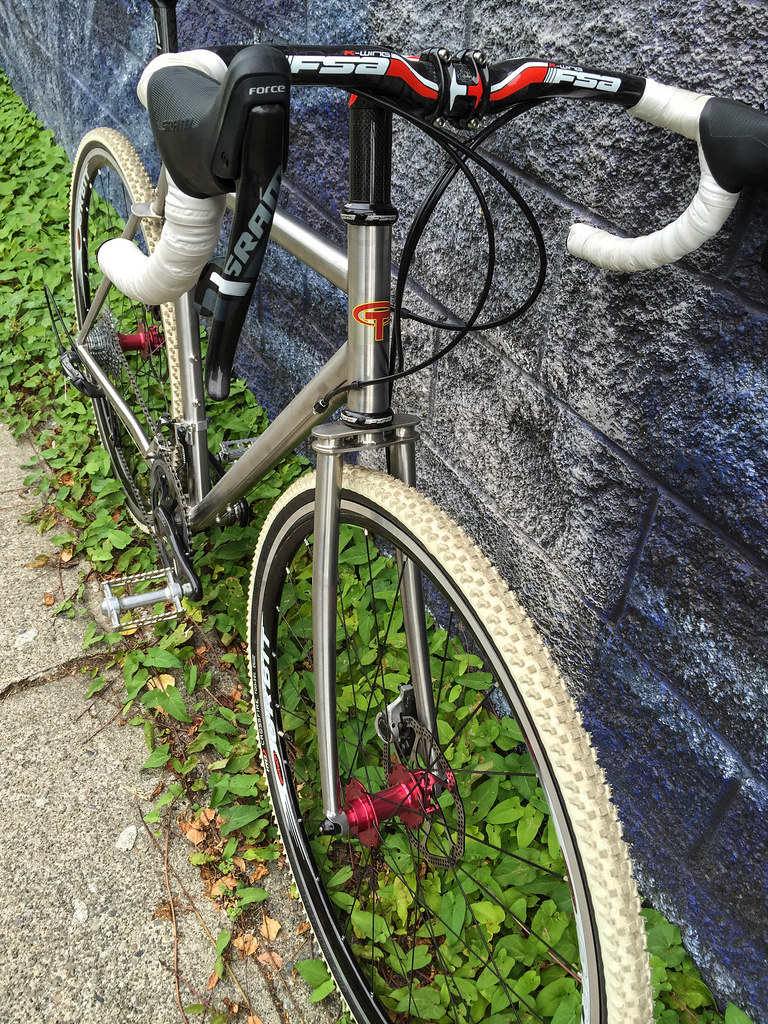
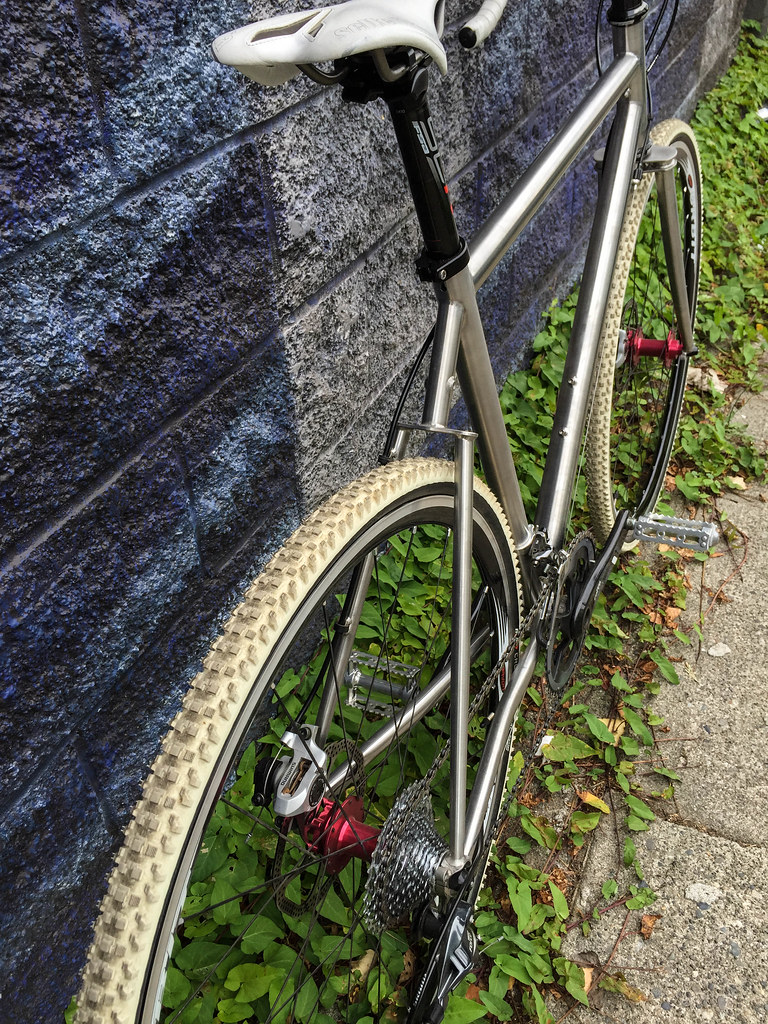
The next bike is a demo that is a new direction for Toussaint.  I believe this is an all-round road/gravel, maybe even cross bike.  It was set up racier than I would typically ride, but it was surprising in a number of ways.  The tubing is all stainless steel, which gives it a fairly “ti” look.  The downtube is quite oversized, as well, at 38.1mm. This seems overly stiff for my weight range, but can be offset with cushy tires. It is spec’d to take a 45mm fender, so I would assume you could put the Compass Barlow Pass tires on with no problems. It looks like a Clement MSO would fit fine for a bit more bite.

Toussaint used interesting plated fork and seat stay crowns. I like the classic low fork bend of the Routier more. To my eyes, it would be a great match for the double plate crown on this bike. The “banana” bend just looks odd to me.  I assume it makes the disc attachment easier/stiffer, but if the bike could use a more classic bend here, it would be prettier.


BH-5.jpg

Double Plate Crown

Disks make it a great utility rain bike.  I found the bike to be quite like the Vélo Routier in feel – even with a bit more trail on the Pavé (45mm).  It still felt quick steering, and was light and fun to ride. I was wondering how it would be with some front or rear load. I may see if I can get an extended trial to find out.

BH-6.jpg

Seat Stays

After the ride, I am hopeful this bike would fall into a similar price range as the Vélo Routier – if you could get a bike built for the rainy NW commute, not have to worry about rust or wet brakes, and still maintain great geometry that would handle randonneuring or lightly loaded gravel adventure rides – nirvana, right there!

The Toussaint blog (with lots of good info on the tubing, geometry, etc…) is saying they hope to sell these for around $2000, so I guess the tubing makes a big difference, but we’ll see what happens if they do a production run. This is a cool, practical bike!

Image

Soft Shoes on the Hardpack

Tags

, , , , , ,


Cruzer

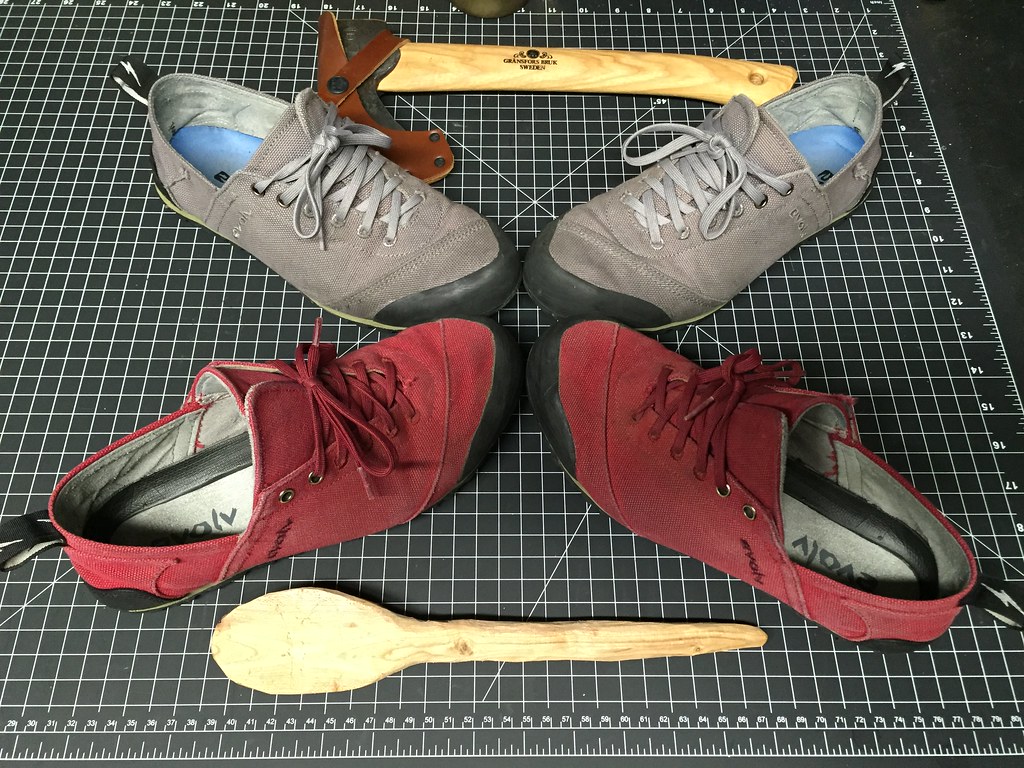
Evolv


One of the biggest dilemmas for me this year was the choice of shoes/pedals for the  Oregon Outback.  I have had great luck with clip-less  pedals and Sidi cycling shoes, so going with flats felt like a big risk.  I knew that we wouldn’t go more than 100 miles in any one day, but we would be doing it for 4-6 days straight.

On the other hand, I didn’t relish the thought of running around in cleats on rough ground for the better part of a week.  They add a certain amount discomfort: slippery footing in some situations, and “duck walking” on the ground.  They also introduce unnecessary complexity and technical failure risk if a cleat gets damaged, or a shoe gets lost.

On flat pedals, at least I could comfortably use sandals or bare feet (in a pinch).

I rode on flats for the most part all winter and spring before the ride, with a max distance of about 50 miles.  No problems. I have had occasional knee pain that has developed in the past over longer miles, but I was not as worried about it in this case.  Both my clip-less setup (SpeedPlay Frogs, Sidi Spider SRS) and flats give my knees plenty of float.  I seem to have had the most pain on a relatively locked in SPD setup.

Long story short – flat pedals were great, thin approach shoes were comfy as hell.

About the setup I used:

Pedals: Watch your shins on these pedals – they are grabby and have sharp edges, but after a few nicks, you figure out how to stay away from them.  They lock your foot in really well – there were quite a few “holy crap” bumpy, loose, fast downhills we had to traverse, and I never lost my foot on the pedal – something that has happened to me on other pedal/shoe combos, and scary when you are rocketing downhill on single track or loose fire roads.  These guys just work, and have a large platform to find purchase on.

Shoes:  I’ve got 3 pairs of these – they are the most comfy shoes out-of-the-box I’ve yet encountered.  They are a minimalist approach shoe, but are runnable.  They wear well – I still use all three pairs, and two pairs have gone on several off-road adventures.  Oh yeah – they are fairly inexpensive, too…

I also used some Echo sandals for part of the day when we were in the hotter, more exposed sections of the trail, but I mainly went this route because I had gotten the Cruzers wet, and wanted to dry them out on the back of my bag.  This is an added benefit of flats – spare footwear just works.

After several days on the dusty trails, my feet felt great – no pains or aches, and my knees were fine for the distance.  I hope other folks try out this sort of combo – the cycling community still really pushes clip-less combos for “comfort”.  While some may need an extra stiff sole, I think this may have evolved due to the tiny surface area on most clip-less pedals.  Try some big, flat pedals – you may be surprised…

That’s it for now.  Let me know if you have found similar flat pedal/shoe combos you like.

jbt-2014-01-08-9

VP 001 Pedal

Image

…vrrrrrp – OK

Tags

, , , , , , ,


Untitled

Getting back on the blog. It’s been a long hiatus since my last post on June 11th?? Wow – I feel lazy. What’s been going on since May/June? I guess I’ve been low-key biking, working, and occasionally kayaking. No big bike trips this summer. The closest thing has been a brief bike around Amsterdam in October, but I’ve literally done zero rando events this year. Ironic as it was a PBP year. Well – there will be others. I’ve still got a few stories to get out, such as:

  • What worked on the Oregon Outback
  • How is that Velo Routier doing these days?
  • What about the Homer and the Hunqa??
  • Food and clothing thoughts
  • Soma (old brand) single speed conversion (maybe)

OK – got that out of my system.

Oregon Outback 2015 – Day 5

Tags

, , , , , ,


Ghostly towns and grand vistas


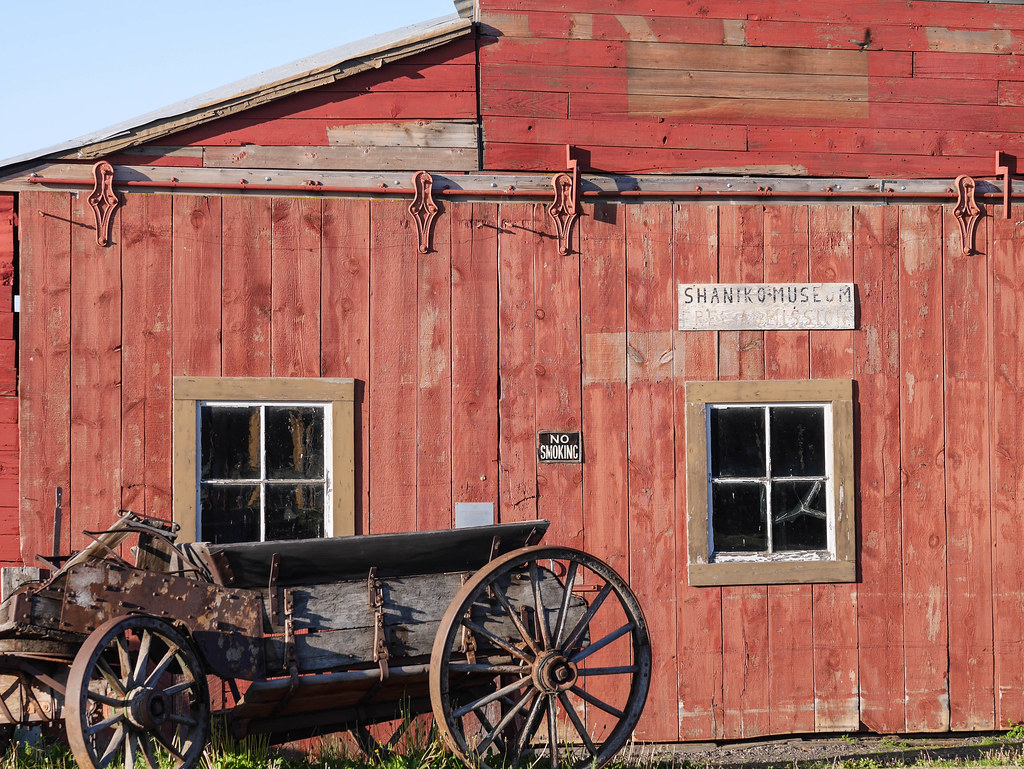
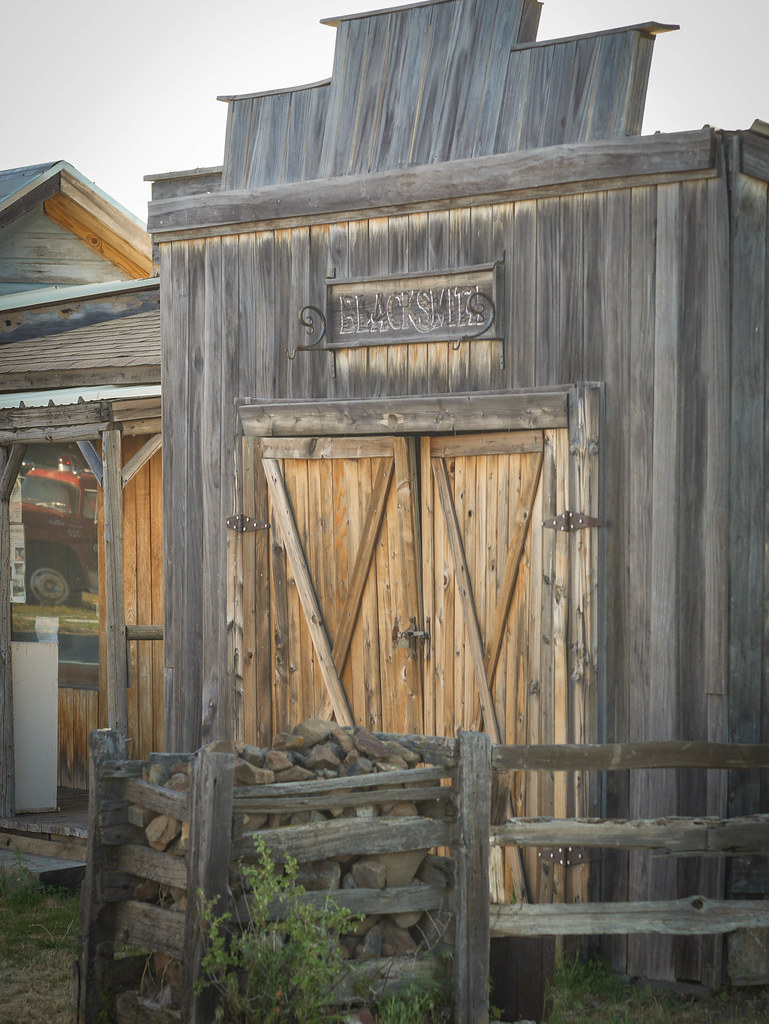
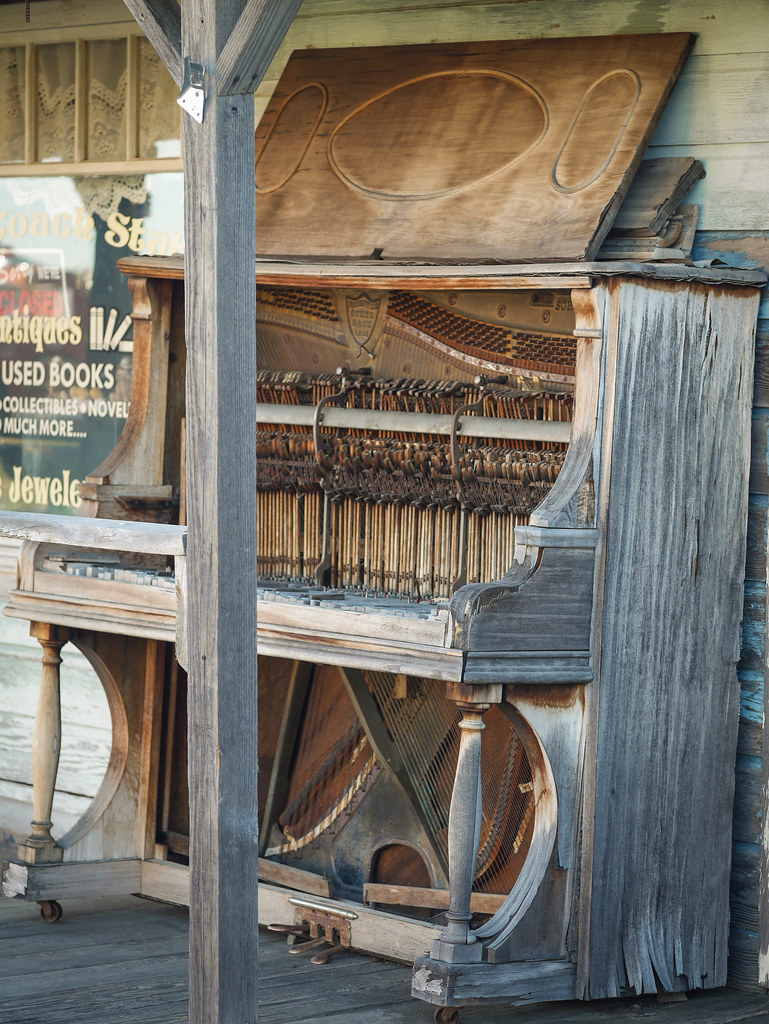
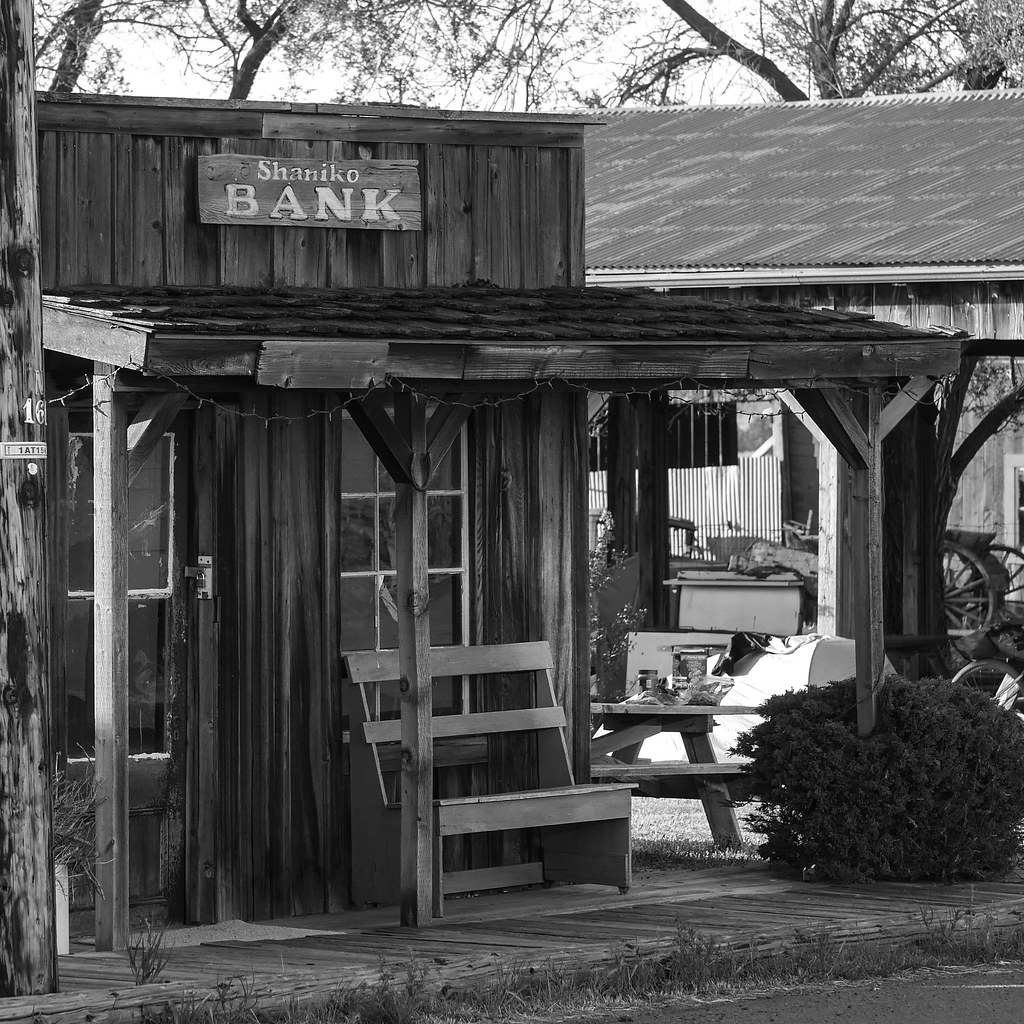
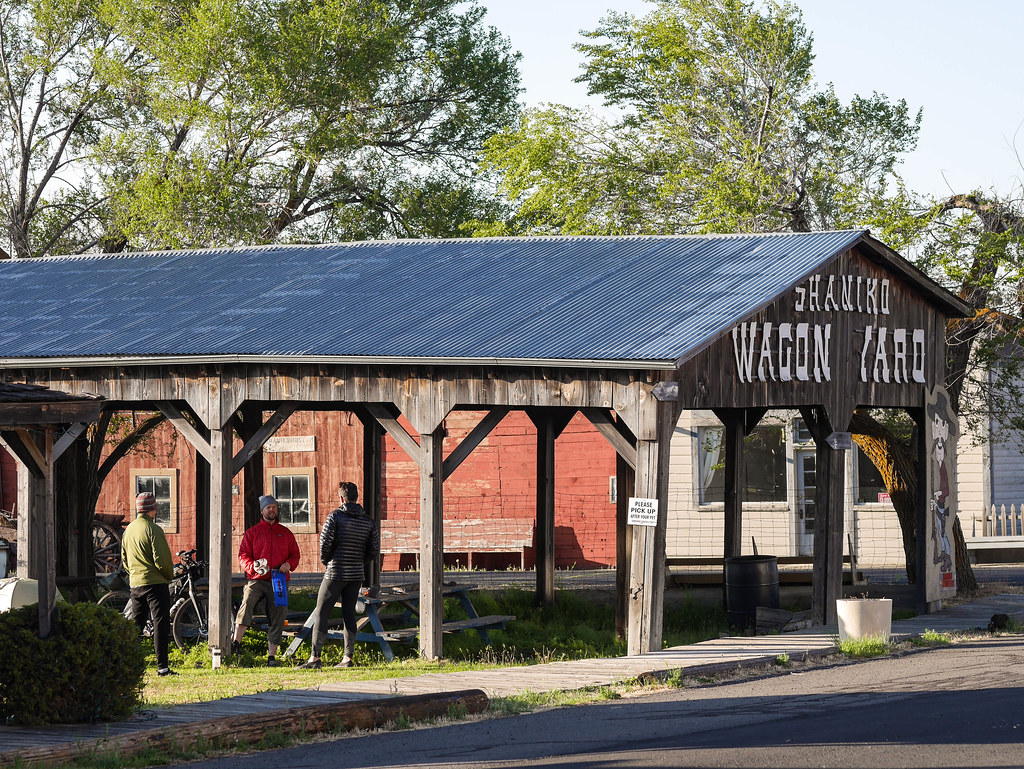
The roosters brought us back to life after the long day before, and I got up and took some morning pics of Shaniko.  As we arrived in the dark, I didn’t get a good look at the surroundings until I got up.  It was a pretty amazing old west town that was fairly well preserved.

BH-97.jpg

BH-98.jpg

BH-99.jpg

BH-100.jpg

BH-101.jpg

BH-104.jpg

The wagon yard we camped under was like a central covered picnic area in the middle of an old west museum.

BH-105.jpg

We got ourselves packed and watered up, and after the usual oatmeal breakfast, we were off. The initial 15 miles went fast as we blasted out along US97 on fast slightly downhill pavement. The tires really showed their zeal – Thunder Burts are fast. We did 20 mph in an easy pace line. That all changed when we reached the first dirt road, however…

BH-110.jpg
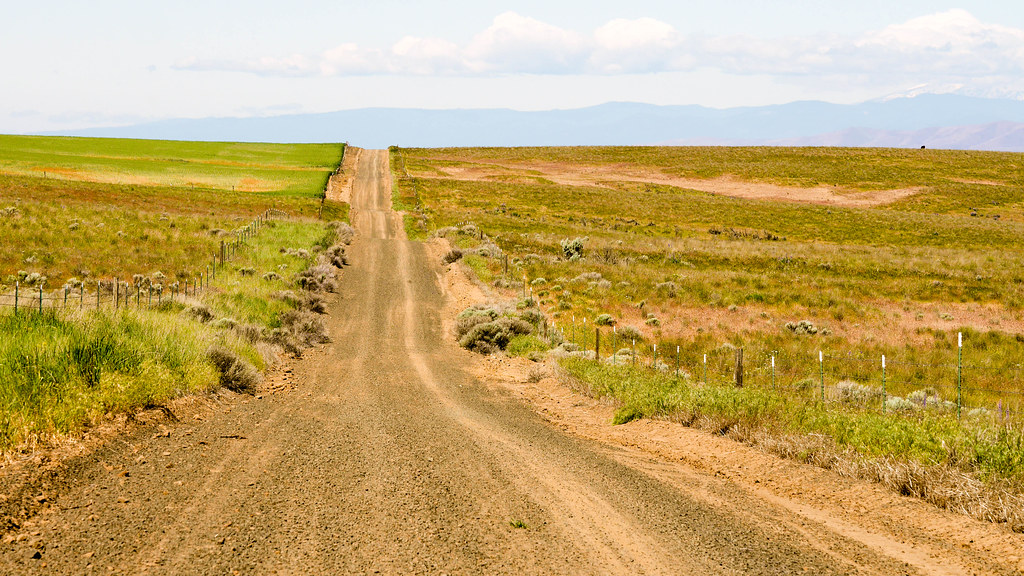
– Our day ahead

BH-109.jpg
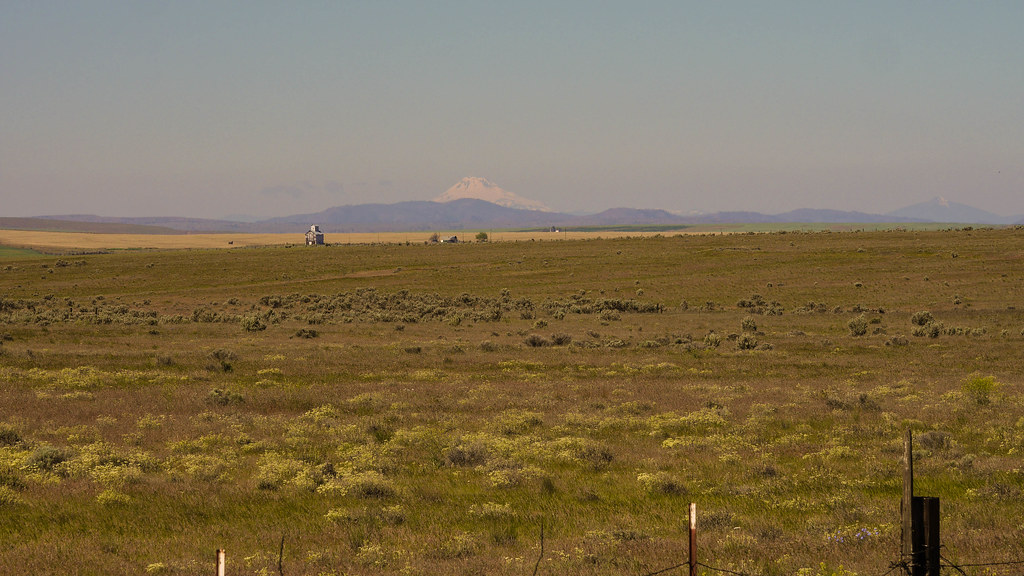
– Always in view

Oregon Outback Complete!

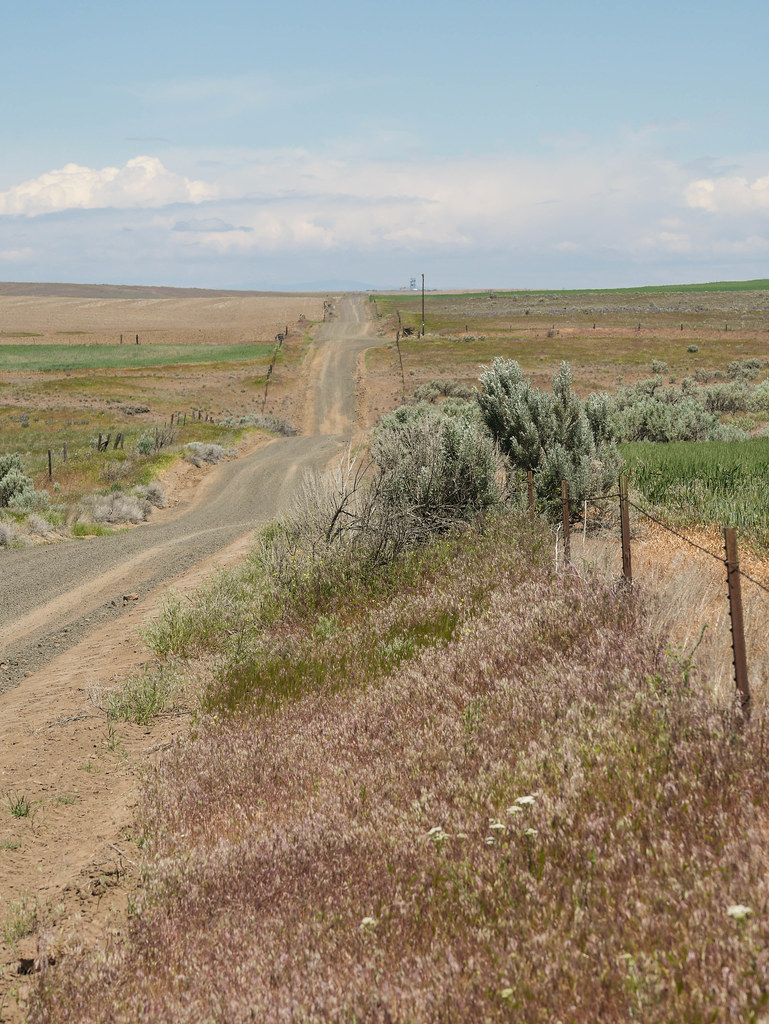
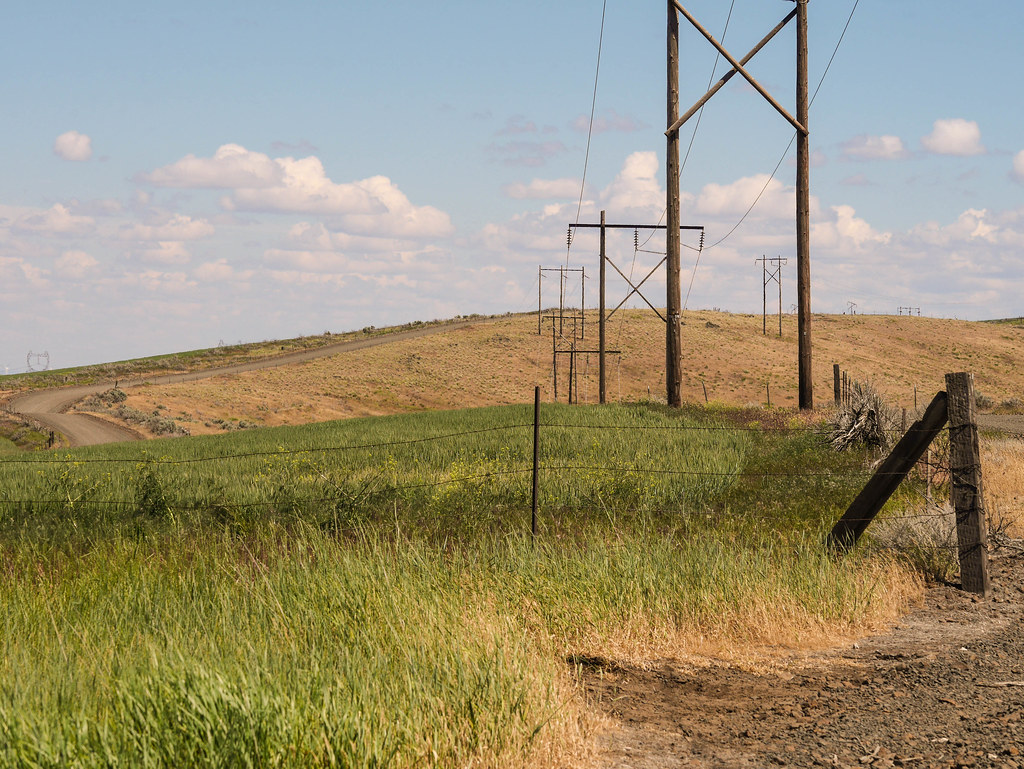
The roads were slightly less worn on this final day, so there was a lot of loose gravel. Almost zero traffic, however. The terrain was heavily rolling – something lost on the elevation profile of our route which looked flat and dropping. There were many small hills, and the route was totally exposed.

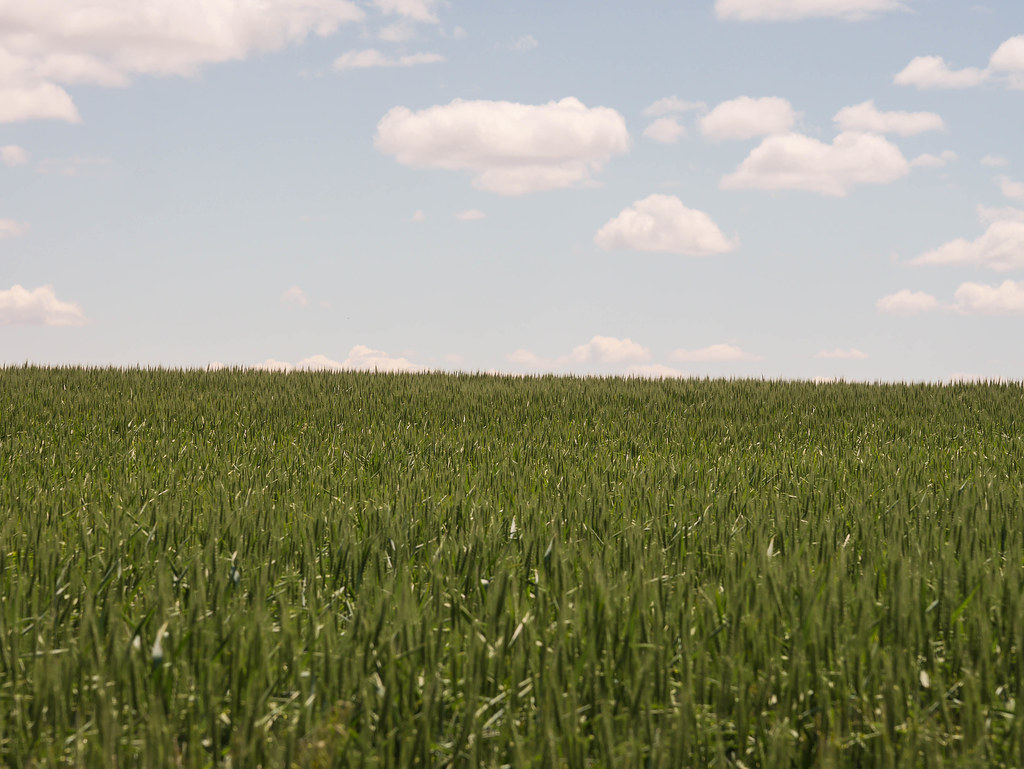
We had planned to find a drop down to the Deschutes somewhere on the route, but I started out tentative towards this plan, and didn’t get more confident as the day wore on. Our lunch stop was not really in a memorable area – merely on the side of a farm road next to a site common to this midwesterner:

BH-111.jpg
– Cow fodder

BH-112.jpg
– Nary a tree in sight

As we approached the Columbia gorge, the land kept a rollin’, and the heat kept a heatin’ us. I found myself wondering how the racers felt doing this stretch after 30 hours of pedaling straight through. Seeing hill after dusty hill and knowing the finish was near must have been exhilarating and frustrating to no end.

BH-113.jpg
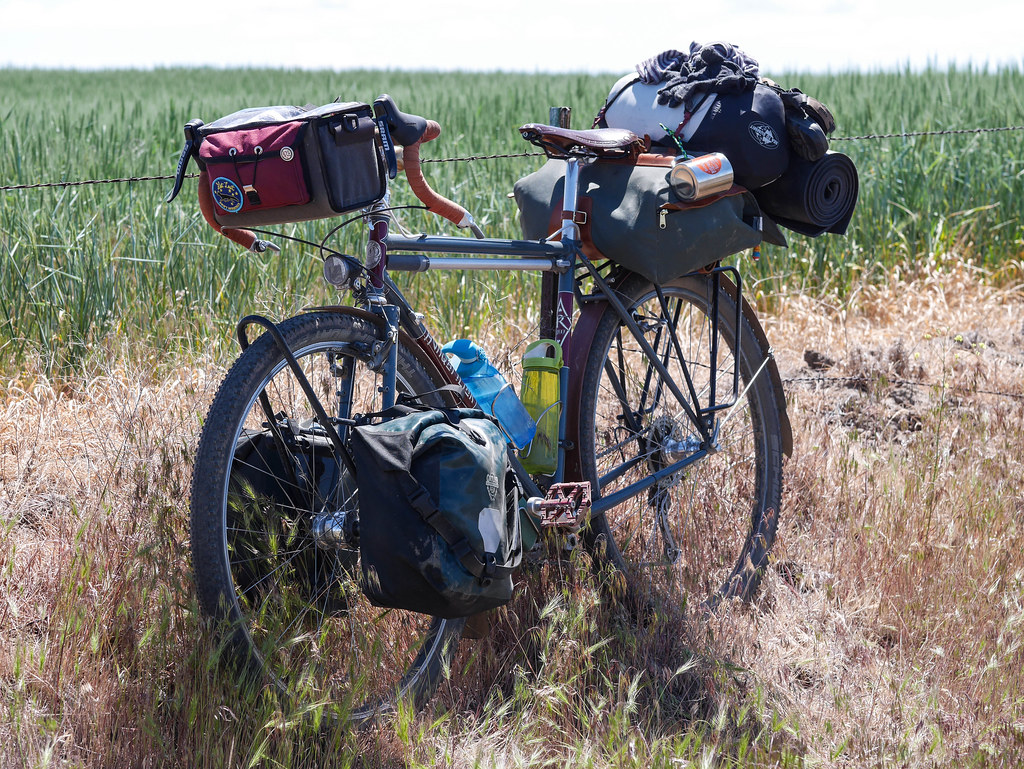
– Trusty dusty steed

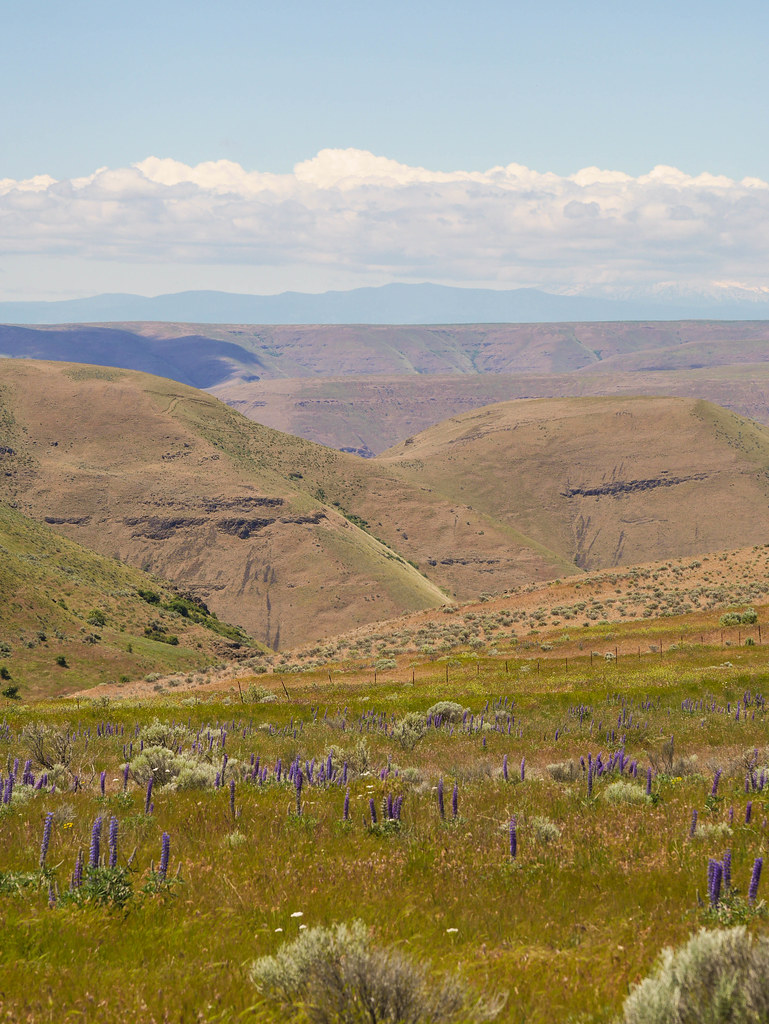
We started getting into some views of the Deschutes River valley that we had been paralleling for tens of miles, and the flowers came out. The scenery was notching up, again.

BH-115.jpg

Gordon Ridge was the last obstacle in our path to the Columbia.

BH-116.jpg
– We’ve gotta climb that??

It was an imposing beast that only rose 400ft above us, but with some 10% grades, it was arduous.

BH-119.jpg

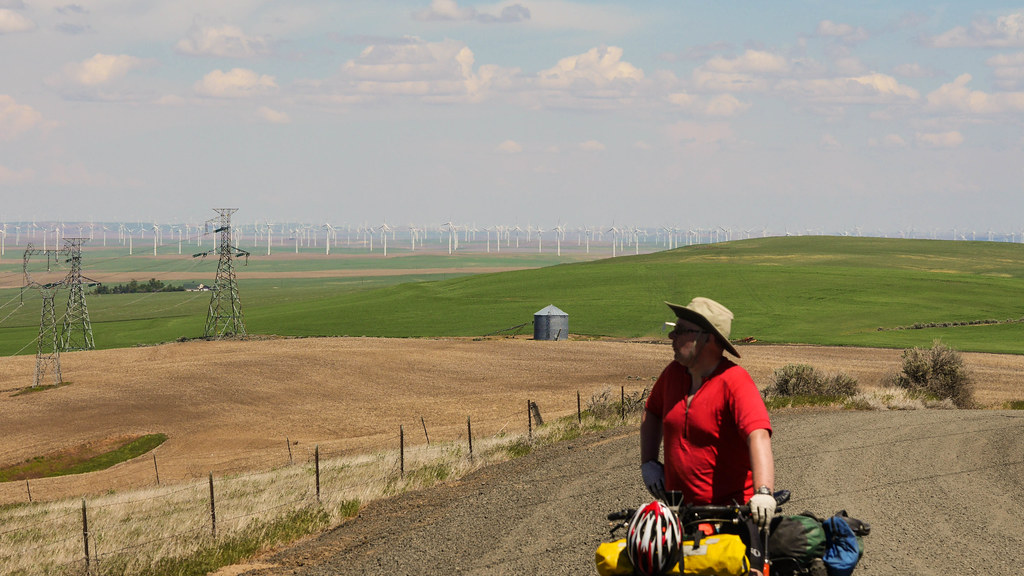
Once at the top we were treated to some great views north – lots of windmills, and volcanic peaks to the north and south east.

BH-118.jpg
– Clean Power

BH-117.jpg

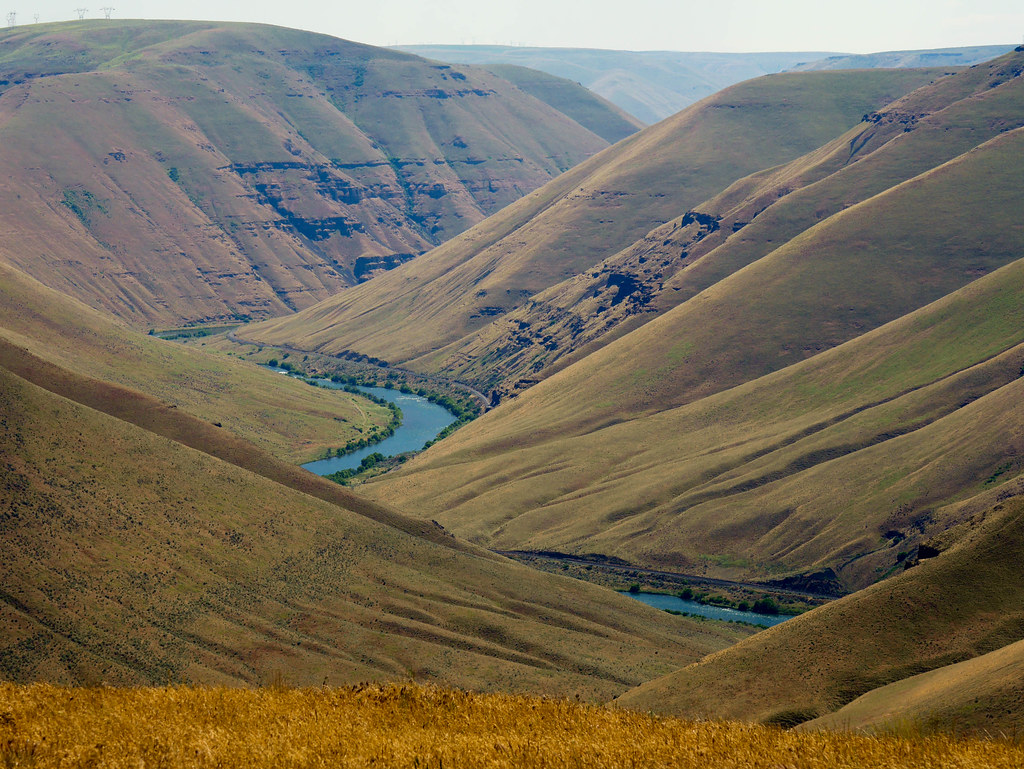
The next section was thrilling and terrifying at times. The ridge road dropped away riding along the edge of the steep valley walls that fell away 2000 feet to the river below. Several 40 mph runs had us hooting like kids. I was sandblasted by a dust devil, and caught a nasty sidewind that hit me unexpectedly at a turn at the bottom of a fast run, blowing me several feet sideways in loose gravel (luckily I was in the middle of the road). I quickly reminded myself to ride loose and not clench as the loose gravel on these descents didn’t reward a controlling demeanor.

BH-120.jpg
– The sacred Deschutes

At this point, we came to the turnoff we had planned to take down to the Deschutes.  It was marked “no trespassing”, and I felt pretty bagged.  We made the decision to continue on the normal route so we wouldn’t have to push our bikes up 2000 feet if the route got nasty.  I think another trip is in order to explore the area on fresher legs.

BH-121.jpg
– Hidden volcano

By the time we hit OR 206, the final stretch of paved road to the river, I was beginning to feel elation and sadness that our trip was nearing its end. There were still some memorable views, and we fairly flew down the final thousand foot drop, albeit slowed to pedalling speed due to the relentless headwind rushing up the canyon to meet us.

BH-122.jpg
– Almost there

Once at the river, we decided to forego the campground for a meal in nearby Biggs. As we pedaled east, John had the light come on. “They have hotels in Biggs! We can get food, a shower, and a good night’s sleep!” Genius! Our adventure had come to an end, but there will certainly be more of this!

Post Outback
– Post Outback Selfie

Route Map – Day 5 (final)