• About Me

Cycle Seattle

~ Posts on bikes

Cycle Seattle

Category Archives: Enduro Offroad

Image

Whidbey Island Out(n)Back

25 Thursday Aug 2016

Tags

bicycle, bike, Chocomoose, cycling, Ebey's Landing, Fort Ebey, Greenbank Farm, harlequin wrap, Hunqapillar, rivendell, Whidbey Island


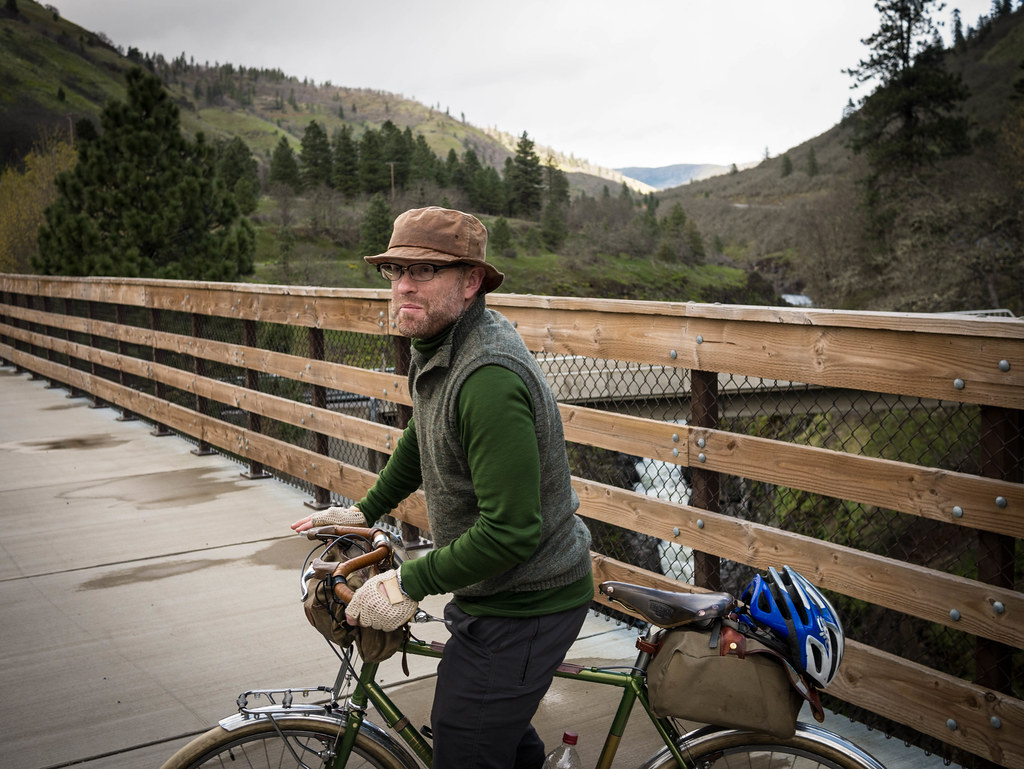
Not much action on the camping front this year, so I grabbed a chance to do a quick overnight (S24O) from my place in Freeland, WA up to Fort Ebey.  It’s about 30 miles one way, and a great chance to try:

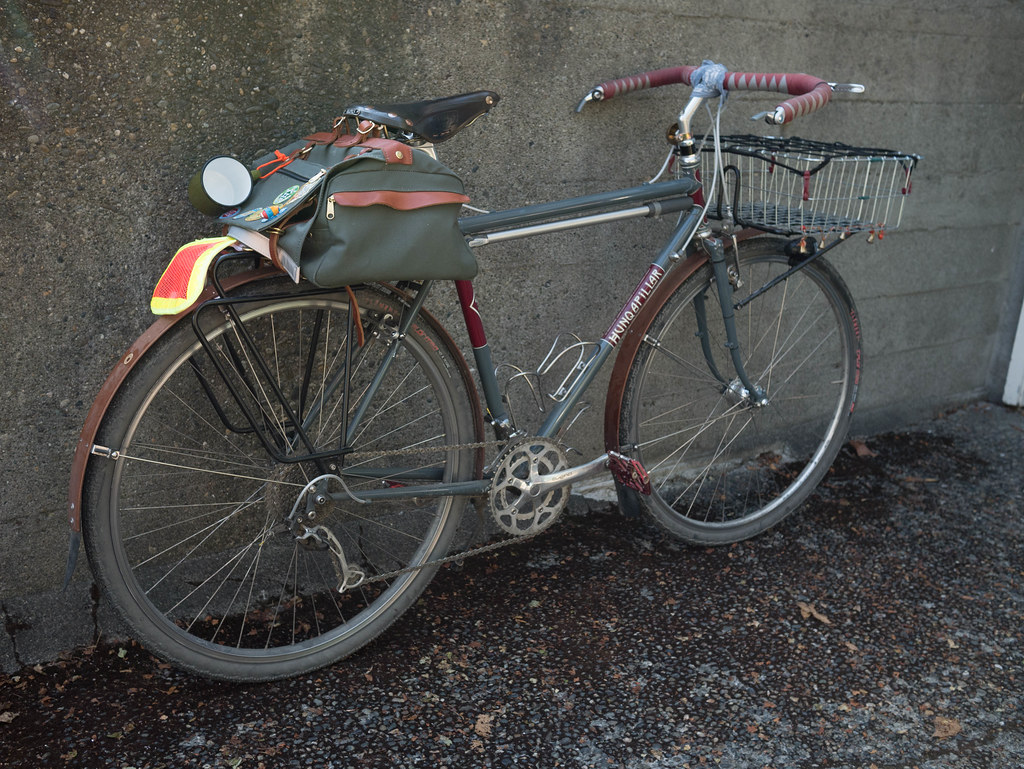
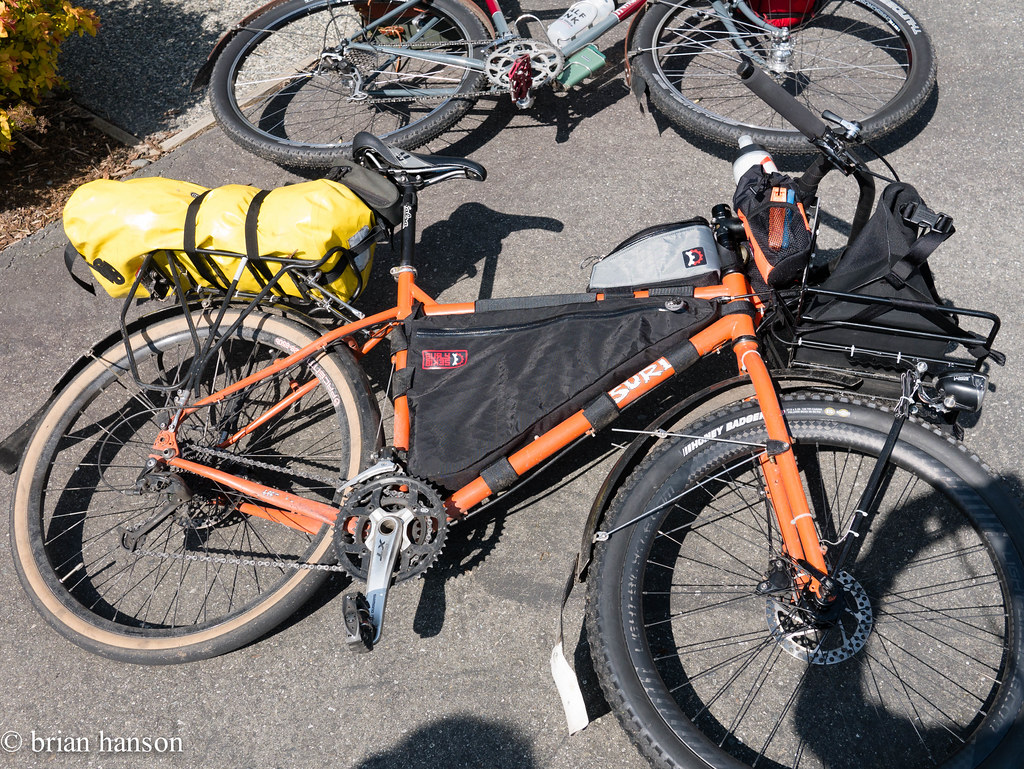
  1. Hunqapillar on singletrack
  2. New road exploring
  3. Hammock camping

This also echoes the distance of a Lake Crescent trail I want to do later this year.  That gig is mostly singletrack, but I would use the same equipment.

I got underway around 4:45pm on Monday.  I figured it would take 2-3 hours, so I would likely have light to set up camp.  John and I had explored Fort Ebey’s mtb trails a few days earlier, so I knew where the hike/bike campsites were.

stonehog-2.jpg

The Gunnar Point – a family photo tradition going back 50 years

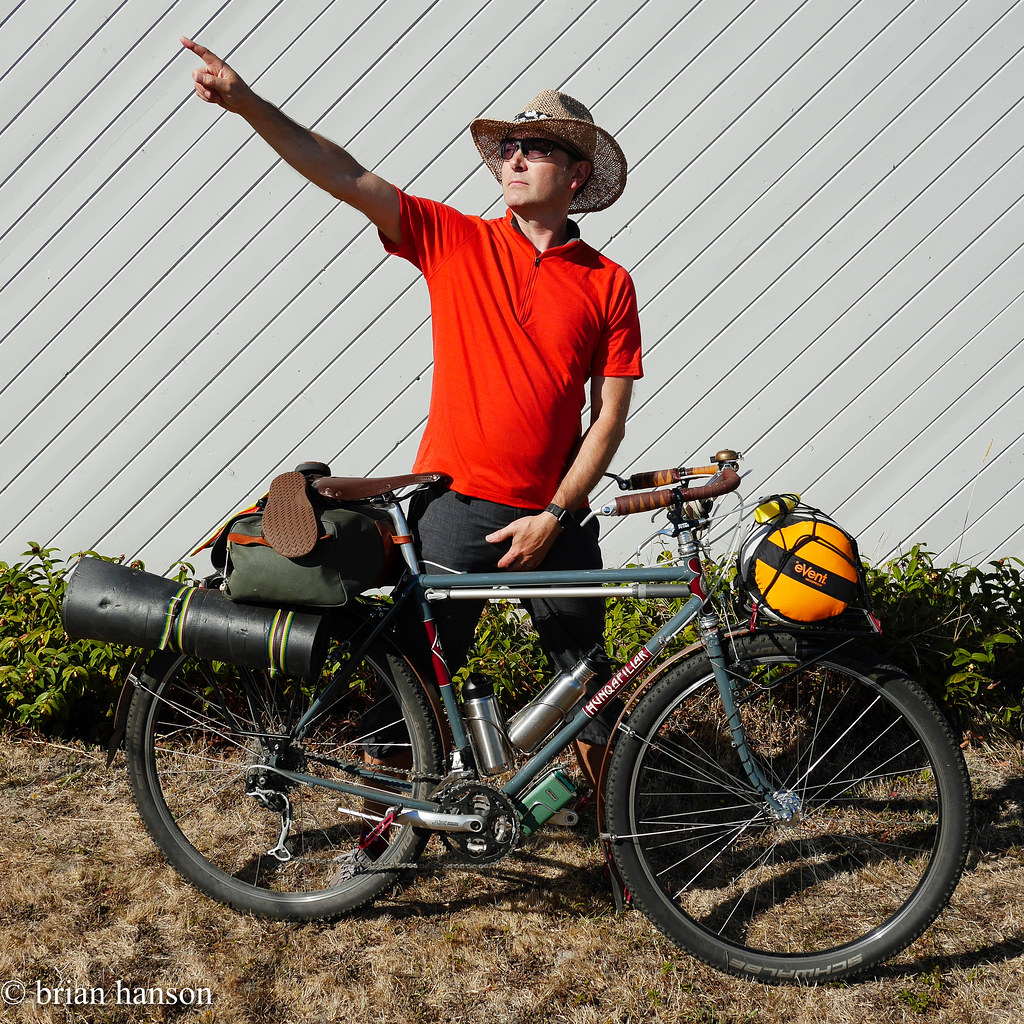
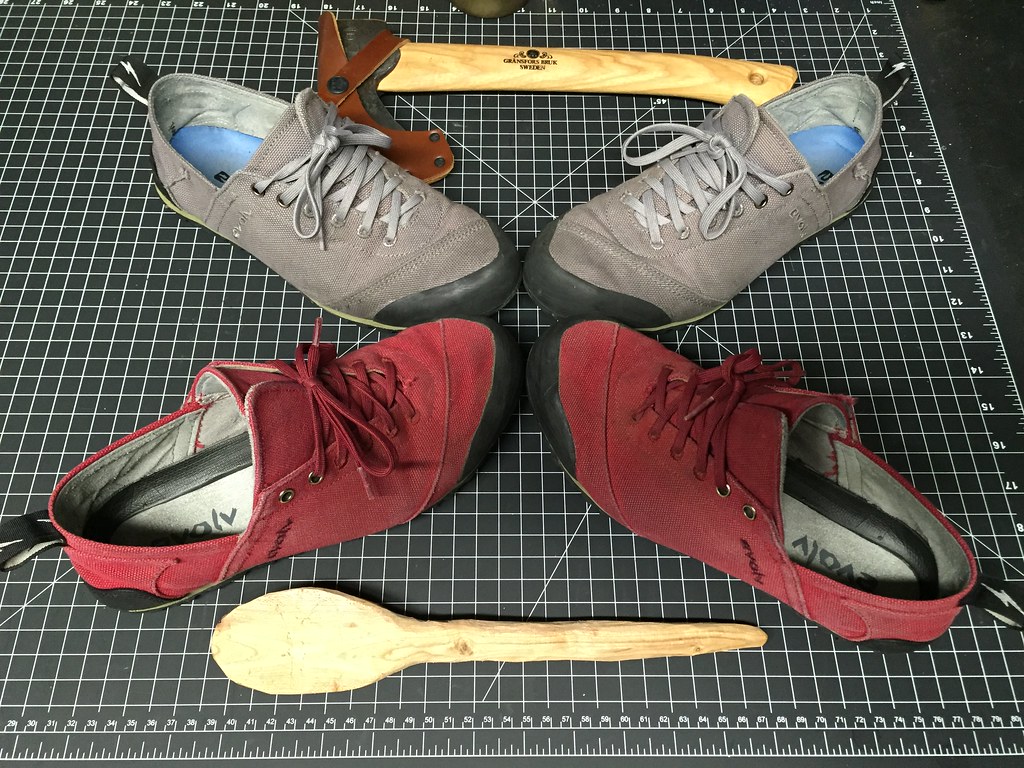
I packed light. There was a burn ban, so I didn’t bother bringing a stove. Just 2 water bottles, a toaster pastry for breakfast, and a can of salmon for dinner. Easy. I wore the clothes on my back and brought along a pair of wool long underwear for sleeping. No rain in the forecast. Other than that, just my hammock, fly, sleeping bag and roll. Oh yeah – I strapped some sandals on, in case the feet got sore, but that was just unused extra weight. I think the whole thing weighed in under 10 pounds.


stonehog-4.jpg

Loaded at Greenbank Farm

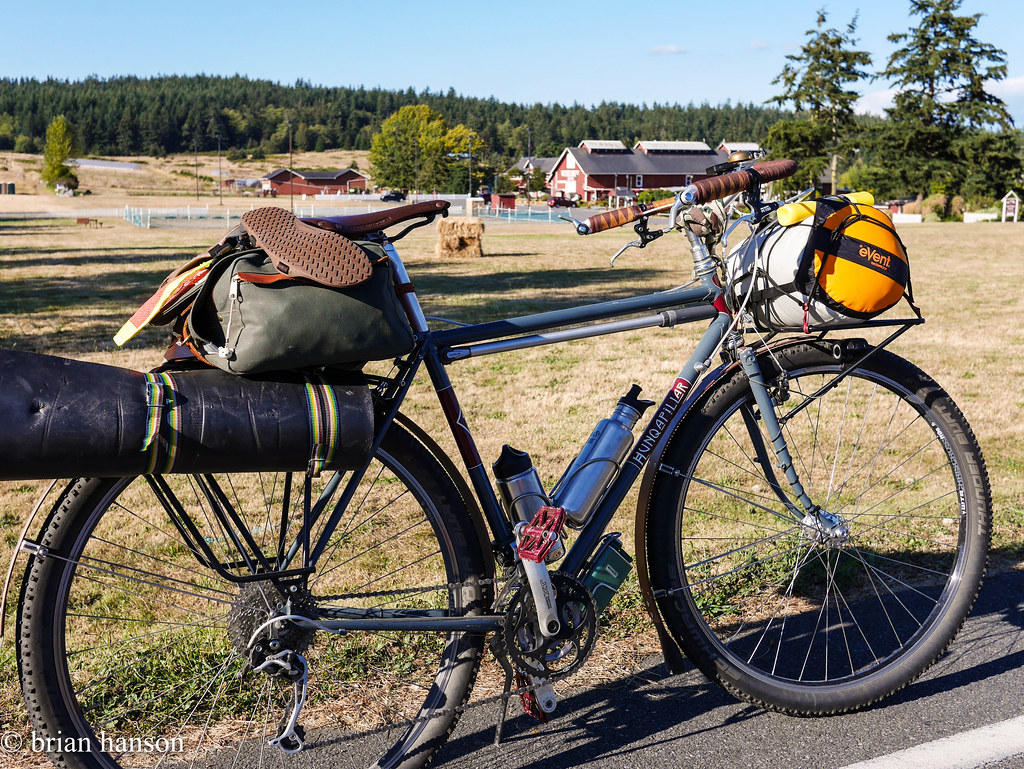
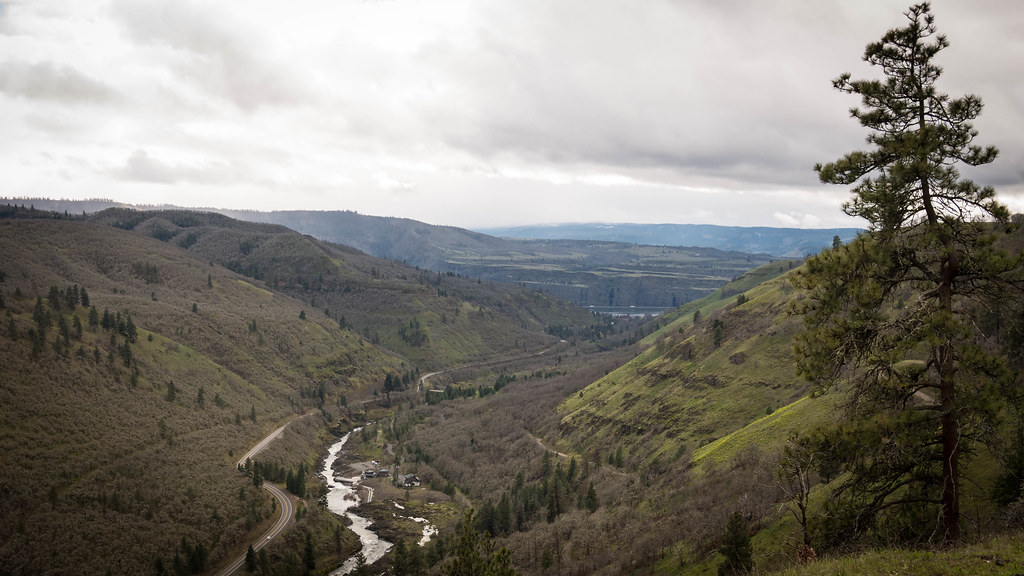
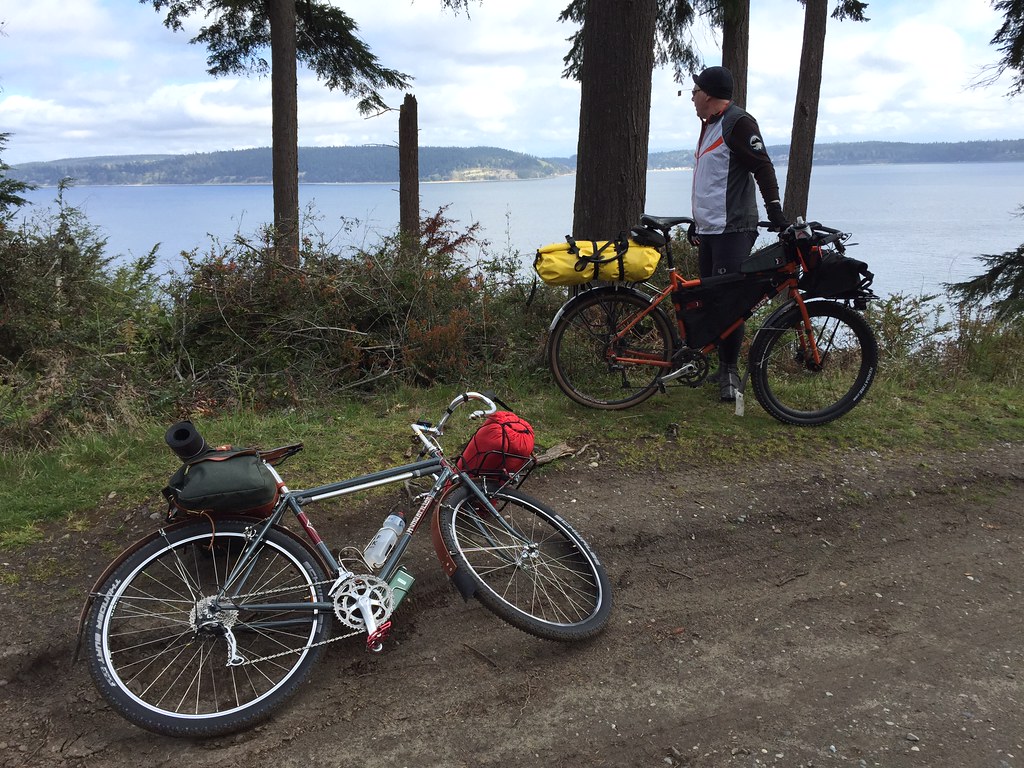
The way up was stunning and uneventful. Heading north, I passed South Whidbey State Park, and Greenbank Farm. The stretch from Greenbank up to Coupville had some great hills and views, and the Navy Growlers were out practicing on the outlying field near Admirals Cove.

stonehog-5.jpg

Growler Practice


stonehog-6.jpg

Keystone Spits

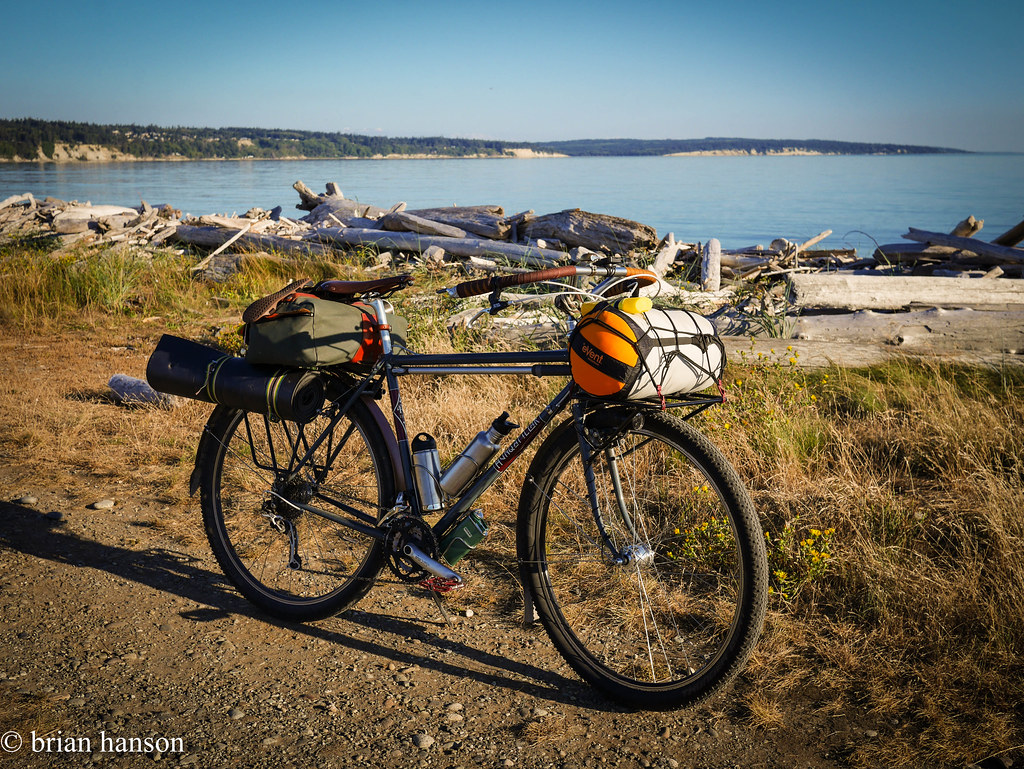
The long stretch across Keystone to Fort Casey yielded a few seals and many sea birds, but I saw not much traffic on a Monday night.

stonehog-8.jpg

Road to Keystone

I searched through Fort Casey for a back route, and thought I had it following a gravel trail by the lighthouse, but it ended in a private road. I left it to chance, and wasted a few minutes, but it was worth the views.

stonehog-9.jpg
stonehog-10.jpg 
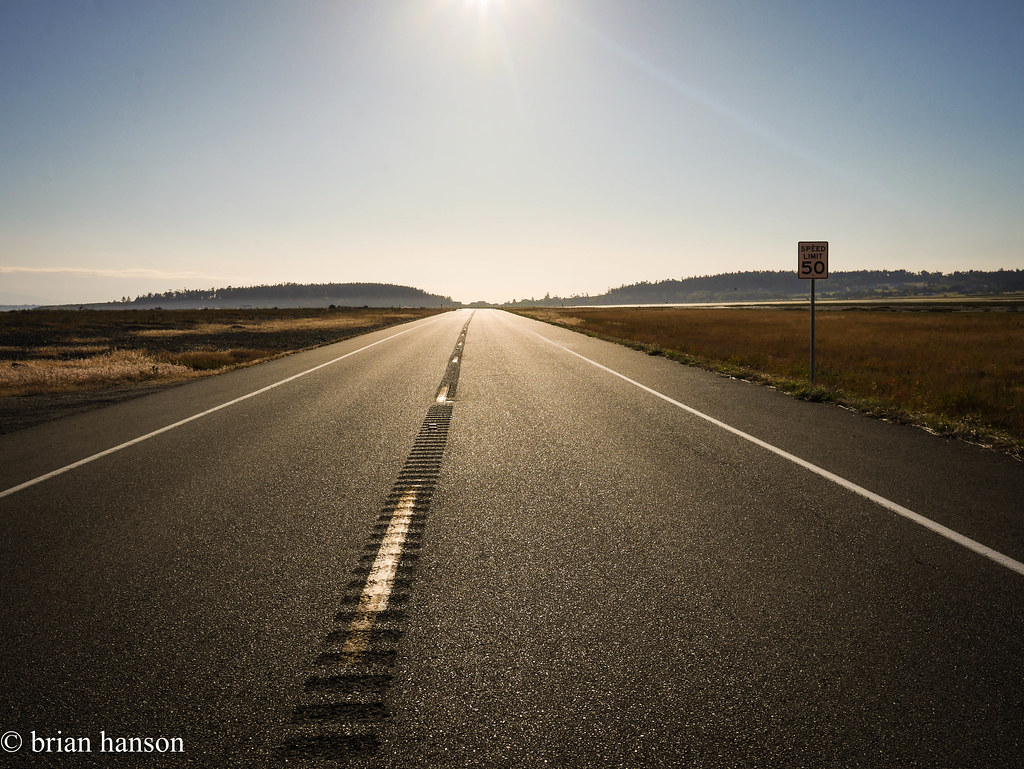
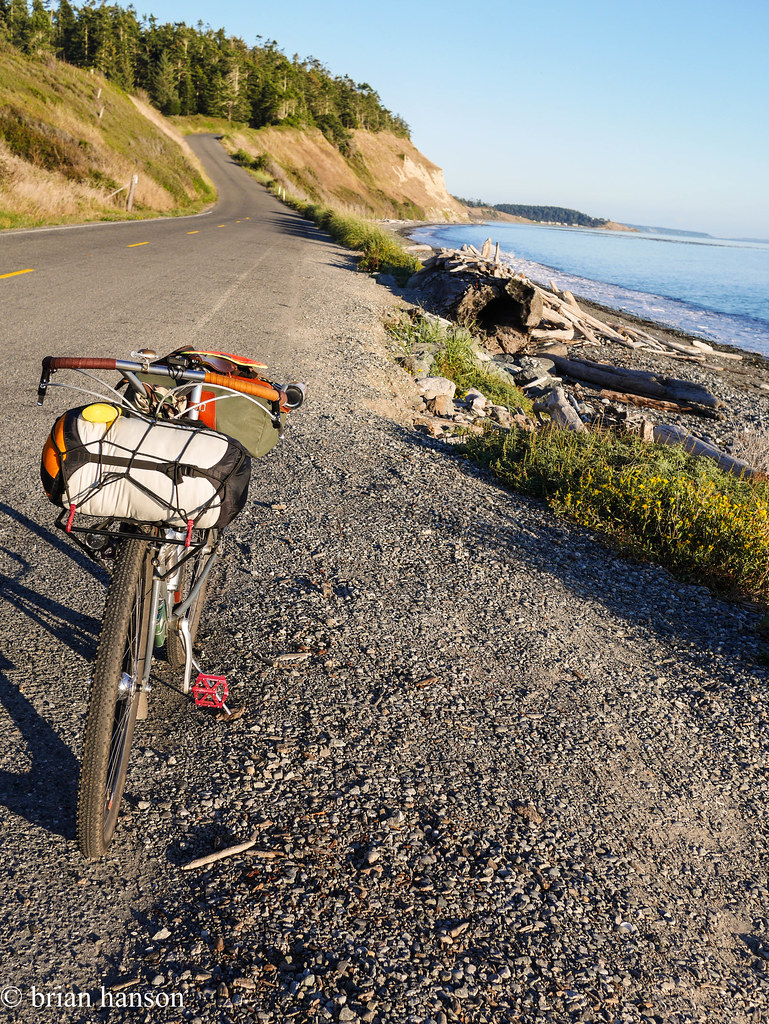
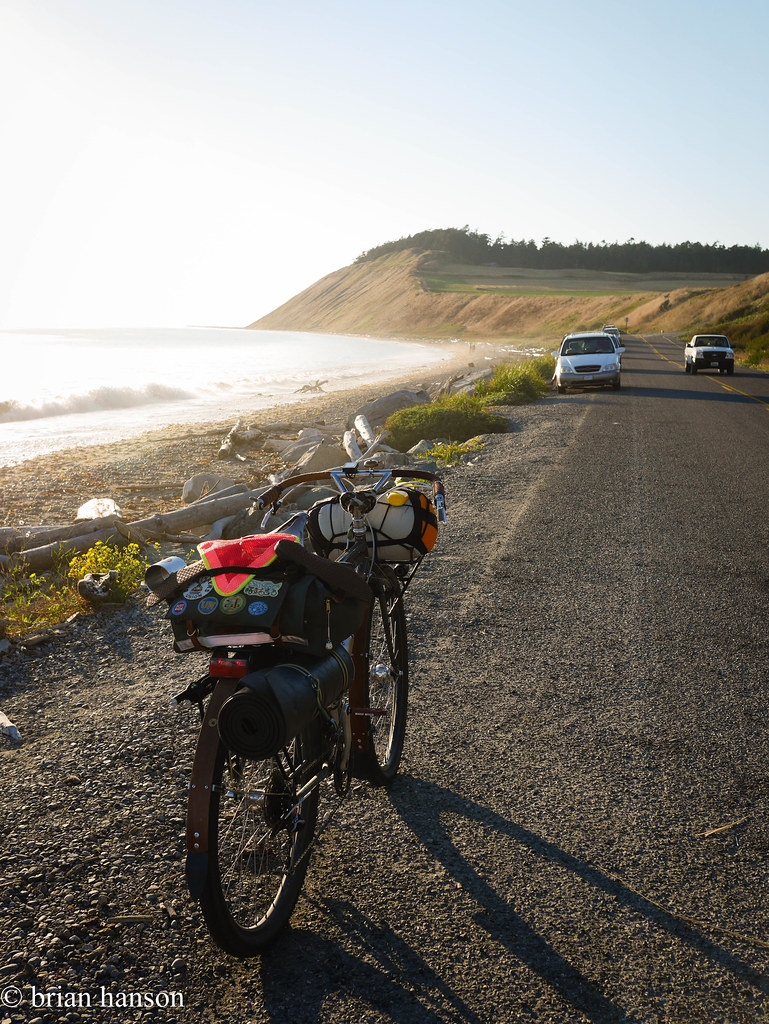
The road down to Ebey Beach is amazing – no shoulder, but equally no cars.
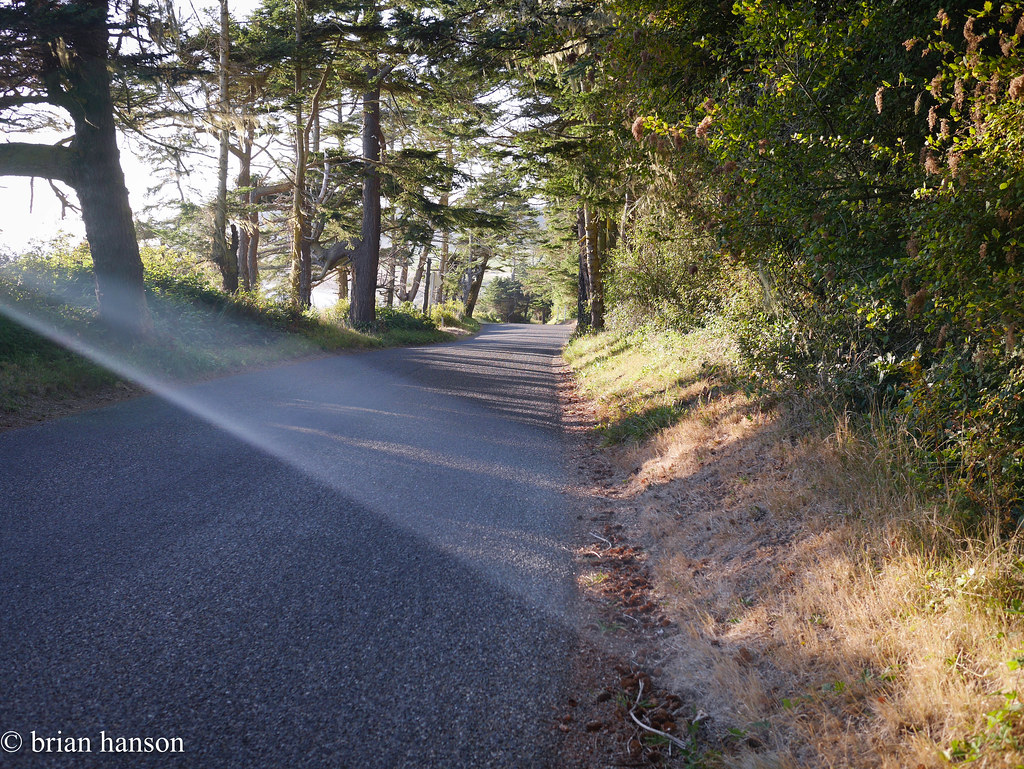
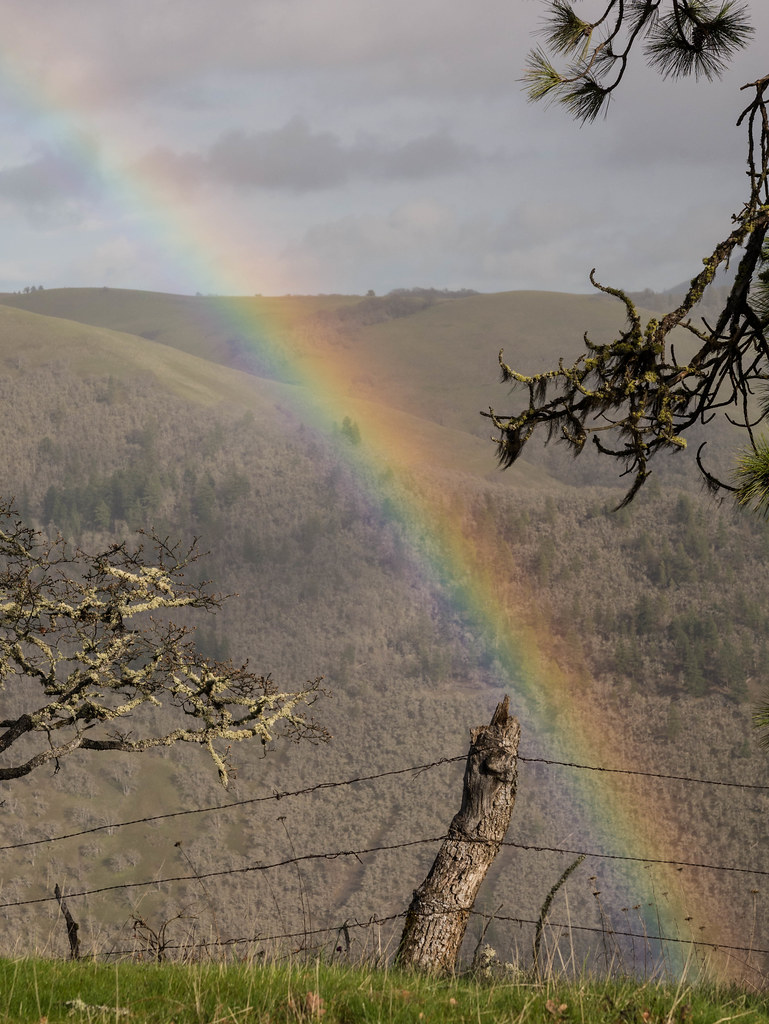
stonehog-11.jpg

Sunbeam!


stonehog-12.jpg

Looking South…


stonehog-13.jpg

And North to Ebey’s Landing…

After a short hop up to the bluff, and across an amazing open farming area, it was a quick ride to the new pavement of Madrona Way past the mussel farms in Penn Cove.


stonehog-14.jpg

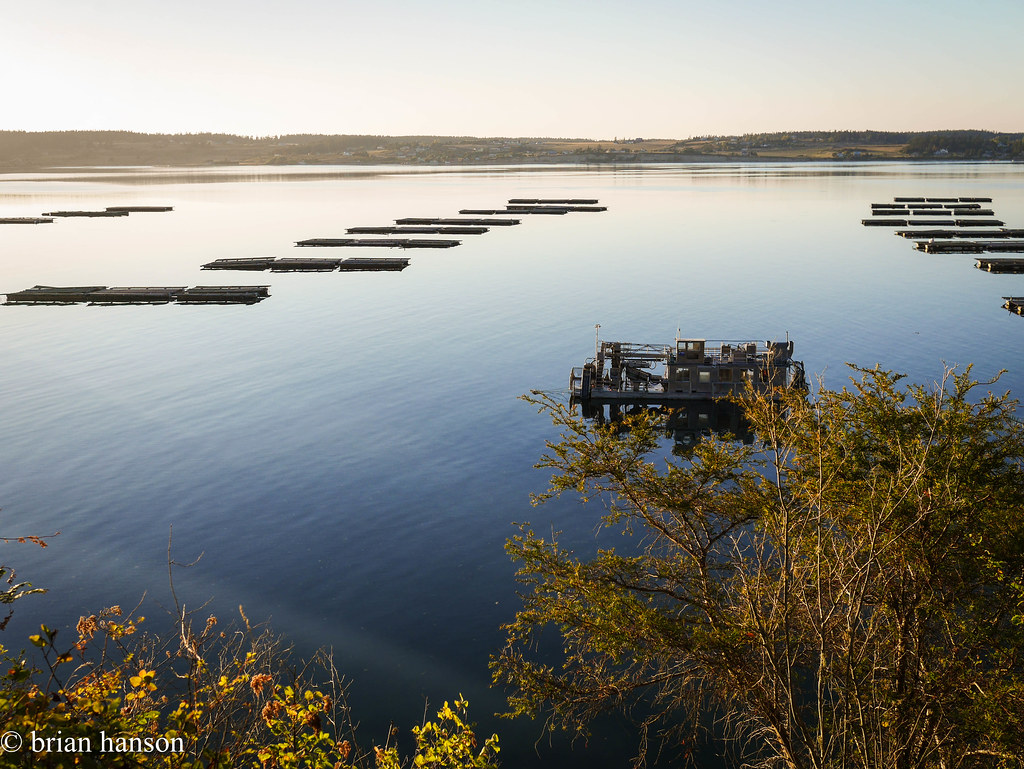
Penn Cove Mussels come from here!

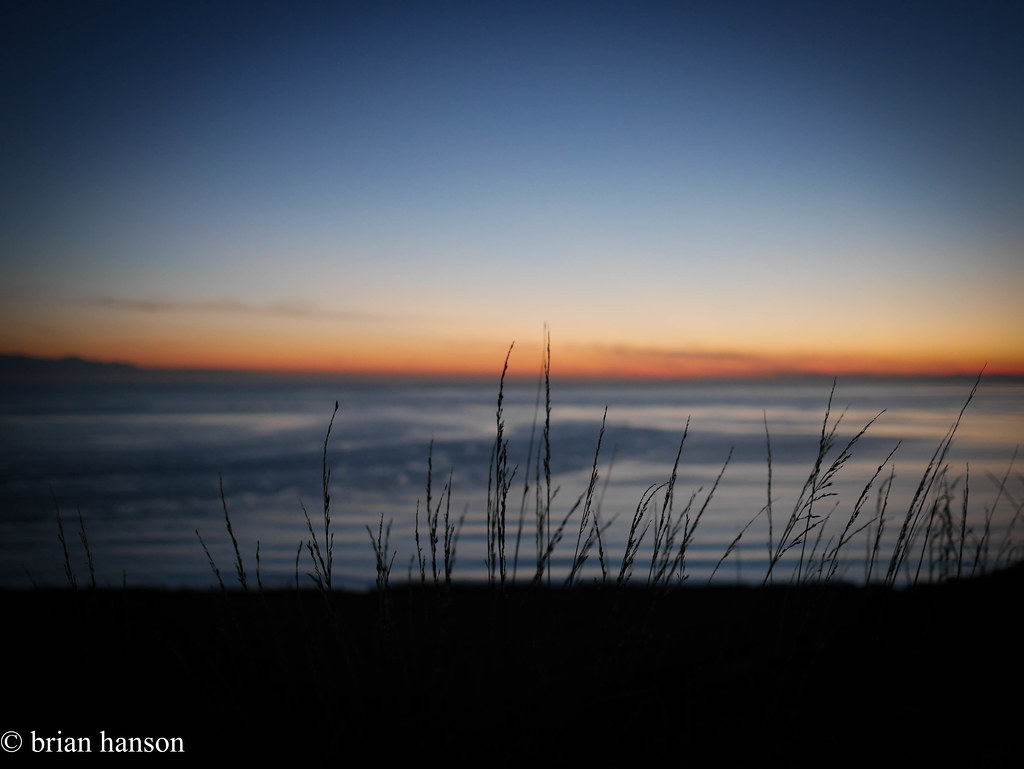
At this point, I was starting to worry about sunlight – it had taken me about 2 1/2 hrs to get this far. I hurried on into Fort Ebey State Park, and set up the hammock. There was one other person in the hike/bike spot – a Pacific Northwest Trail through hiker. After a dinner of canned salmon on the bluff overlooking the Straights of Juan de Fuca, and a great sunset, it was off to bed.

stonehog-15.jpg

Good night!

The next morning was sunny, so I geared up and chatted with the hiker to learn about his journey. He was a 65 years old Granite Falls, WA resident, and 7 weeks into the trail that started in Glacier National Park. After 8 bears (one grizzly at about 10 yds), a pack of wolves, and countless coyotes, he was just heading to the ferry to Port Townsend to have a lunch reunion with his wife before finishing the last 150 miles to Cape Alava.

stonehog-17.jpg

Ready for the trip home

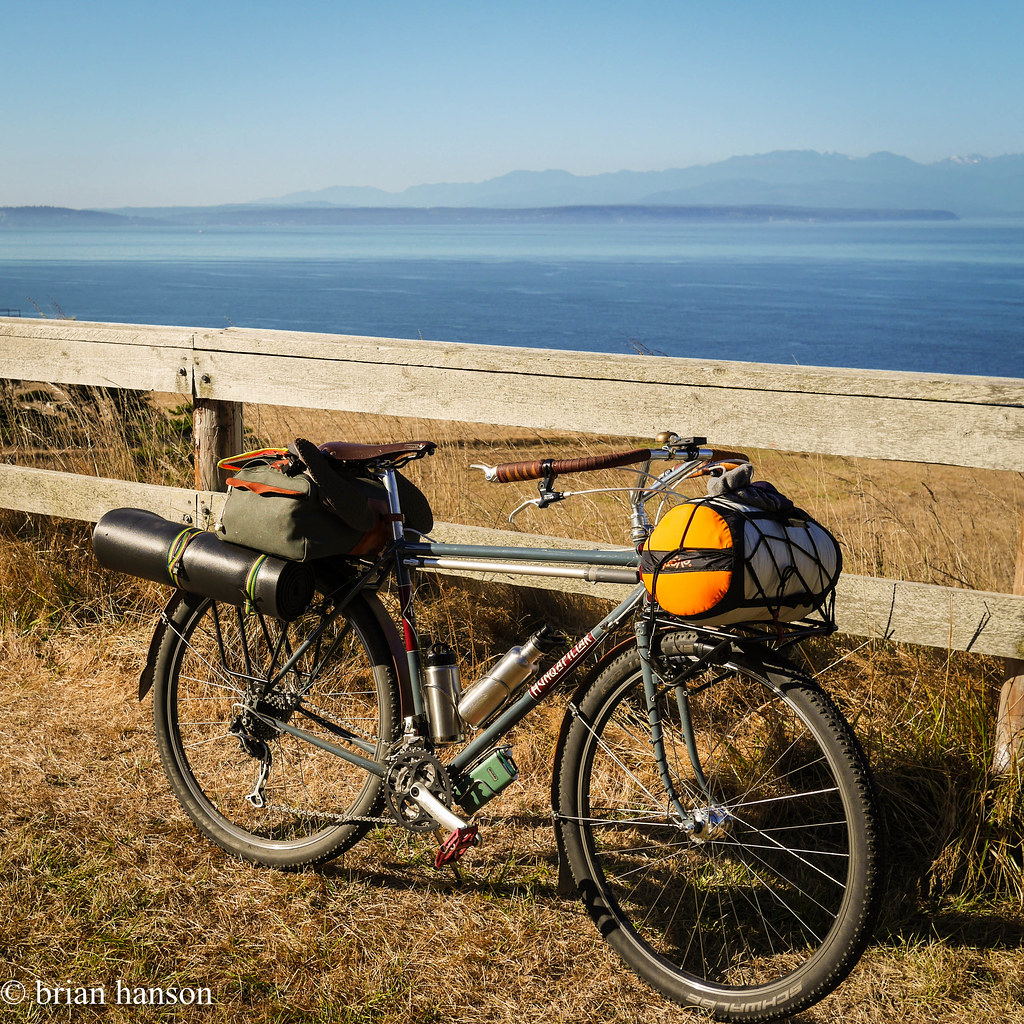
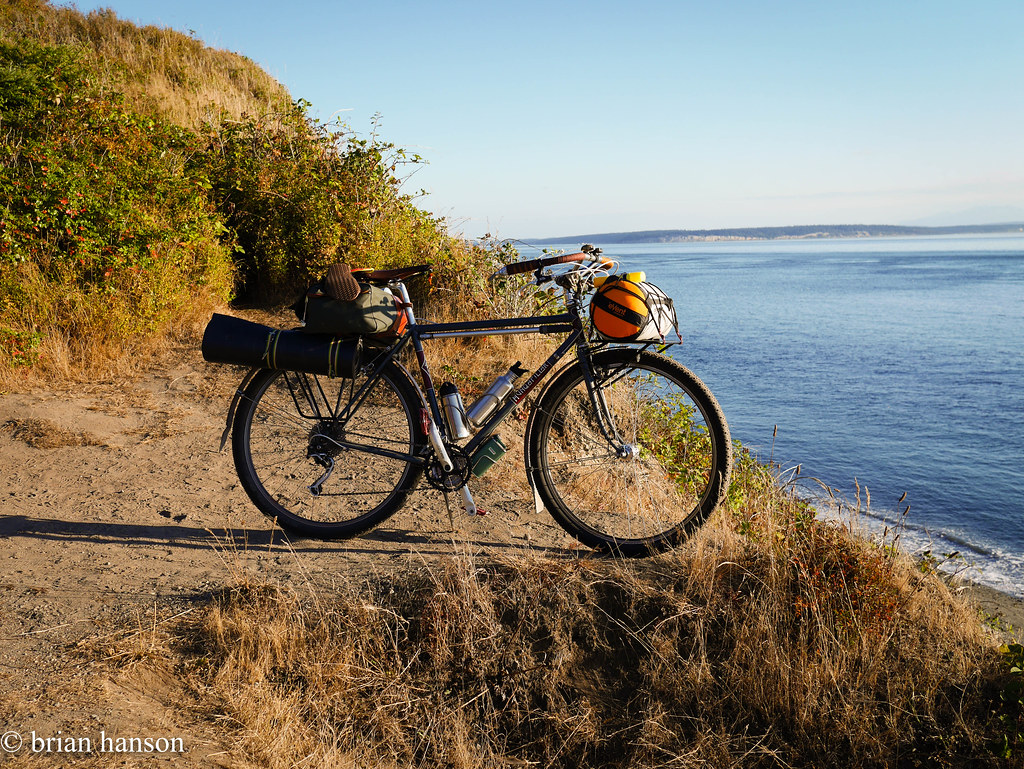
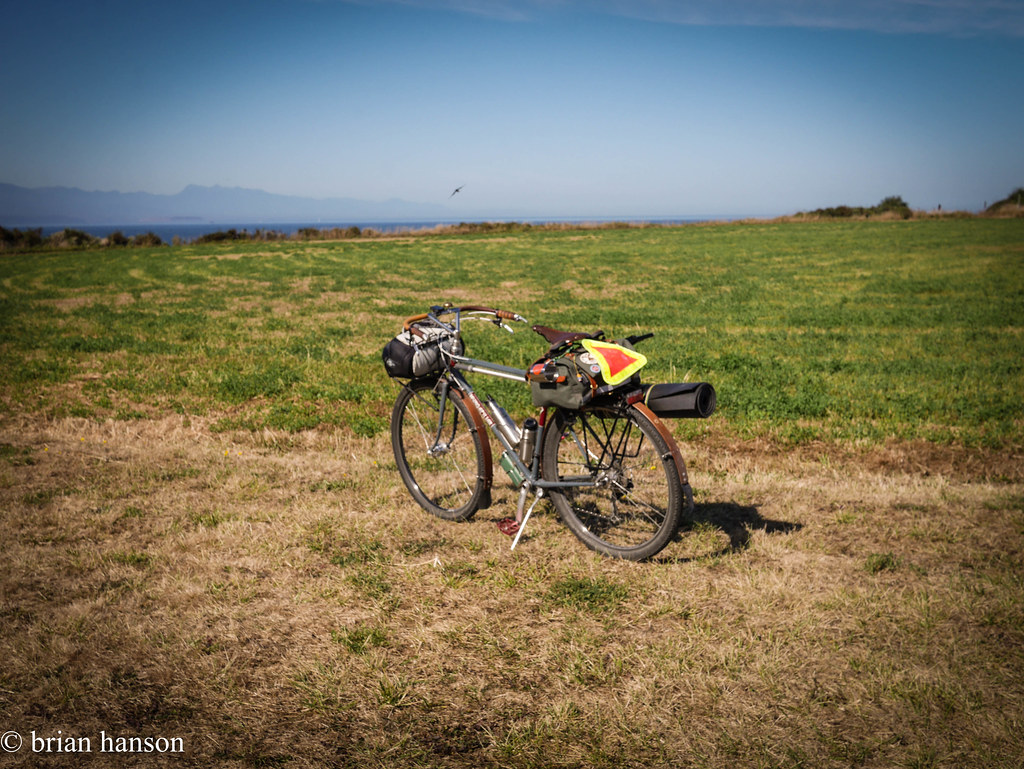
After a nourishing breakfast at the same scenic overlook on the bluff and a water bottle refill, I was off to ride the Kettles trail on the loaded Hunq!

stonehog-18.jpg

MTB Riv Style

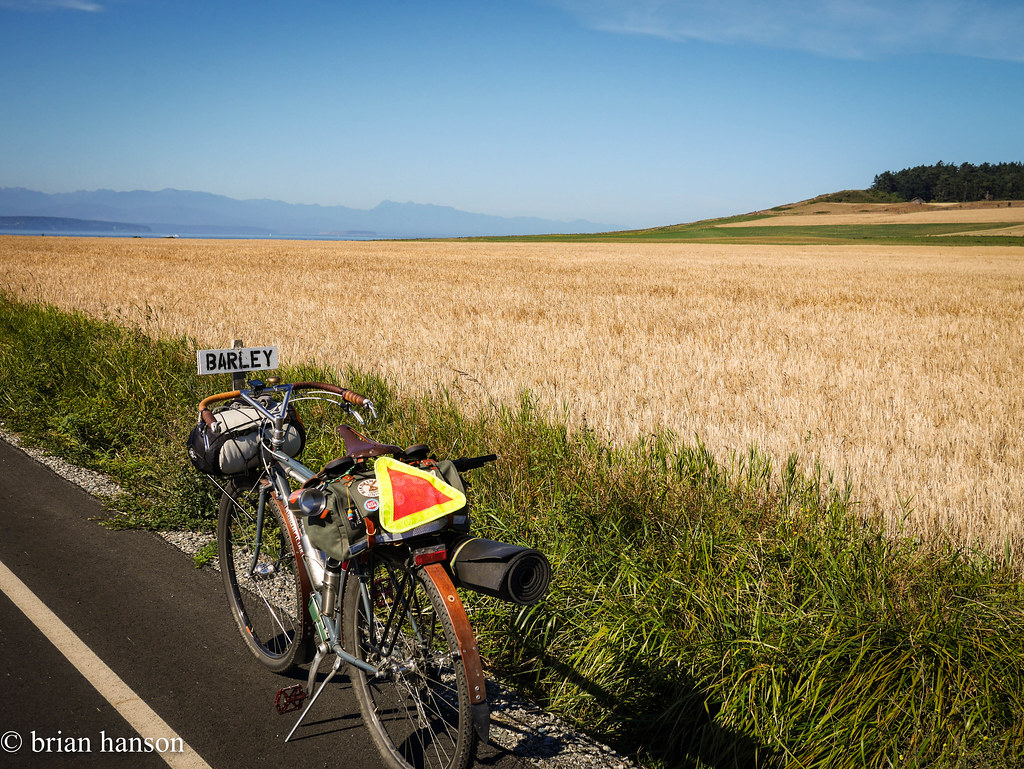
Needless to say, the Hunq made short work of the trail, and I found myself heading back south and past the barley fields to Ebey Beach.

stonehog-21.jpg

At the whisky source

stonehog-24.jpg

stonehog-22.jpg 
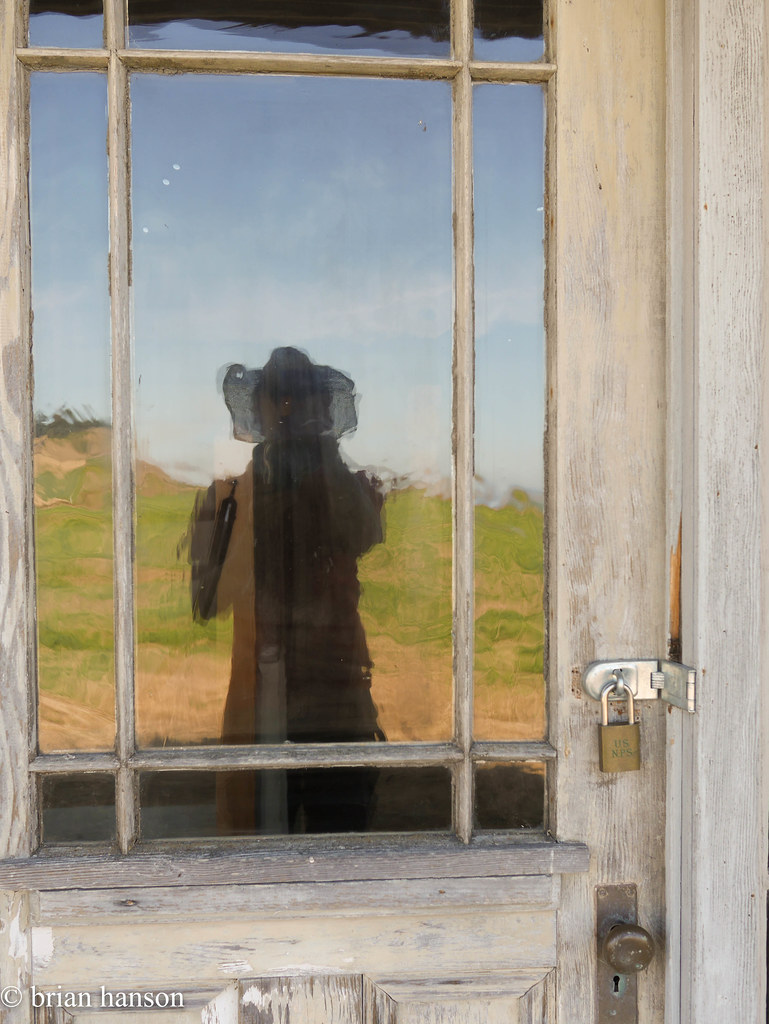
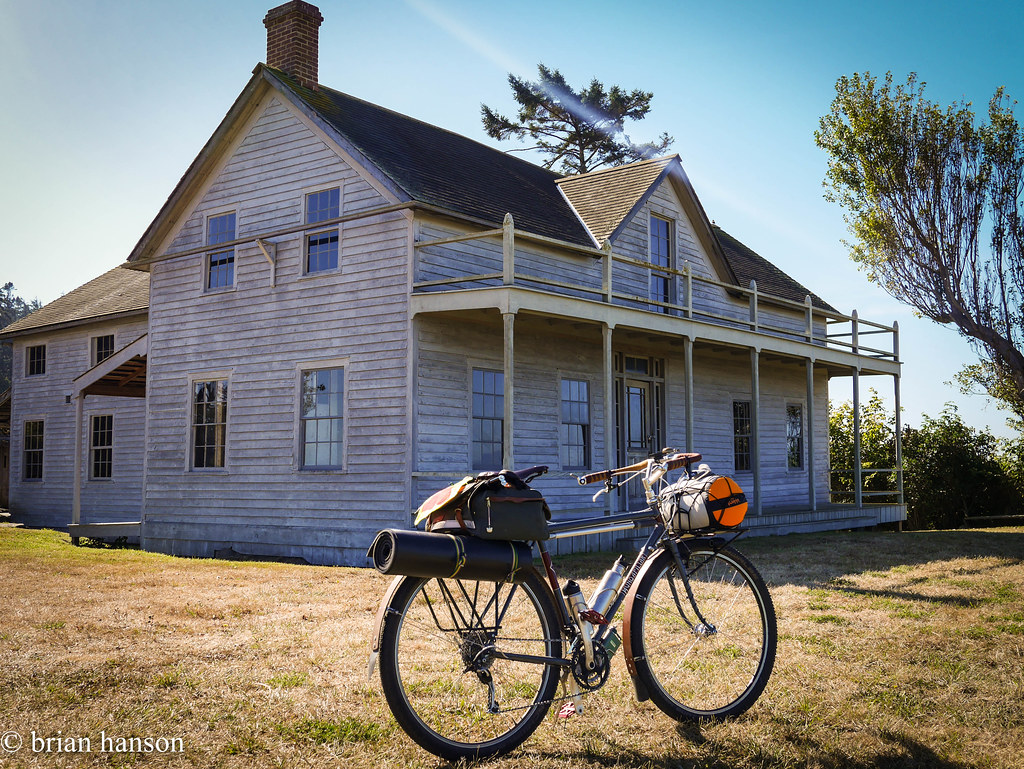
I stopped at the old “Ferry Building” on the bluff to explore and take some pics, then it was back down to Keystone, Greenbank, and finally back to Freeland for some rest and a meal. stonehog-28.jpg

stonehog-27.jpg

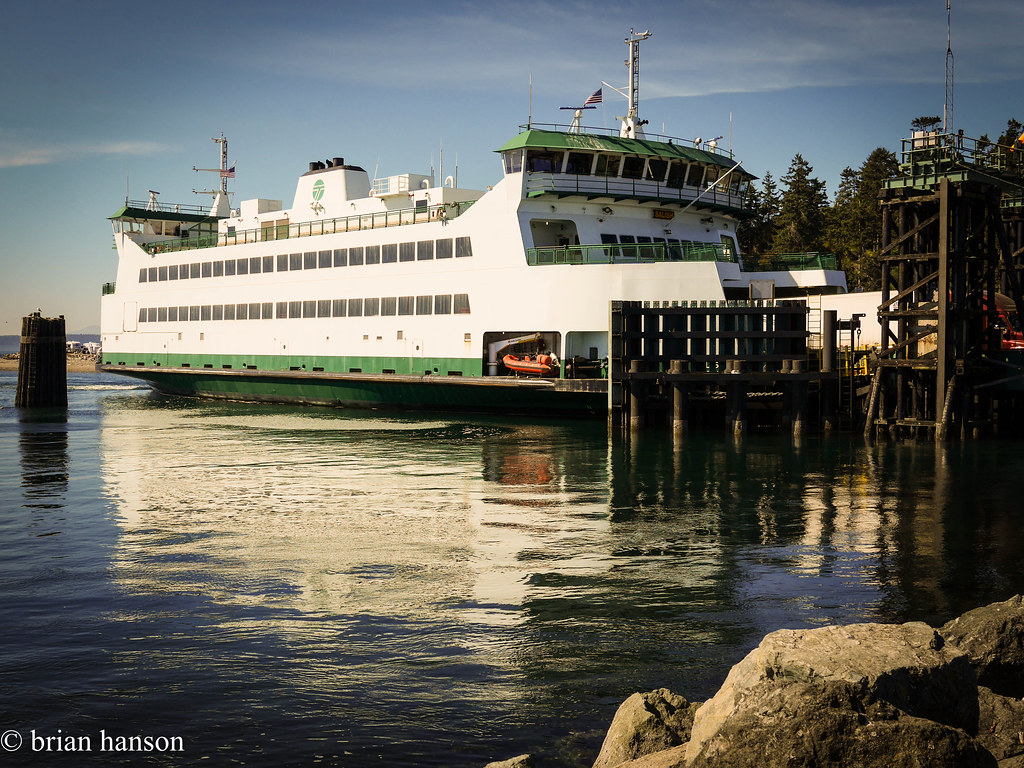
Route out and back are here:

http://cyclemeter.com/51cfa6724f84c700/Cycle-20160822-1639

http://cyclemeter.com/51cfa6724f84c700/Cycle-20160823-0934

Ebey trip out

Posted by Stonehog | Filed under Bikepacking, Cycling, Enduro Offroad, MTB, Northwest

≈ 3 Comments

Image

Gorge(ous) Rides

30 Wednesday Mar 2016

Tags

bicycle, Bike Portland, Cycles Toussaint, cycling, lyle, Noraneko, Portland, rivendell, the dalles, Tilikum Crossing


Hmmm – finally getting back to this writing business.  I just returned from an amazing 24-hr trip to Oregon.  It was a make-up for a trip I missed a year or two ago with a great pack of folks I met on the Seattle/Portland Riv Rumble.

BH-1.jpg

Ride Leader Aaron

Unfortunately, I missed the first ride on Saturday, and rolled into town around 6pm.  I met Aaron at the new’ish Freebridge Brewery in The Dalles, and there we decided to make a last minute plan change and head to Portland for a Rumble reunion with Chris and Andy. We made it to the Chen Palace™ around 10pm.

After lots of catching up, whisky tasting, and whatnot, we hopped the bikes and made our way to a late night ramen restaurant.  On the way, we rode by Rivelo, Portland’s Rivendell dealer run by their old GM John Bennett.  We also did a loop across the Willamette River on the new Tilikum Crossing transit bridge (no cars!).

After some crashing on Chris’s couch, we woke up to a sunny Easter Sunday and made Big Breakfast in the ChenKitchen™.  Folks started showing up like this was some kind of tradition, and everyone was well fed by noon.  That’s about when Aaron and I decided to get over to Rivelo and do some local economy boosting.  He rode an Appaloosa while I picked out some Grandpa’s Tar Soap.  When we were situated, we made our way back to The Dalles via Lyle, WA.

Here, a great 20-miler happened.  Rainbows and unicorns (or at least camels).  Pics:

BH-2.jpg

Trailhead with Trusty Bikes

BH-3.jpg

Early Trail

BH-4.jpg

Klickitat

BH-6.jpg

Looking Green!

BH-10.jpg

Columbia River (way out yonder)

BH-14.jpg

Twas a rainin’

BH-16.jpg

OMG

BH-17.jpg

The Cold Descent – Hobo Gloves

Posted by Stonehog | Filed under Cycling, Enduro Offroad, Northwest

≈ 5 Comments

Image

Bar Width and Handling

09 Saturday Jan 2016

Tags

albastache, albatross, bar width, bikepacking, cycling, ergonomics, handlebar, Hunqapillar, leverage, low-trail, nitto noodles, rivendell, steering


As a follow up to my post on trail, this is a related experiential review on the role of bar width and the interaction with trail.  This may impact someone’s decision on whether high or low trail is right for them by basing it on one’s comfort with wide or narrow bars.  It also may impact the decision based on what you will be using the bike for, and where you plan to do most of your riding.

Low trail is great with narrow bars

On my Vélo Routier, having narrow bars is comfortable, and I have no problem putting feedback into steering even at higher speeds.  I currently use 42cm Noodles, and have plenty of control.

Higher trail is great with wider bars

Wide bars (48cm and wider) work very well on higher trail bikes.  They give you the leverage you need to turn during even an “in the rails” higher speed maneuver.

The further away from your steering axis you have your hands, the more they will have input on steering – this is true for any bike and any amount of trail.  To get a consistent steering input impact and feel, you should be able to compensate for higher trail with wider bars.

Adding bar width to compensate for trail will keep steering input feel approximately equivalent//embedr.flickr.com/assets/client-code.js

This is why offroad motorcycles/bicycles have wide handlebars, and most city or road motorcycles/bikes tend to have narrow bars.  Big generalization here, but I have definitely noticed this on several occasions. This is not really a discussion based on rider ergonomics and comfort, but a general handling conversation.  If you are a rider that needs a wider or narrower bar, it may help to understand how that will impact handling based on what trail geometry your bike has.

Real World Example

In prep for my last adventure, I wanted drop bars due to the length and time I would be in the saddle.  The Oregon Outback, at 360 miles and mostly dirt roads, would be an endurance test.  I wanted the most hand positions possible, and had done long rides in drops with plenty of comfort.  I used 44cm Noodles on my mid/high trail Hunqapillar with the thought that they would add a bit of leverage, but be very close to my “perfect” rando bar, the 42cm Noodle.

Reality was a bit different.  While I was plenty comfortable with the bars, and had no hand numbness or pain, there were several times where I wished for more leverage.  The amount of weight I had on the bike made these bars too narrow for the dirt trails.  I had to put a lot more effort into keeping the bike tracking at low speeds and up hills.  This was less noticeable when I was on nicely paved sections, but the dirt roads added difficulty.

On the fast downhills, the gyro effect tended to add to the effort required to steer.  I was hit by an incredible wind gust at the very bottom of a 30+mph descent near the end of the ride, and I barely escaped launching off the side of the dirt road.  If I hadn’t been near the middle of the road, it would have been grim – the bike tracked me all the way to the far edge before I got enough muscle into keeping on the road.

Lesson – I’m putting a wider bar on this bike.  Likely either the new Choco bars from Rivendell, or the Albatross/stache bars I’ve used in the past.  A nice Jones H-bar would be great, as well, providing even more leverage and plenty of hand positions.

BH-88.jpg

44cm – a bit too narrow

BH-9.jpg

55cm – just right

Posted by Stonehog | Filed under Cycling, Enduro Offroad, Northwest, Randonneuring

≈ 3 Comments

Image

Soft Shoes on the Hardpack

05 Saturday Dec 2015

Tags

bikepacking, cruzer, offroad, Oregon Outback, sneaker pedals, sneakers, vp-001


Cruzer

Evolv


One of the biggest dilemmas for me this year was the choice of shoes/pedals for the  Oregon Outback.  I have had great luck with clip-less  pedals and Sidi cycling shoes, so going with flats felt like a big risk.  I knew that we wouldn’t go more than 100 miles in any one day, but we would be doing it for 4-6 days straight.

On the other hand, I didn’t relish the thought of running around in cleats on rough ground for the better part of a week.  They add a certain amount discomfort: slippery footing in some situations, and “duck walking” on the ground.  They also introduce unnecessary complexity and technical failure risk if a cleat gets damaged, or a shoe gets lost.

On flat pedals, at least I could comfortably use sandals or bare feet (in a pinch).

I rode on flats for the most part all winter and spring before the ride, with a max distance of about 50 miles.  No problems. I have had occasional knee pain that has developed in the past over longer miles, but I was not as worried about it in this case.  Both my clip-less setup (SpeedPlay Frogs, Sidi Spider SRS) and flats give my knees plenty of float.  I seem to have had the most pain on a relatively locked in SPD setup.

Long story short – flat pedals were great, thin approach shoes were comfy as hell.

About the setup I used:

  • VP VP-001 “Thin Gripster” pedals
  • Evolv Cruzer “approach” shoes

Pedals: Watch your shins on these pedals – they are grabby and have sharp edges, but after a few nicks, you figure out how to stay away from them.  They lock your foot in really well – there were quite a few “holy crap” bumpy, loose, fast downhills we had to traverse, and I never lost my foot on the pedal – something that has happened to me on other pedal/shoe combos, and scary when you are rocketing downhill on single track or loose fire roads.  These guys just work, and have a large platform to find purchase on.

Shoes:  I’ve got 3 pairs of these – they are the most comfy shoes out-of-the-box I’ve yet encountered.  They are a minimalist approach shoe, but are runnable.  They wear well – I still use all three pairs, and two pairs have gone on several off-road adventures.  Oh yeah – they are fairly inexpensive, too…

I also used some Echo sandals for part of the day when we were in the hotter, more exposed sections of the trail, but I mainly went this route because I had gotten the Cruzers wet, and wanted to dry them out on the back of my bag.  This is an added benefit of flats – spare footwear just works.

After several days on the dusty trails, my feet felt great – no pains or aches, and my knees were fine for the distance.  I hope other folks try out this sort of combo – the cycling community still really pushes clip-less combos for “comfort”.  While some may need an extra stiff sole, I think this may have evolved due to the tiny surface area on most clip-less pedals.  Try some big, flat pedals – you may be surprised…

That’s it for now.  Let me know if you have found similar flat pedal/shoe combos you like.

jbt-2014-01-08-9

VP 001 Pedal

Posted by Stonehog | Filed under Cycling, Enduro Offroad

≈ 8 Comments

Image

First Prep Ride

05 Sunday Apr 2015

Tags

bikes, Gravel Touring, Oregon Outback, Rivendell Hunqapillar, Schwalbe Thunder Burt, Surly Troll, Whidbey Island


I’ve been planning to do the Oregon Outback ride this year with a friend, and yesterday was our first trial ride with our camp bikes.  We did the 26-mile mostly paved ride I had done on my rando bike a few weeks ago.  There is a short stretch of gravel, so it allowed us a bit of feel for the twisty dirt roads, but this was mainly an equipment shakedown.

Testing the OO setups

We loaded up his Troll and my Mammoth with some bulk, but not a full level of kit. I had the hammock, sleeping bag, and stove, and John had a front bag, frame bag, and a full Ortlieb dry bag. All in, my bike was probably 10+ lbs heavier than my last ride on this loop.

John's Troll

Observations:

  • The Thunder Burts are nice pavement tires – minimal buzz, and great float, and the tubeless setup is holding air nicely
  • I will likely need to put my rear rack back on to support the bag – it rests on the fender, and there will be more weight out back when I add food, clothes, etc…
  • I’m going to put a triple on the front for the extreme climbs with weight – the 48/34 compact double is good, but I want more granny
  • John is checking his chain rings – threw the chain a few times
  • Flat pedals rock
  • Ready to tape the bars – they felt fine on the ride
  • Both bikes had a bit of shimmy at ~20mph – attributed to more weight high up in the back – we should be able to sort it by adding weight in the front, and lower down
  • Our speed was not too different then my solo ride of the reverse loop;  12.3 mph ave vs. 13.7 mph ave – only took an additional 12 mins over the course of 2 hrs
  • The bikes are plenty comfortable
  • I can’t wait for this trip!


stonehog-2.jpg

stonehog-1.jpg

Posted by Stonehog | Filed under Cycling, Enduro Offroad, Northwest, Randonneuring

≈ 2 Comments

Top Posts & Pages

  • Commuting Balance
    Commuting Balance
  • New fenders, old bike
    New fenders, old bike
  • Gorge(ous) Rides
    Gorge(ous) Rides
  • A. Homer Hilsen 7-year Review
    A. Homer Hilsen 7-year Review
  • The Little Things...
    The Little Things...
  • Backup Bike
    Backup Bike
  • Trillium Forest
    Trillium Forest
  • Winter Hills
    Winter Hills

Flickr Photos

BH-19.jpgBH-18.jpgBH-17.jpgBH-16.jpgBH-15.jpgBH-14.jpgBH-13.jpgBH-12.jpgBH-11.jpgBH-10.jpg
More Photos

Archive

  • August 2020 (1)
  • March 2018 (1)
  • January 2018 (1)
  • July 2017 (1)
  • June 2017 (1)
  • May 2017 (1)
  • February 2017 (1)
  • December 2016 (1)
  • November 2016 (1)
  • August 2016 (2)
  • March 2016 (1)
  • January 2016 (6)
  • December 2015 (2)
  • November 2015 (1)
  • June 2015 (5)
  • May 2015 (1)
  • April 2015 (1)
  • March 2015 (2)
  • January 2015 (2)
  • December 2014 (2)
  • November 2014 (2)
  • October 2014 (2)
  • September 2014 (2)
  • August 2014 (1)
  • July 2014 (1)
  • June 2014 (1)
  • May 2014 (2)
  • April 2014 (5)
  • March 2014 (4)
  • February 2014 (4)
  • January 2014 (6)
  • December 2013 (1)
  • November 2013 (2)
  • October 2013 (2)
  • September 2013 (1)
  • August 2013 (1)
  • July 2013 (2)
  • May 2013 (6)
  • April 2013 (1)
  • March 2013 (6)
  • February 2013 (2)
  • January 2013 (7)
  • December 2012 (5)
  • November 2012 (2)
  • October 2012 (2)
  • September 2012 (3)
  • August 2012 (3)
  • July 2012 (1)
  • June 2012 (4)
  • May 2012 (7)
  • April 2012 (1)
  • March 2012 (1)
  • February 2012 (4)
  • January 2012 (5)
  • December 2011 (6)
  • November 2011 (4)
  • June 2011 (2)
  • May 2011 (4)
  • March 2011 (2)
  • February 2011 (4)

Enter your email address to follow this blog and receive notifications of new posts by email.

Join 95 other followers
Follow Cycle Seattle on WordPress.com

Blog at WordPress.com.

  • Follow Following
    • Cycle Seattle
    • Join 95 other followers
    • Already have a WordPress.com account? Log in now.
    • Cycle Seattle
    • Customize
    • Follow Following
    • Sign up
    • Log in
    • Report this content
    • View site in Reader
    • Manage subscriptions
    • Collapse this bar
 

Loading Comments...