• About Me

Cycle Seattle

~ Posts on bikes

Cycle Seattle

Tag Archives: rivendell

Image

Trail Riding

06 Wednesday Jan 2016

Tags

a. homer hilsen, bicycle, bike, commute, Cycles Toussaint, cycling, front bag, low-trail, randonneur, rivendell, Seattle, Velo Routier


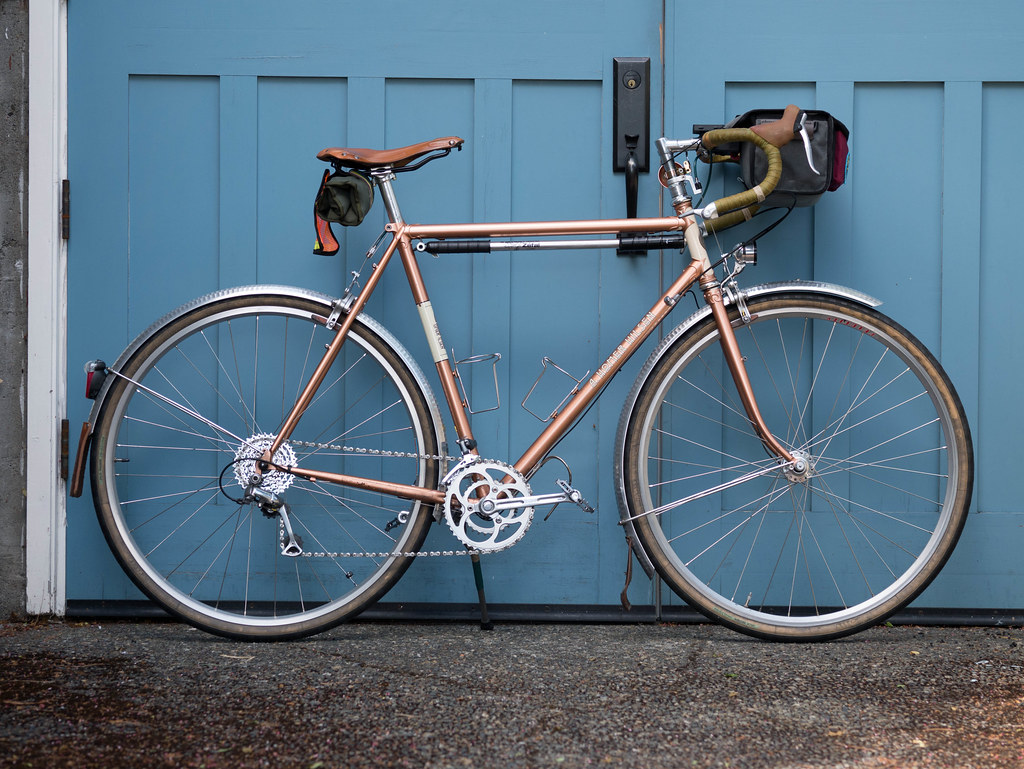
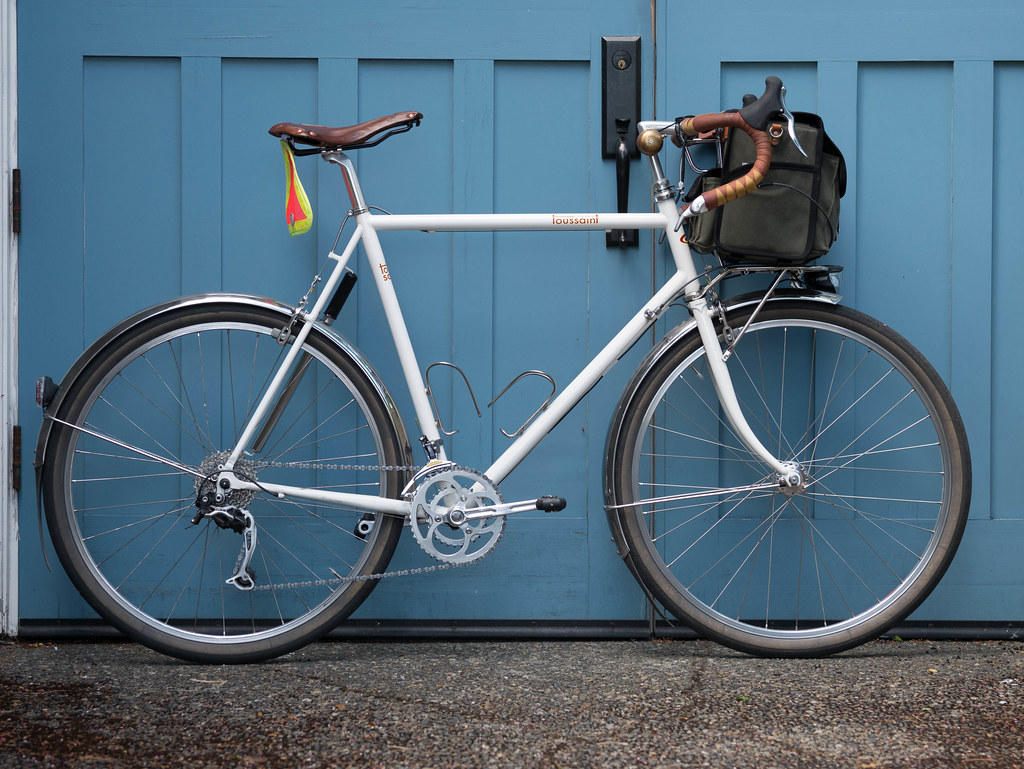
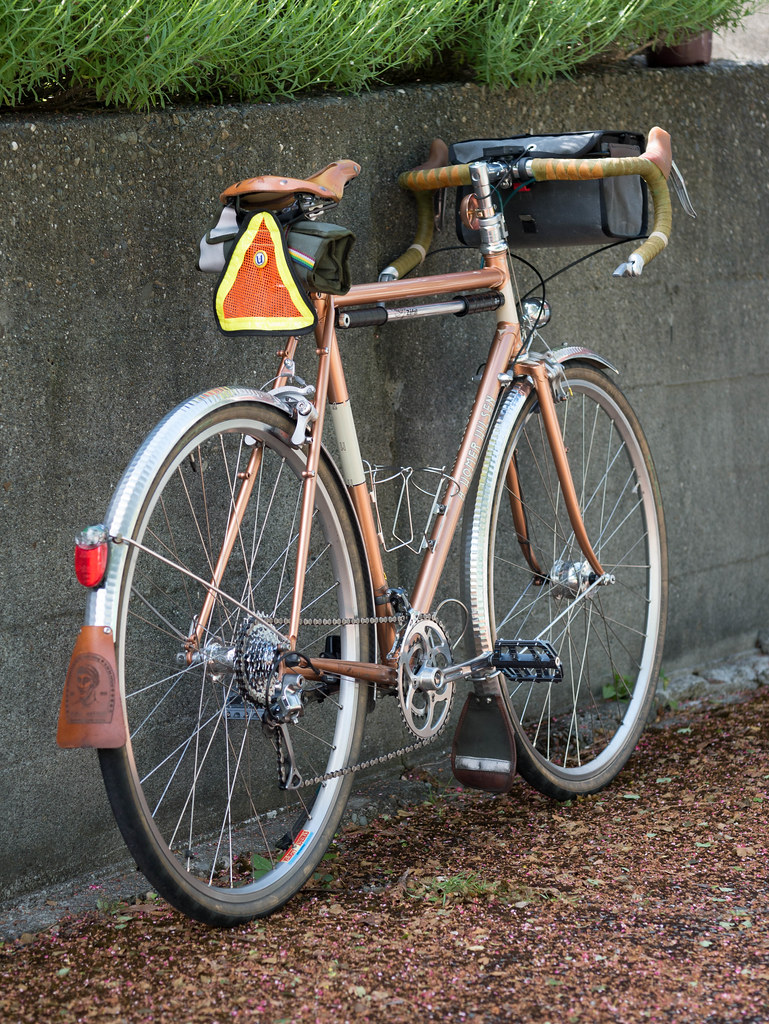
I want to go into a bit more detail on what I’ve found in experimenting with a more traditional low-trail bike like the Vélo Routier, and compare it to the mid trail Rivendell A. Homer Hilsen from my last post.  I have these bikes set up nearly the same.  Both use 42cm Noodles, Compass cranks, and VP pedals (not shown), and Selle Anatomica Titanico saddles.
BH-5.jpg BH-8.jpg

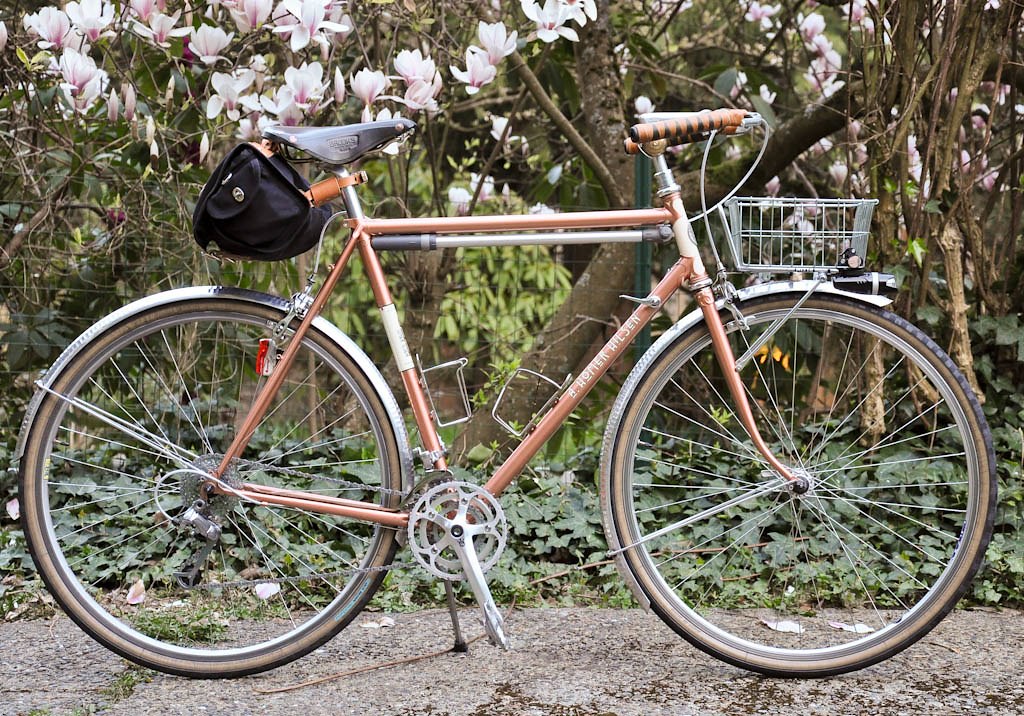
As the side view shows, the main difference is the fork rake and head tube and seat tube angles giving the bikes a slightly different geometry.  The Toussaint has slightly steeper angles, and more rake giving it trail around 30mm, whereas the Hilsen is more relaxed with trail around 55-60mm.  Yes, the Vélo is 650b and the Hilsen is 700c, but both bikes use light, supple Compass tires (tubeless even).  The tire volume has a definite impact on the ride, but it doesn’t really relate to how the trail aspect affects the feel of the bike, at least not in the detail I’ll get into here.

Steering Curves

You can definitely tell the difference in the feel that the geometry creates when doing tight turns on the bike.

I’ll start with a spot in my commute that “pushes” technique a bit. There is a railroad crossing on my daily ride where I perform a fairly tight “S” turn that has fences on either side to keep me honest.  The Hilsen requires more thought and body lean.  The Vélo Routier requires less body, and steers the curves easier.  This is the case no matter the load on the bikes for the most part.

On the other hand, when I put the Hilsen into a curve, it tracks it.  When I put the Vélo Routier in, it will still respond to inputs.  This can be good or bad.  I would say that on the Routier, I have to stay on top of steering all the time, whereas on the Hilsen, I have to be a little more planned up front, but when committed, it requires less concentration from me.

Front Weighted Loads

The Routier is much less concerned if there is weight in the front.  The bike doesn’t wag from side to side (wheel flop) when there is significant load, and when I park it with the front bag, it doesn’t sway over to the side.  The times I’ve actually found this to be nice is when I’m parking the bike, and when I’m carrying a 10+ pound load (which is actually very rare for me).

My typical rando load is probably at most 5 pounds in my front bag with a layer, extra gloves, and food. This is easily handled with little problem on the Hilsen when similarly front bag equipped.

Tracking

The Hilsen always wants to go straight at speed – there is more gyro stabilization effect with this geometry.  This helps when you want to be minimal in steering input.  Examples: curves, laziness, riding no-handed.  The Routier goes where your hands move it to.  This isn’t great if you are tired or distracted.  I’ve had a few more close calls on the Routier nearly going on a temporary off-road excursion.  This has been at normal riding pace: 12-17 mph.  I really noticed this “ultra responsive” steering at the end of a 300k when I was tired, and couldn’t seem to keep the bike going in a straight line without undue effort.  I remember thinking to myself that the low trail was supposed to be “easier”, but in this case, under fatigue, it was actually the opposite.  This is also a complaint generally fielded against higher trail bikes – that they tend to wander when climbing at slow speeds.

I’ve heard that wind gusts can really upset a higher trail bike, but I haven’t experienced that yet.  Gusts tend to bother me on either bike, but not uncontrollably so.

UPDATE: a comment left by a reader asked about high speed descent handling between the bikes.  I have noticed very little differences here – when moving at speeds over 20mph, both bikes feel stable.
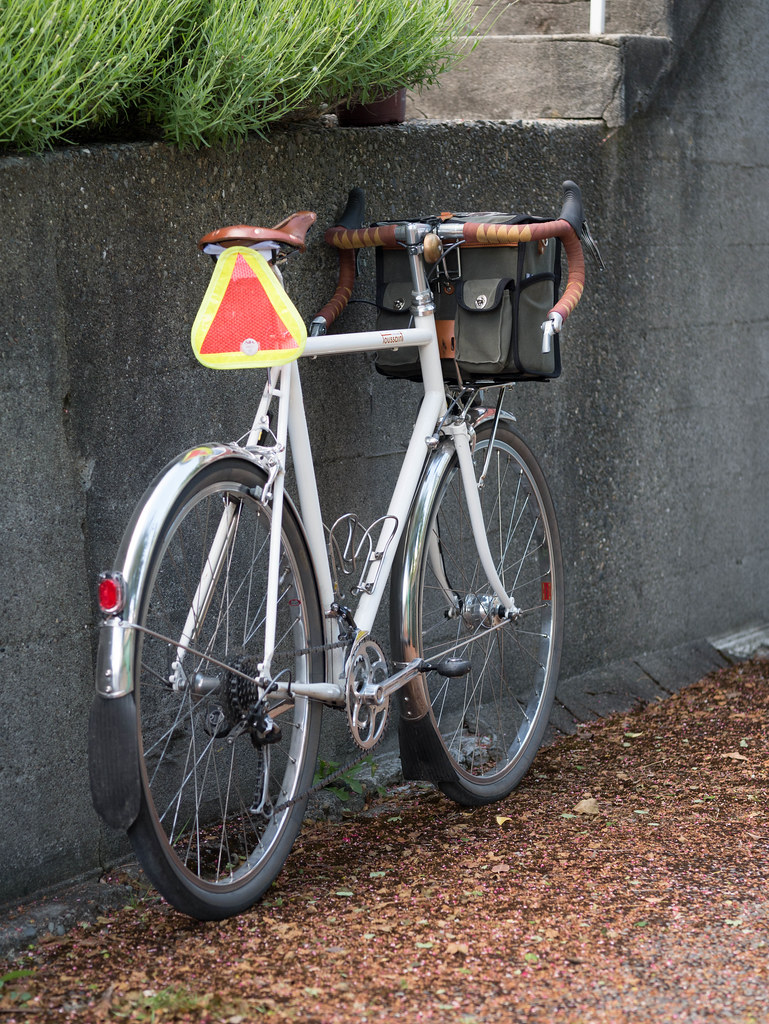
BH-2.jpg BH-7.jpg

Commuting

I find no real difference other than the amount of weight you want to carry. And, this only matters if you really want to carry a lot of weight in the front.  I tend to hate on rear rack and pannier combos as I don’t like the tail wagging the bike feel, and the dirt on the panniers from road spray. Front bags are awesome for keeping your stuff accessible and clean.  I don’t typically carry a lot of weight on my commute.  I keep heavy clothes in the office, and only occasionally bring an iPad or MacBook on the commute.  I will sometimes pick up beer, or other heavy items on the ride home, however, but either bike manages this for a few miles with no real problems.

Balance/CoG

Now here is something I’ve noticed more as I ride the Toussaint, and this is more obvious when I try to ride no-handed.  I feel like my center of gravity is higher on the low-trail bike.  It sort of feels like I’m sitting up higher and closer to the bars – more of an “on top” feeling rather than an “in the bike” feeling.  I would just attribute this to the sharper seat tube angle – not even something that necessarily contributes to the trail number, but is part of the geometry difference.

Summary

Different trails for different folks with different needs.  If you are a long-distance or endurance rider who carries a good load, is alert even after hours in the saddle (think 12+ hours), and you like to have a very precise feel for control on steering movements – go with a low trail ride.  If you are regularly carrying large loads, and want them to stay clean and dry, go low trail.  If you don’t mind carrying load in the back – it doesn’t really matter then.

If you like to ride long distances but want to be able to do lots of restful no-handed riding, and you like to zone out a bit more – go with a mid-trail bike.  If you are a commuter and want a bike that doesn’t flop over and pull the bike down when you have stuff in the front basket/bag, get a low trail bike.

If you like to ride big tires with fenders, or have bigger feet, and hate toe-overlap, you may find you will have less on a low-trail bike as the fork is raked out more.  Another consideration.

I find both of these bikes to be great brevet bikes.  They are also great commuters.  I would give the nod slightly to my Hilsen based on my riding style, preferences, and loaded weight characteristics.  Someday, I’ll have to “pull a Chen” and “get another Hilsen” that is modified to low trail and then do a test, but that sounds like a lot of work.  I’m moving out of my tweaking phase.  My real recommendation is to get two bikes, one low and one mid/high, and find out what you prefer.  Nobody can really just tell you – it helps to experience it yourself.
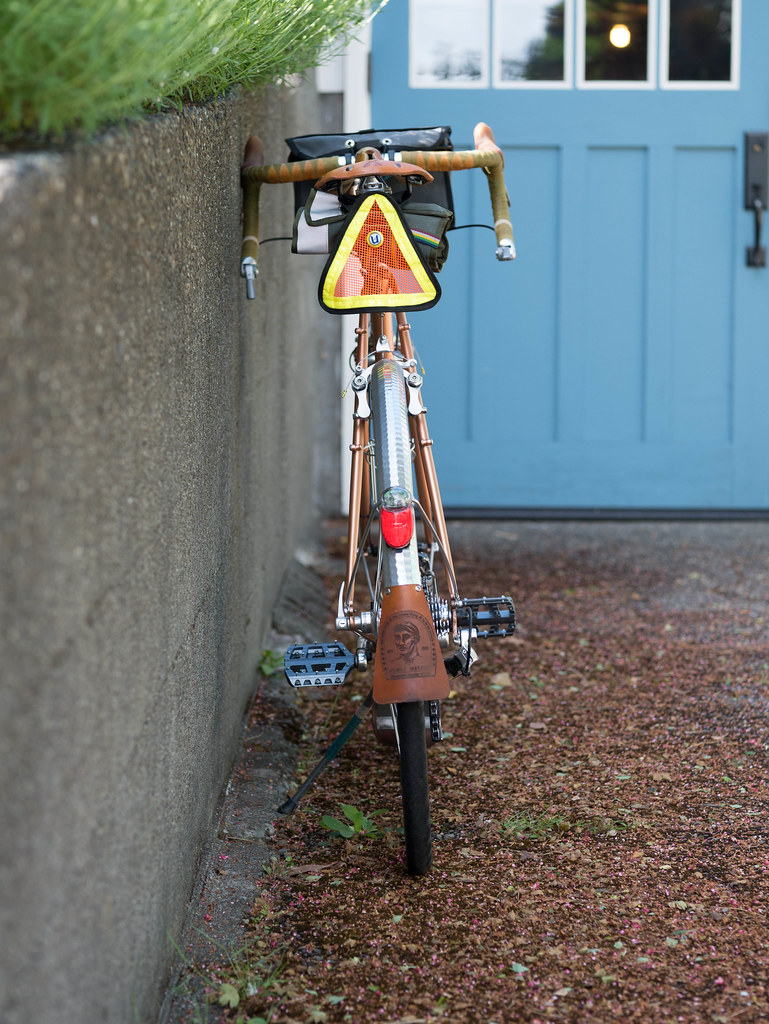
BH-4.jpg

Posted by Brian Hanson | Filed under Cycling, Randonneuring
≈ 10 Comments

Image

A. Homer Hilsen 7-year Review

04 Monday Jan 2016

Tags

a. homer hilsen, ahh, bike, commute, cycling, harlequin wrap, nitto, porteur, randonneur, rivendell, Seattle


My first real thoughtful bike purchase was the Rivendell A. Homer Hilsen.  Color – metallic copper – one of the web frame specials in 2009 shortly after I moved back to Seattle from a brief 18-month foray to my childhood home of Minnesota.  I had been commuting on a ’96 Kona AA that I was pretty much done with.  The aluminum frame never felt right – too stiff. I was ready for a real road bike after spending much of the prior 20 years on a mountain bike.

Hilsen-1

2nd Build – still a favorite

I did a lot of research, but after I found the Rivendell site, started reading Sheldon Brown and Grant Petersen’s opinions, and did some test rides on a local friend’s vast collection of Riv bikes, I was smitten.  I recall going to the Seattle Bike Show in 2008 and walking around forlorn, seeing nothing attractive.  At all.

At that point, I knew a couple things about myself:

  1. Steel felt right.  I grew up riding this material.  My Raleigh Reliant, and Stumpjumper Pro (’91) were my benchmark rides.
  2. I wasn’t planning to pick up racing.  I am a recreational and practical cyclist.
  3. Damn those lugged frames were pretty!  They really hit a “homer” in terms of where my aesthetic sensibilities were concerned.
  4. I wanted to build this bike myself from the frame up.

I started watching the Riv site and decided the copper Hilsen was the one.  It was a 59cm frame, and although I would probably fit up to a 61cm, this was as big as I wanted to commit to.

After a few months of collecting the parts and tools needed to put this together, I took it for the first ride and was amazed at the effortless speed compared to my mountain bikes. At about the same time, I had also stumbled on the  RBW owners bunch online community, which helped me navigate a first bike build, as well as sharing lots of good technical advice.

Here was a large community of like-minded folks generally oohing and aahing all the builds folks were doing.  This tight-knit community is one known for being a polite and caring group, and I’m happy to count many of the folks there as friends.

Untitled

Favorite Bike in Current Config

The Hilsen took me on my first 100k brevet, and then my 200k.  Then my 300k.  It helped me learn that I like the Selle Anatomica Titanico saddle best on anything over 100 miles.  It showed me that clipless pedals were not necessary anymore.

I briefly became caught up in the low-trail Jan Heine camp, and picked up another rando bike (the Toussaint), but after all these years, the one bike I still enjoy the most is the A. Homer Hilsen.  It is still as lovely as ever, and gaining beausage every year.  It still gets more comments on my daily commute, rain or shine.  After riding other bikes for several months, and then coming back to this one, it still feels “just right”.  The ride is smooth, predictable, natural.  I never feel like it has quirks, defects, or limitations that I’ve noticed on lesser bikes.

It has done brevets, snowy singletrack(!), loaded commutes, and just riding trips.  Handled ’em all with aplomb.  ’nuff said…

Posted by Brian Hanson | Filed under Cycling, Northwest, Randonneuring

≈ 15 Comments

Image

Front Derailleur Destructor

03 Sunday Jan 2016

Tags

a. homer hilsen, campagnolo, centaur CT, CX-70, derailleur, rivendell, Shimano


Blast from the past post…

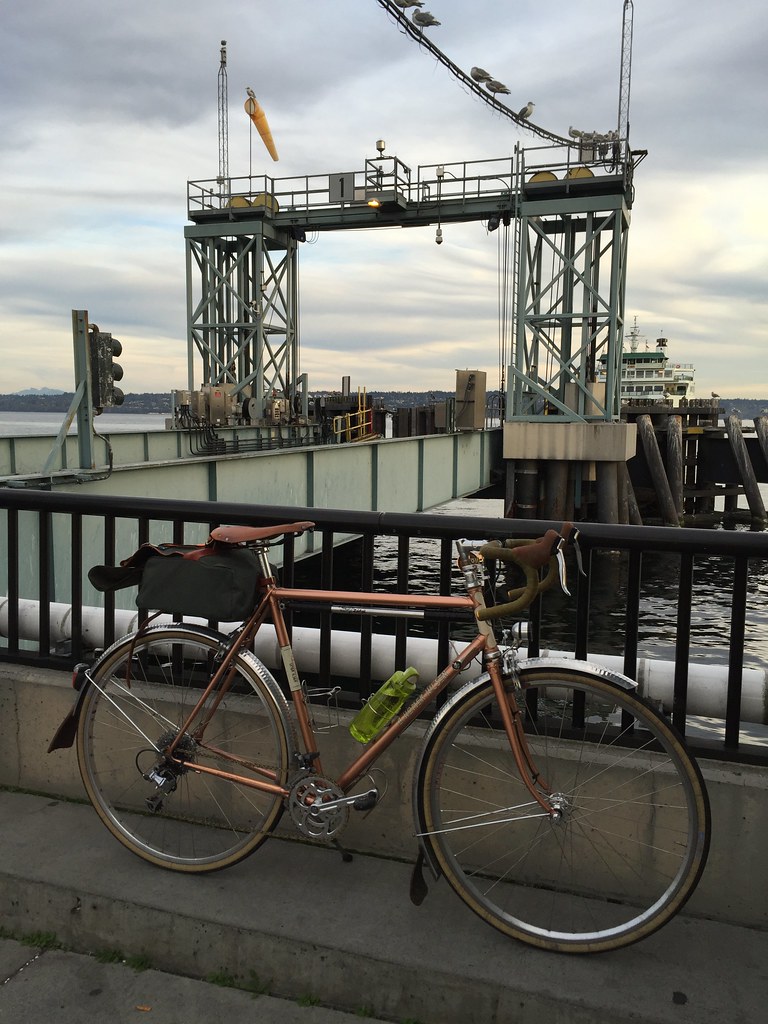
I’ve had two derailleurs on my Hilsen self destruct.  The first on a 300k keeping me in the big ring for the 2nd half of the ride.  The second on a commute home.  Different manufacturers, same bike and crank/chainrings.  Strangely, they both broke in August – exactly one year apart.  The other strange thing here, I have the exact same crankset on my Vélo Routier, and have never had an issue.  It uses an older derailleur – Suntour XC Pro, however.

I’ve gotten advice from “ignore it – probably just unlucky” to “need a stronger derailleur”.  Something is going on here.  I have always been careful to align the derailleur within 2-4mm of the outer chainring.  Perhaps this bike just needs a 1×10?  I’ve never had another bike destroy even one front derailleur, so I was suspicious of the following:

  1. Chainring 16 tooth spacing (44t – 28t) too great a jump
  2. Chainring thickness (chain seemed to stick to big chainring)
  3. Derailleur construction

On to the specifics:

The first one let go on a 300k brevet on August 4th, 2013.  It was a Shimano CX-70.  Luckily it happened after my big climb for the trip up to Artist’s Point on Mt. Baker.

BH-1.jpg

Popped on the outside

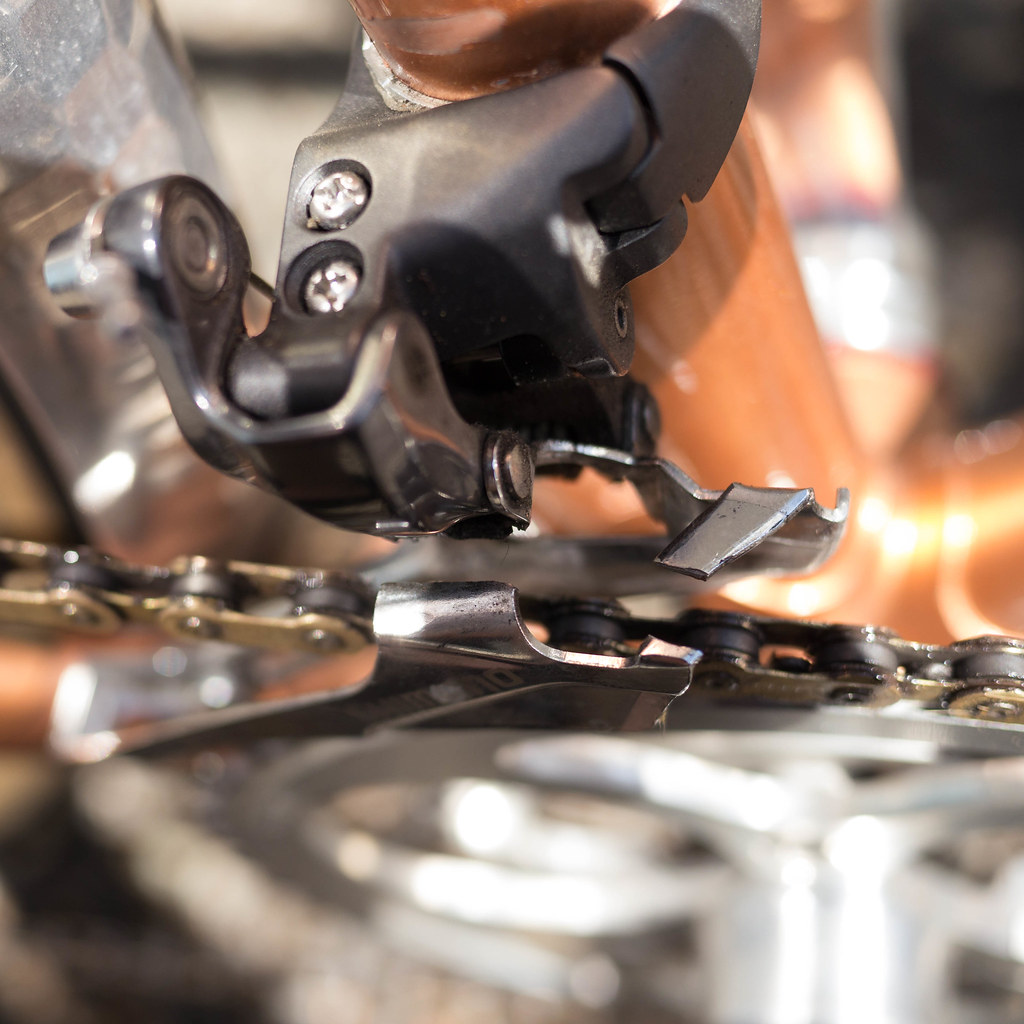
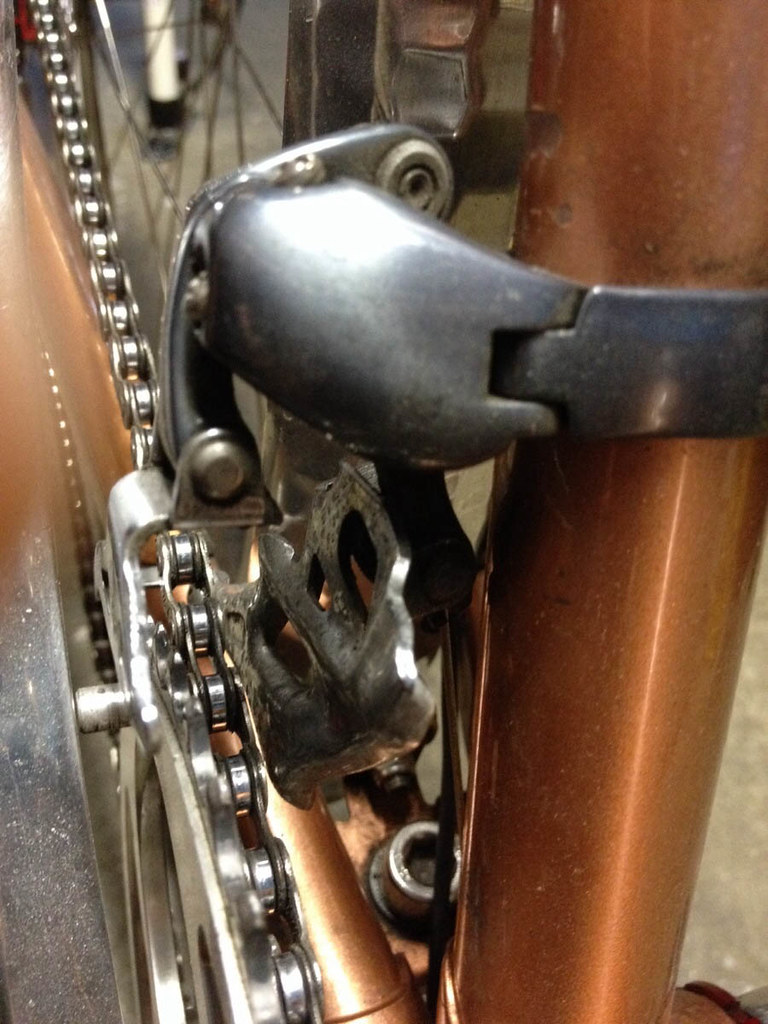
As you can see, the outer cage popped out at the top with a fairly clean break.  To be fair, I had several instances of chainsuck over the prior year that spread the derailleur apart.  To fix, I would just push the cage back into the normal shape after I re-railed the chain.  I assume it finally fatigued to the point of failure after the last chainsuck.

I then mounted a Campagnolo Centaur CT that had worked well on other bikes.  This lasted for approximately 1 year, but then self destructed in much the same way on August 12, 2014, breaking on the upper inside plate.

BH-1.jpg

Popped on the inside

At this point, it was clear that the shifting pressure was too much for these modern derailleurs.  I decided to swap the big ring from a 44t to a smaller 42t so the gap was not as great.  With an inner ring of 28t, I dropped the spread from 16t to 14t with the hope that it would not be as much distance to push, however, the problem always happened when dropping the chain from the large ring to the small.  I had an extra CX-70 that I put on this bike.  It came from the Hunqapillar, which had never mis-shifted or chain-sucked while it was mounted.

A year and a half later, and all is well.  No sign of problems with the new CX-70, and no further instances of chain-suck.  I have a feeling it was the large chainring causing the problems.  C’est la vie.  One of the more frustrating things about biking (and food/diet) is the sparse amount of useful information out there.  Anyone else had front derailleurs go boom on a road bike?

Ah, the simple days of not having to worry about shifts.  Tech will get us there again, soon.  Can’t wait for the variable ratio belt drive bike that you can control with your embedded chip.


Posted by Brian Hanson | Filed under Cycling, Randonneuring
≈ 2 Comments

Image

Oregon Outback 2015 – Day 1

07 Sunday Jun 2015

Tags

bike touring, gravel grinding, Gravel Touring, hammock, Hammock camping, Hunqapillar, OC&E rail trail, Oregon Outback, rivendell, Surly Troll, touring, western backroads


I have a lot of photos from a recent adventure, so I’m going to break up this post into riding days.  At the end, I’ll try to sum up several things that worked really well, and what it took to get ready for an offroad tour.  Onward!

I haven’t been as excited for a trip in years.  The Oregon Outback travels through a lot of area I’ve never seen.  For good reason – there aren’t many roads that bisect it.  I had an inkling of the terrain, but what it would really require or be like was still unknown.

With lingering doubts about knee pain, soft shoes with flat pedals, and lightweight tubeless tires, I set out for adventure. These sort of epic trips generally come with solid learning experiences.  The first one happened when we arrived at the train station in Seattle with nicely packed bike boxes, carrying our bike baggage.

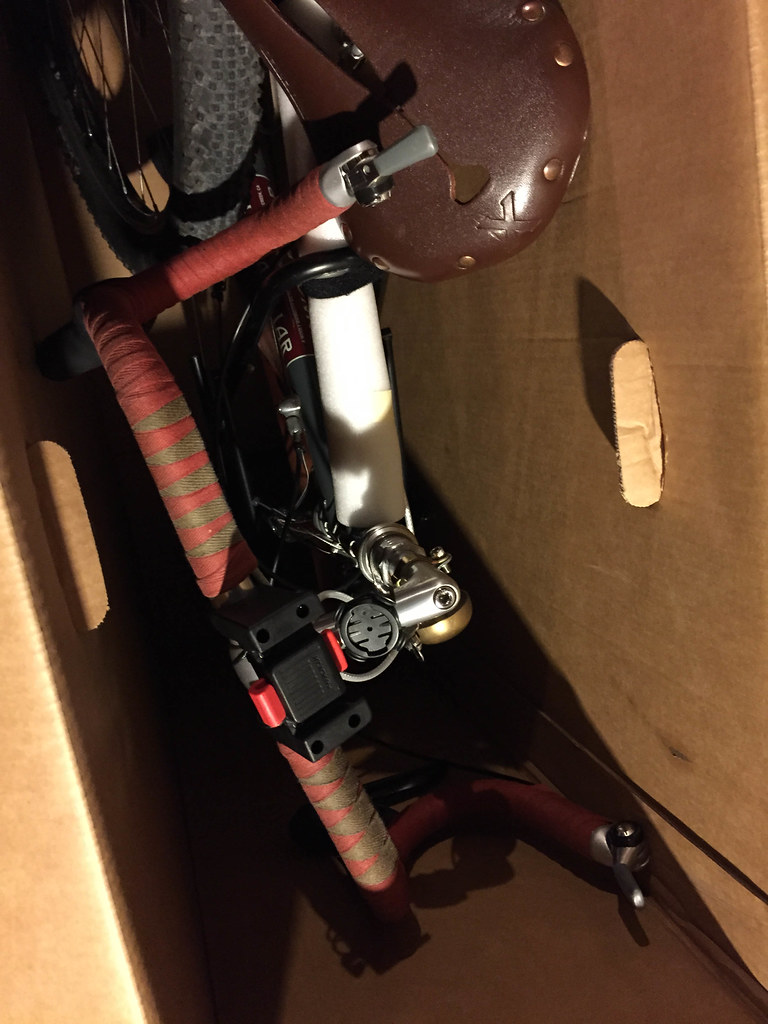
Boxed and ready

After we checked the bikes, we noticed there were four or five bikes that were being wheeled around the lobby with everything put together and be-bagged. Wow. I wanted to go back and un-check our boxes.  That would have saved us an hour up front packing the bikes.  Not to mention the re-build at the end of the journey…

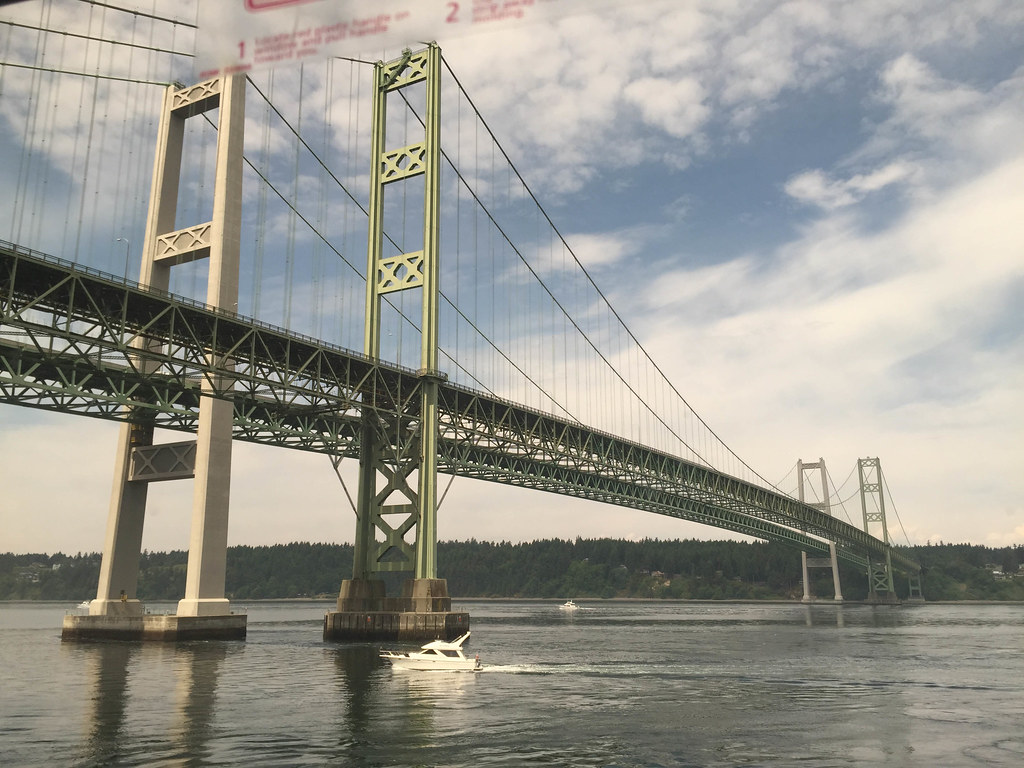
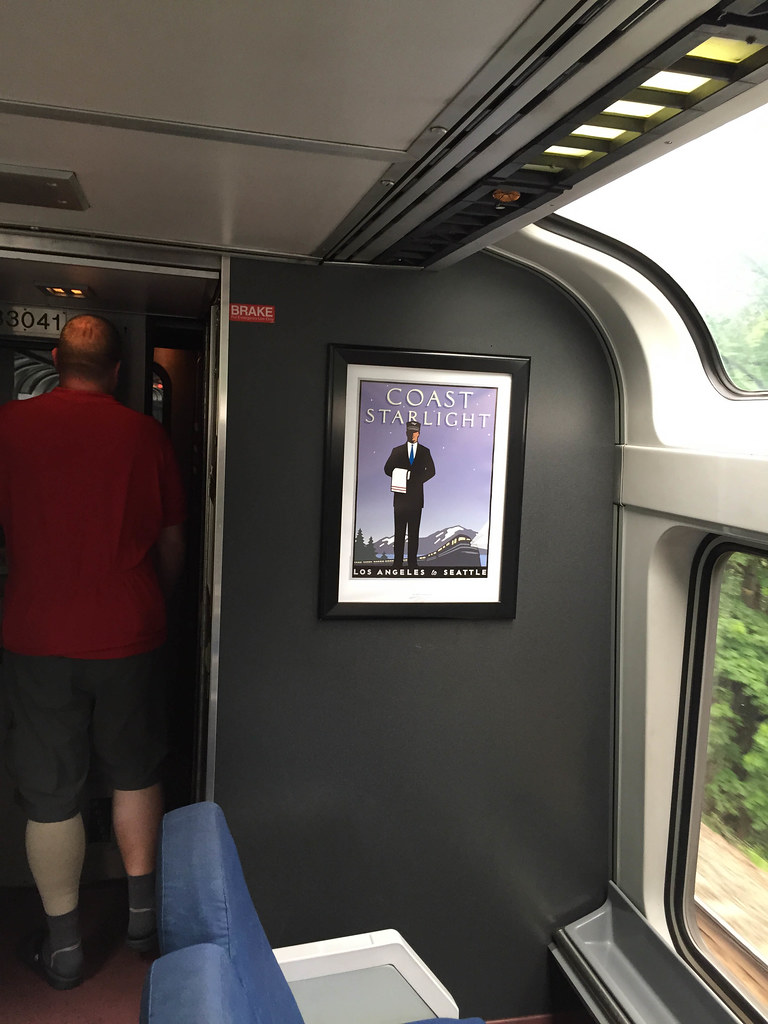
The train ride out of Seattle was nice, going mostly alongside the Puget Sound and the Columbia River before moving more inland at Portland.

Bridge view

The Coast Starlight!

When we reached Klamath Falls, OR, we waited as 100+ ready-to-go bikes were handed down to their owners to be immediately ridden away. After carefully putting on the front rack, bags, and straightening the bars and stem in the dark railroad yard at 10pm, we rode over to the Olympic Inn for a short rest before the 7am start.

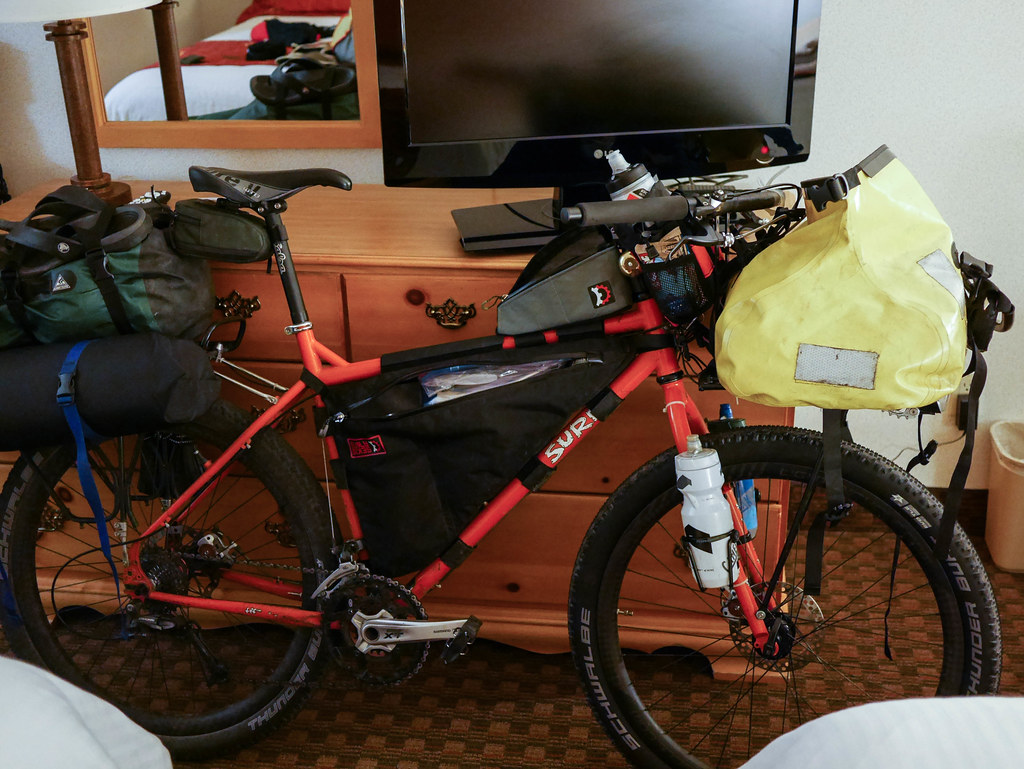
Pack’n

Surly Style

In the morning we double-checked our packing job, and then ate a good breakfast that included oatmeal, biscuits and gravy, and eggs.  At a bit after 7am, we were off.  The forecast was for rain and scattered thunderstorms.

Rain ahead

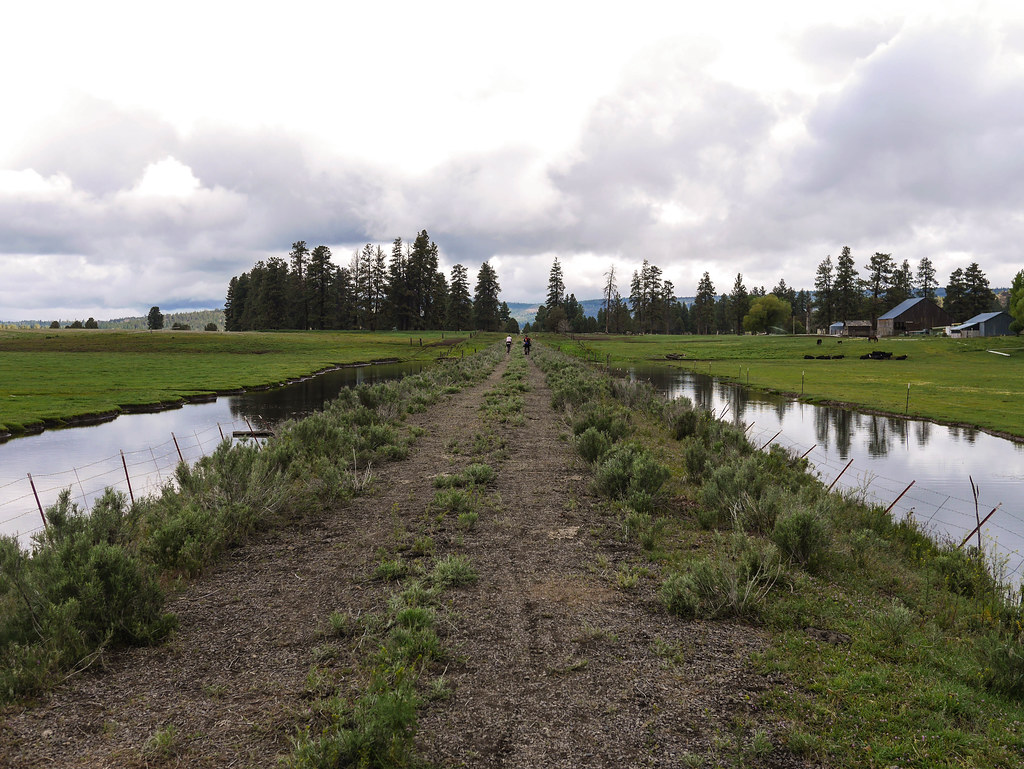
The OC&E is a great trail.  Nice and flat, but with a fair amount of cow deposits and cattle gates, the going was flat, messy, and interrupted.  At this point in the ride, we  were still seeing a fair amount of riders, but as the day wore on, we quickly spread out and found ourselves with lots of quiet time to think.

One of the many – open/close

At one of the 40+ cattle gates, I noticed my rear tire was losing air.  I stopped and pumped it up.  The hole was obvious, losing some of the sealant (Stan’s), but it didn’t seem too bad, so I spun the tire, put the hole at the bottom, and pumped it up again.  We rode on a few more gates, and it started holding air.  After bringing it back up to 40psi, I never had to gas it again.  Now that’s what I’m talkin’ bout!

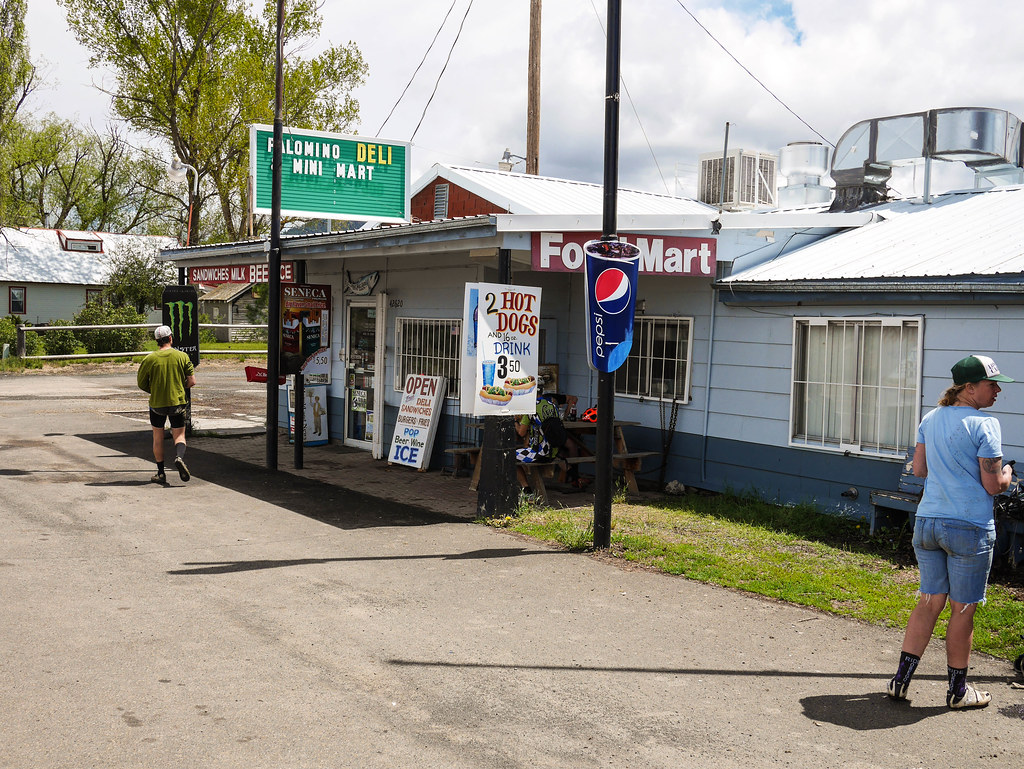
One of the food highlights of the first day during a rare warm sun break was a brief stop in Beatty, about a mile off the trail.  We had coconut helado ice bars.  I was looking for them at every stop for the rest of the trip.

Coconut Helado, I love thee!

The OC&E steadily turned more remote, and less groomed.  The trail was great, but more grass was on the trail as we got further north/east.  After a good climb up an old railway switchback, we stopped for the view and some water.  It was misting at this point.

Misty low pass

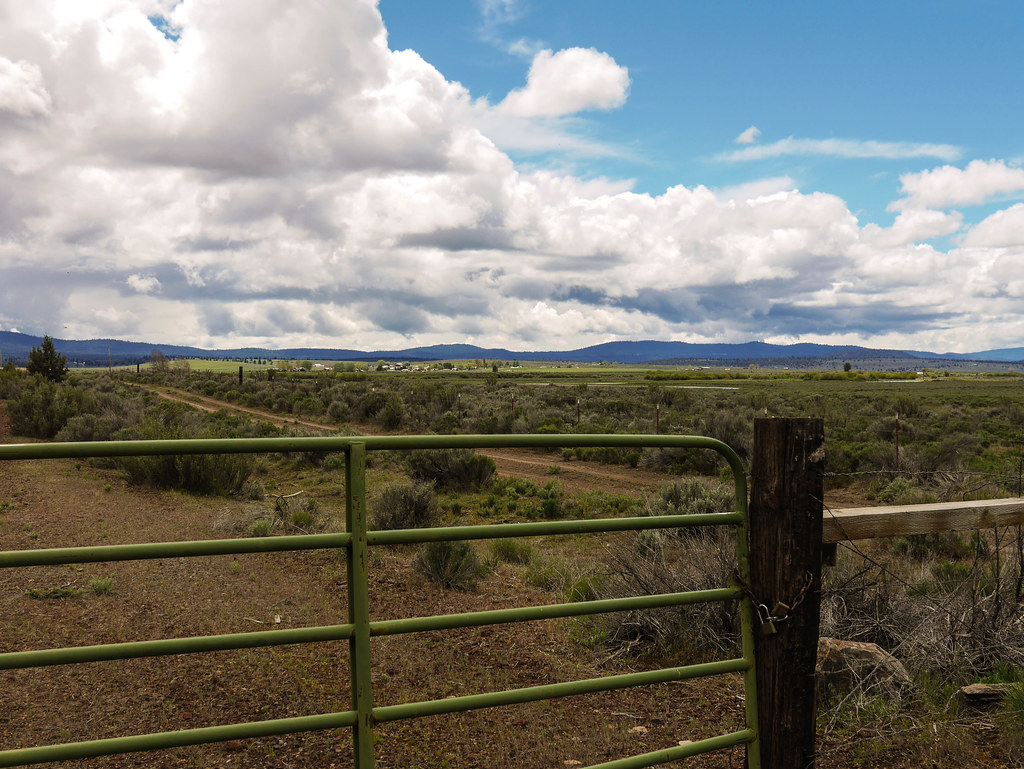
We were entering ranch country.  No towns were bigger than a few houses, and perhaps a post office.  It was never-ending ranch lands with few roads or access.  This is the real west!

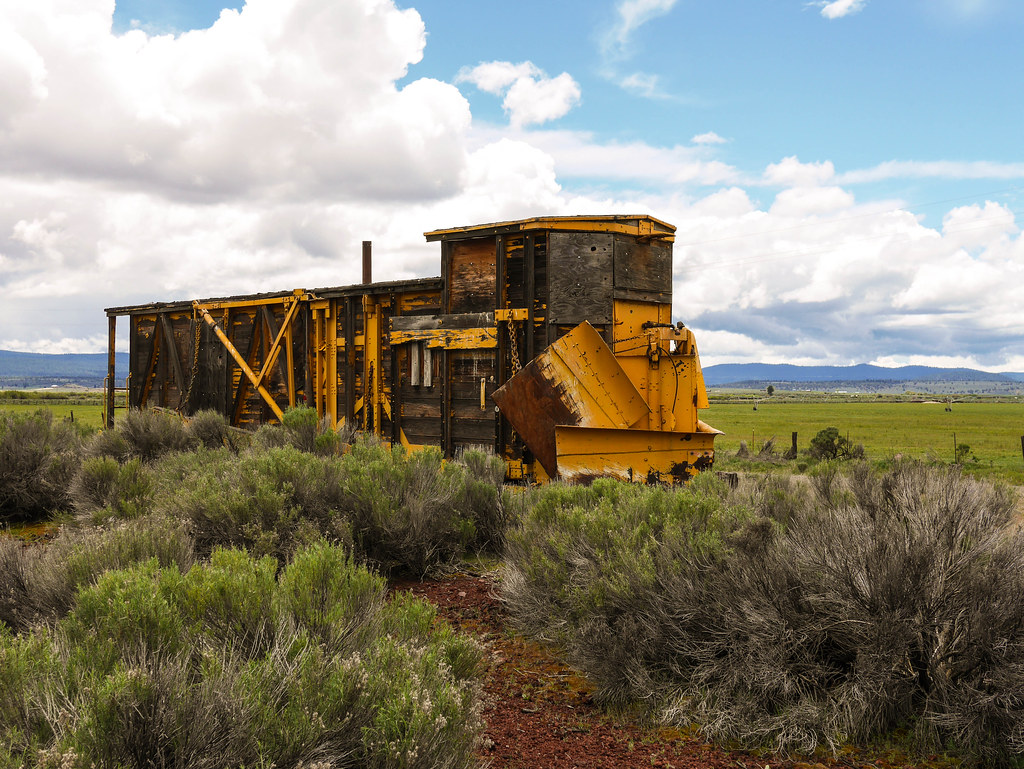
Relic

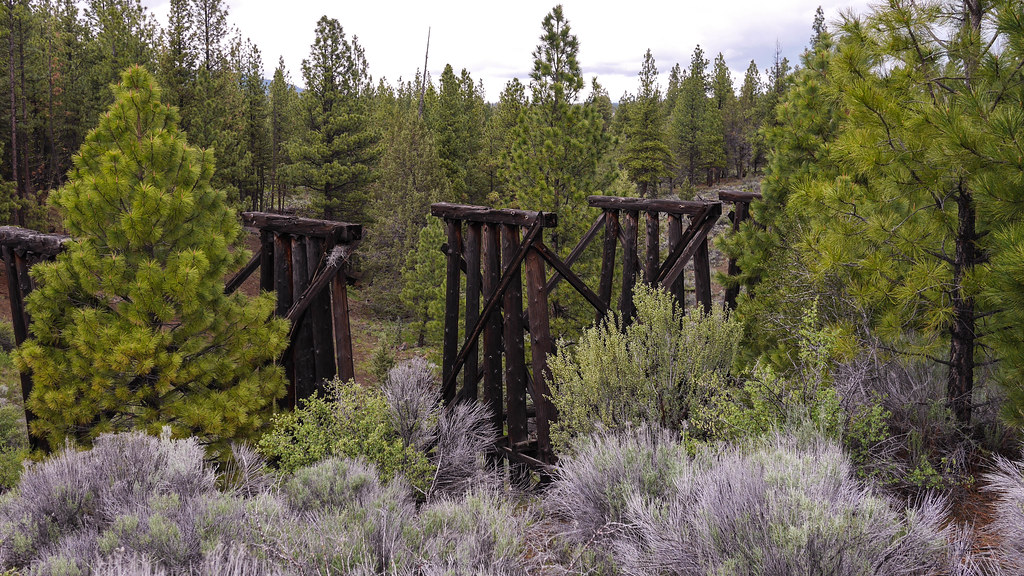
Lost tracks

We lasted about 7 hrs of moving time for about 72 miles.  We both felt pretty good and set up camp in between showers right where we were hopping off the trail.  There was a river nearby, so we knew we had water for the next part of the journey.

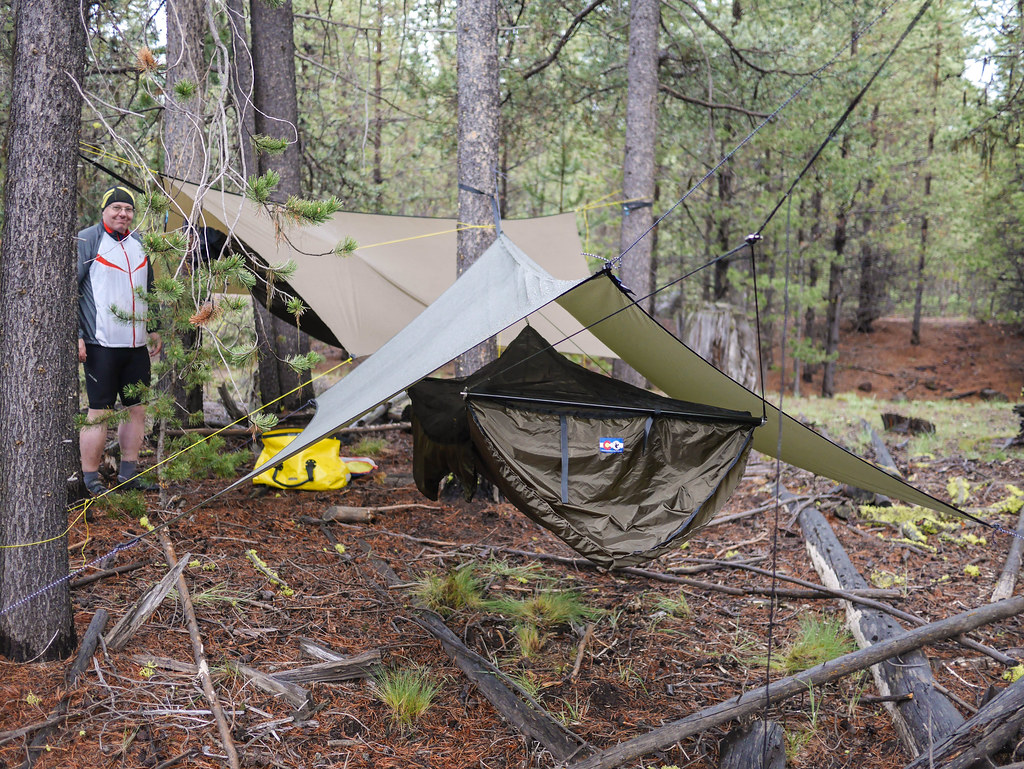
Up off the wet ground – Hammocks for the win!

John said it poured on us at 2am, but I heard nothing.  I never knew sleeping in the woods could be so comfortable.  To be continued…

Ride With GPS Route Info – Day 1

Posted by Brian Hanson | Filed under Cycling

≈ Leave a comment

Bike Camping

17 Sunday May 2015

Posted by Brian Hanson in Cycling, Northwest, Randonneuring

≈ 2 Comments

Tags

Bike Camping, bikepacking, camp lists, Hunqapillar, Oregon Outback, rivendell, whisky


Big trips have a way of creeping up on me.  I’m heading down to Klamath Falls, OR on Thursday for a week in the Oregon outback, and I felt the need to re-do my bike today (and buy a new lawn mower).  Is this trip nesting?

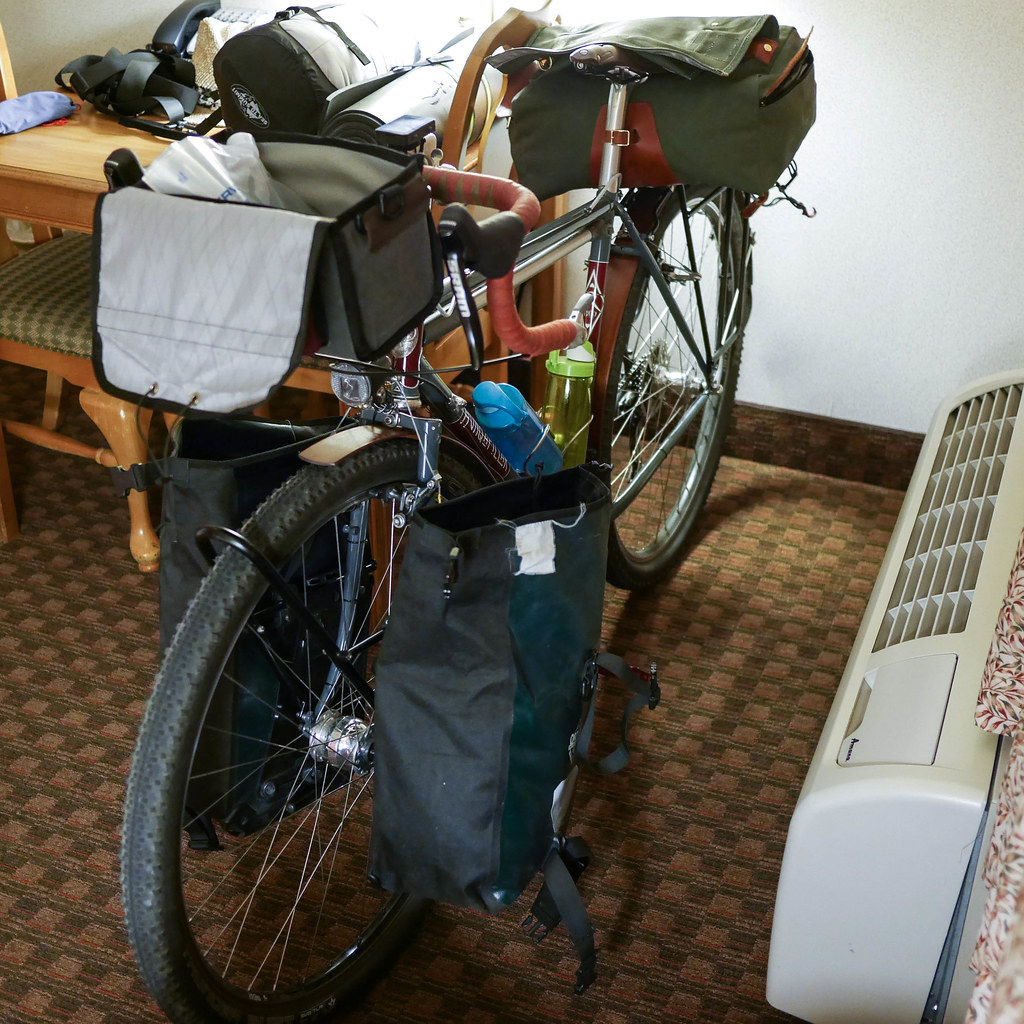
After modifications

I am borrowing a pair of panniers from a co-worker for the trip, but I still feel like I’ll be strapping a lot of extra stuff to the bike when I finally set out.  I have a bike box thanks to my touring partner, but I haven’t even started to pack up yet.  At this point, I’m going through my various camping lists from past trips, and trying to figure out what I may and may not need.

Camp List:

  • Hammock
  • Fly
  • Tarp (in case I have to bivy)
  • Headlamp
  • Knife
  • Cook Kit (Trangia stove and various pots)
  • Fuel
  • Matches/Lighter
  • Bug Spray
  • Sun Screen
  • Toilet Paper
  • Wipes
  • Soap
  • Towel
  • Water Filter (doubles as 4L water storage)

Bike Tools:

  • Tool kit (fixit sticks with 3,4,5,6,8mm, phillips, flat, assorted torx)
  • 3-way socket wrench with 8, 9, 10mm
  • 2 tubes
  • 1 spare tire
  • Patch kit
  • Levers, duct tape, zip ties
  • Rubber gloves
  • Master link
  • Brake/Derailleur cables
  • Loose nuts and bolts (5, 6mm)
  • Fibre spoke
  • Bike pump

Clothes:

  • Short-sleeve wool shirt (2)
  • Long-sleeve wool shirt (1)
  • Camp Pants – nylon (1)
  • Wool undies (2)
  • Wool socks (3)
  • Sandals
  • Evolv Cruzers (shoes)
  • Rain jacket
  • Hat
  • Hankerchiefs (2)

Miscellaneous weight:

  • Phone running RideWithGPS app
  • 2 spare rechargeable LiIon battery packs
  • Possible solar charger (if I can borrow it)
  • 2 water bottles
  • 1 whisky flask

As for food, we made a list based on each day and where we think we will be.  There are a few small towns where we hope to re-supply and perhaps even dine out, but will be carrying some minimal food in case we get lost.  I’m bringing a bunch of Perpetuem, since it seems to agree with me on the rando rides.  Light weight calories are a good backup.

Only a few days left to gather everything and make sure it fits in my bags.  I also have to pack the bike into the box and get everything taped up and secure.  I’m really starting to look forward to this trip!

← Older posts
Newer posts →

Flickr Photos

IMG_9402IMG_9403IMG_9404IMG_9401IMG_9400IMG_9398IMG_9399IMG_9397IMG_9395IMG_9396
More Photos

Archive

  • November 2026 (2)
  • October 2026 (1)
  • September 2026 (3)
  • August 2020 (1)
  • March 2018 (1)
  • January 2018 (1)
  • July 2017 (1)
  • June 2017 (1)
  • May 2017 (1)
  • February 2017 (1)
  • December 2016 (1)
  • November 2016 (1)
  • August 2016 (2)
  • March 2016 (1)
  • January 2016 (6)
  • December 2015 (2)
  • November 2015 (1)
  • June 2015 (5)
  • May 2015 (1)
  • April 2015 (1)
  • March 2015 (2)
  • January 2015 (2)
  • December 2014 (2)
  • November 2014 (2)
  • October 2014 (2)
  • September 2014 (2)
  • August 2014 (1)
  • July 2014 (1)
  • June 2014 (1)
  • May 2014 (2)
  • April 2014 (5)
  • March 2014 (4)
  • February 2014 (4)
  • January 2014 (6)
  • December 2013 (1)
  • November 2013 (2)
  • October 2013 (2)
  • September 2013 (1)
  • August 2013 (1)
  • July 2013 (2)
  • May 2013 (6)
  • April 2013 (1)
  • March 2013 (6)
  • February 2013 (2)
  • January 2013 (7)
  • December 2012 (5)
  • November 2012 (2)
  • October 2012 (2)
  • September 2012 (3)
  • August 2012 (3)
  • July 2012 (1)
  • June 2012 (4)
  • May 2012 (7)
  • April 2012 (1)
  • March 2012 (1)
  • February 2012 (4)
  • January 2012 (5)
  • December 2011 (6)
  • November 2011 (4)
  • June 2011 (2)
  • May 2011 (4)
  • March 2011 (2)
  • February 2011 (4)

Enter your email address to follow this blog and receive notifications of new posts by email.

Join 93 other subscribers

Blog at WordPress.com.

  • Subscribe Subscribed
    Cycle Seattle
    Join 93 other subscribers

    Have a WordPress.com account? Log in now.

  • Cycle Seattle
    View site in Reader
    Manage subscriptionsSign upLog in
    Report this content
    Collapse this bar