Camping With Bikes

Tags

, , , , , , , , , , , , , , , , , , , , , , , , , , , , , , , ,


Seattle vs. Portland Riv Rumblers

Last month, I met up with some fellow north-westerners for a couple mountain rides between Seattle and Portland.  The goal was a nice weekend with a potential shot at going over Babyshoe Pass early in the season.  If nothing else, we would see some snow and avoid the bugs that start swarming a bit later in the summer.  The 2-hour drive south reminded me why I live here.  Lots of wilderness very close to home.  I was driving to a rendezvous between 3 active volcanoes in the Cascades mountain range.  We would be closest to Mt. Adams with possible views from the ride, but Rainier and St. Helens were nearby, as well.  As I got close to Randle, WA, I lost all cell service – this was a signal that vacation time was ON!

North Fork Campground - Randle, WA

North Fork Campground – Randle, WA

We had reserved a group site at the North Fork Campground 12 miles out of Randle.  I arrived around the same time as Charlie (from Eatonville), and we started setting up in the reserved spot, but when the rest of the group showed up (Andy, Chris, and Aaron from Portland), we explored a few other sites, and chose one that was right next to the river.

Campin’ by the River

Not too many people were camping the weekend after Memorial Day.  With 4 tents and 1 hammock, we were spread out nicely.  Our camp could normally accommodate 20 tents!

Chris and Aaron’s Tents

The setting was beautiful Northwest – lush, green, and budding with spring.  Ferns, moss, and huge evergreens all around us.  It had rained quite a bit before the trip, but we were into a short spell of dry weather.

Full Camp?

After we set up camp, we set off on the first ride.  We chose FS 22 heading east, and it was a good immediate climb on gravel.
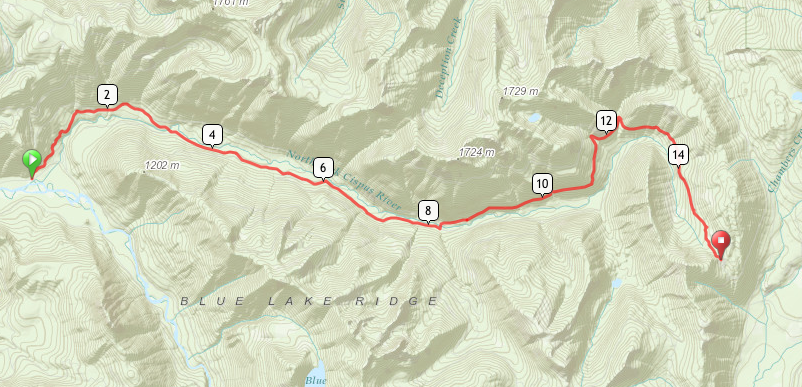
Day 1 Ride

We rode up leisurely as we all got to know each other.  A fair amount of time was spent off the bike taking in the scenery, and just geeking out on our setups. All but one bike was by Rivendell.  There were 2 A. Homer Hilsens ridden by Andy and Chris, a Hillborne ridden by Aaron, and Charlie’s lone Surly Long Haul Trucker.

Bikes of Day 1

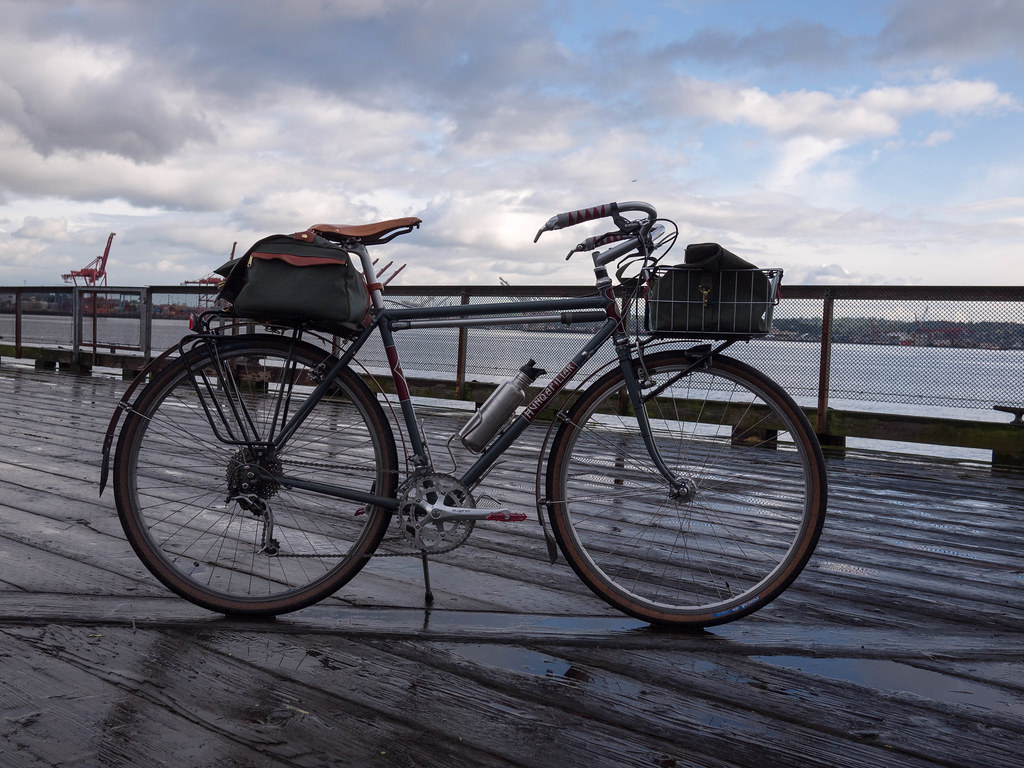
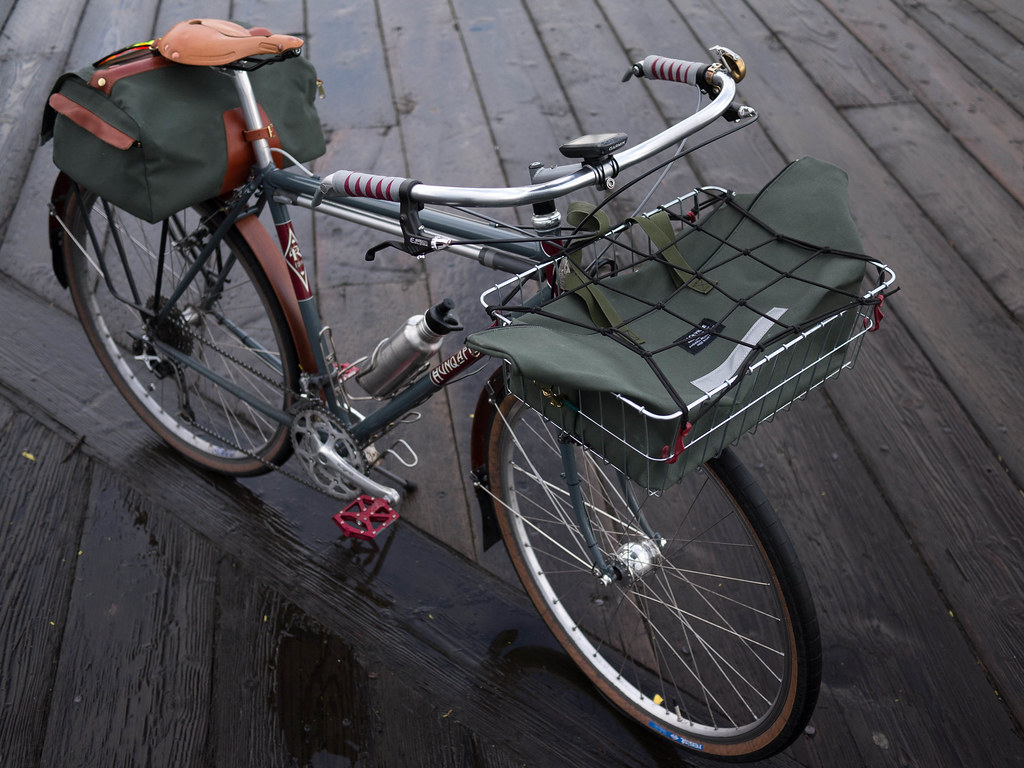
I took the Hunqapillar on this ride.  Since it was an unofficial “Rivendell ride”, I had both my A. Homer Hilsen, and the Hunqa packed.  I wanted to see how they both fared on the rougher mountain gravel roads.  I had changed out the Nomad tires for my 50mm Duremes with their more aggressive tread and larger volume.  We didn’t get into much nasty trail, but the couple areas of “rough stuff” we hit made me appreciate the mammoth bike’s capacity as a real mountain bike.  It rode nicely over everything I threw at it, and it brought back memories of my early ’90s rigid Stumpjumper Pro.  The Albatross bars and front V-Brakes proved to be great on the rough trail.

First Day’s Apex

We took a side trail up an overgrown trail to a nice meadow with a great view back down the valley we had just climbed.  We rested for a bit, and had a snack before making the quick descent down to camp.  On the way down, we took another side trail down to the river.  This one was an older, overgrown jeep track and made for some fun riding over roots and blow-down.

Trail Riding on Day 1

Singletrackin’

After the nice descent back to camp, the Portland crew set about making a superb dinner of pasta and white sauce with morels and a great salad, while I walked around soaking up the camping atmosphere and helping Andy get a fire started.  His chopping knife was a trip!  We used that and a hatchet to make up the kindling.  Some of the wood was a bit wet, so it was a smokey end to the day.

Woodsman

Portland Crew Dinner

After a late night around the fire, and a great sleep by the roaring river, I felt refreshed as ever.  I set about making breakfast and coffee for the campers, and got most of my stuff packed up for a quick getaway after our day-2 ride.

Chilaquiles, anyone?

Another healthy meal

Charlie had to get home, so we bid him well, and took our group photos.  Ready for the next adventure, we set off on FS 23 with a destination of getting close to Babyshoe Pass and some scenic views of Mt. Adams.  Today, it was the Hilsen’s turn at gravel.  This bike was set up with standard rando gear – trod with Gran Bois Cypres tires, and carrying 2 cameras, rain coat and food in a Boxy Rando bag.  We hit the mountains on 3 AHHs and a Sam Hilborne.

Joy Riding!

Today’s ride was a bit more ambitious.  If all went according to plan, we would double the distance and elevation of the prior day with around 40 miles and 5000 ft of climbing.

Wing formation

With a bit more shade, the day was perfection for a long ride.  Amazing views around every corner helped to keep everyone jazzed.  Destination snow or Babyshoe.  Most likely snow, but who could tell?

Destination? Who cares…

After a while the road turned to gravel, and we started climbing in earnest.  We finally hit snow within a mile of our destination at around 4300′ elevation.

End of the dry road

Andy noticed that there should be a fork within a quarter mile, and after a short committee decision where we invoked the “Manny Principle”*, we forged ahead to the adventure that awaited us all!  It ended up looking something like this:

Pushin’ on…

And this:

More pushin’…

Until we found a meadow, the fork, and paved road again.

Meadow

Fork

It was a short respite as we turned around heading NW on the north slope that didn’t seem to want to start declining too soon.  We ended up pushing/straddling our new snow bikes for a mile or so before we ended up back in the mostly snow-free but still very wet next phase of our ride.  During the snow phase, it was great fun to see how far you could bike in the tire tracks that had been lain some unknown time prior to our arrival.  Most of the time, you could sit on the saddle and paddle along with your feet on the raised snow, but if you pedaled, your feet sunk into the banks.  I had a successful ride through one of the snow fields, and my confidence was raised enough to try to ride the next one (larger and deeper unbeknown to me), so I got some speed up for the attempt.  As I started across it, things went sideways – my front tire started out riding up on the old tire tracks, but quickly sunk in.  Once that started, it was only a few seconds before it swallowed the wheel enough to catapult me over the bars in a spectacular (to the watching jays) endo, spilling me and my entire bag’s worth of food and camera gear into the snow.  Nothing hurt in a snow landing, and the bike checked out.  After a hasty re-packing and snow dusting, I was back on my way.

Snow cowboys!

After Andy’s toes had thoroughly gone numb in his sandals, the road finally turned back to gravel, but it was not much of a road at that.  This was definitely less-traveled with snow melt ruts, random sharp fist-sized stones, and lots of overgrowth to keep you busy.

Descending

Recalling the joys of descending on a mountain bike, I quickly rode far past my current bike tire’s capacity hitting speeds around 30mph, and suddenly felt my rear tire go limp.  Yes – a pinch flat will kill a descent faster than a broken regulator.

Testing the kit in the wild

After the break, we got back to the art of the fast mountain ride, and had a great time with over 5 miles of glorious downhill under-biking.  I had no idea a rando bike with skinny 31mm tires could handle terrain I usually ride on a front suspension MTB.  Still, the Hunqapillar may have been a better choice for day 2.  I had pushed, and perhaps found the limits of the AHH.  With no real harm done, at that.

It’s like skiing in the summer!

Back on the pavement, I appreciated the final minutes of the ride with new friends.  When we got back to camp, we all congratulated each other on an excellent adventure, and vowed to come back in years to come.  I am hoping that this was the first of many trips to the volcanoes.  With the beauty of the rides, and the amazing lack of population and drivers, it’s a treasure close to home.

Snow tires!

The path on Day 2

The path on Day 2

* Manny Principle – according to Smitty:

“Mere uncertainty and tardy-ness are not sufficient reasons to abandon an adventure. Unless danger is imminent, the adventure must move forward.”
More Diamonds on an Albatross

Tags

, , , ,


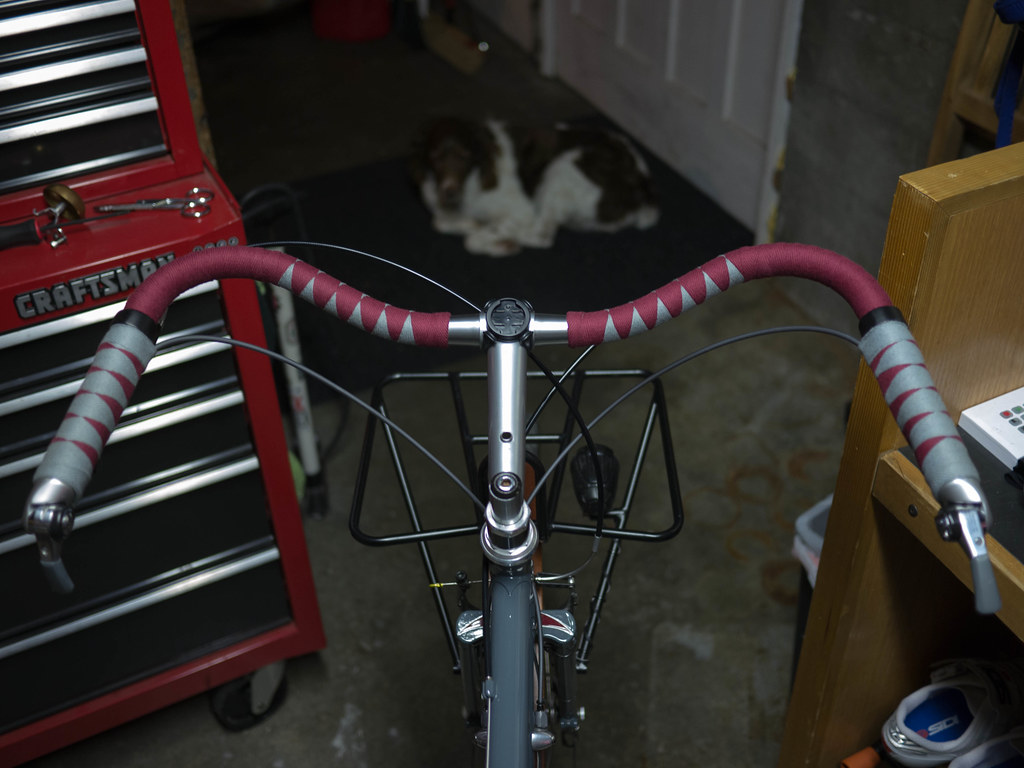
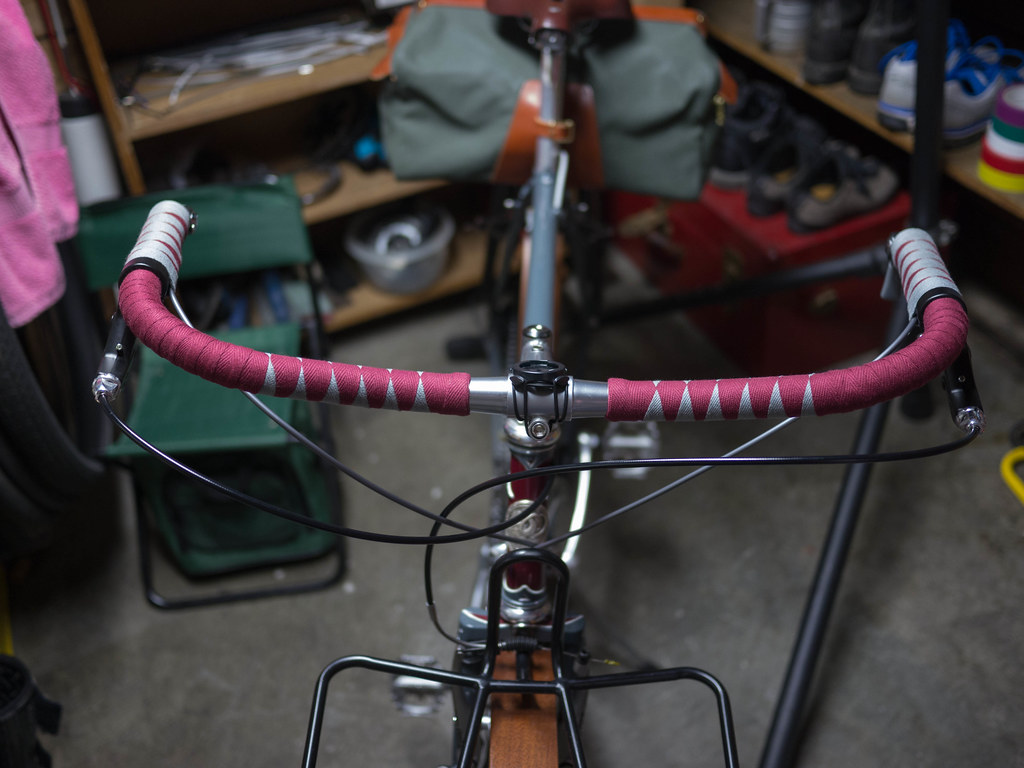
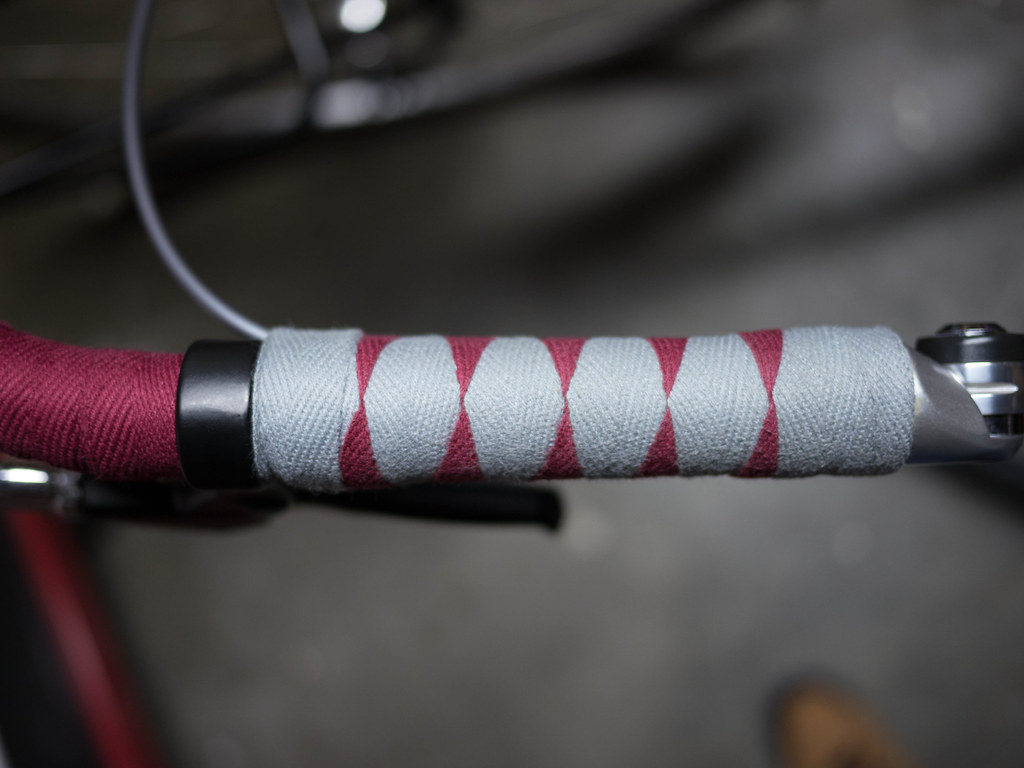
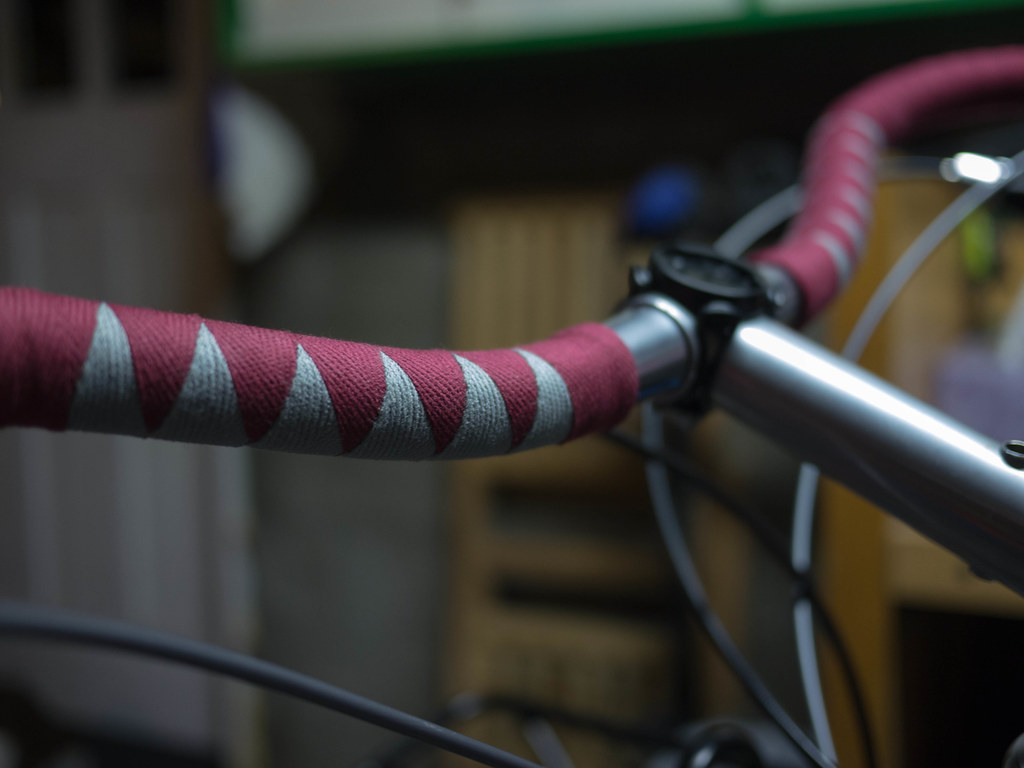
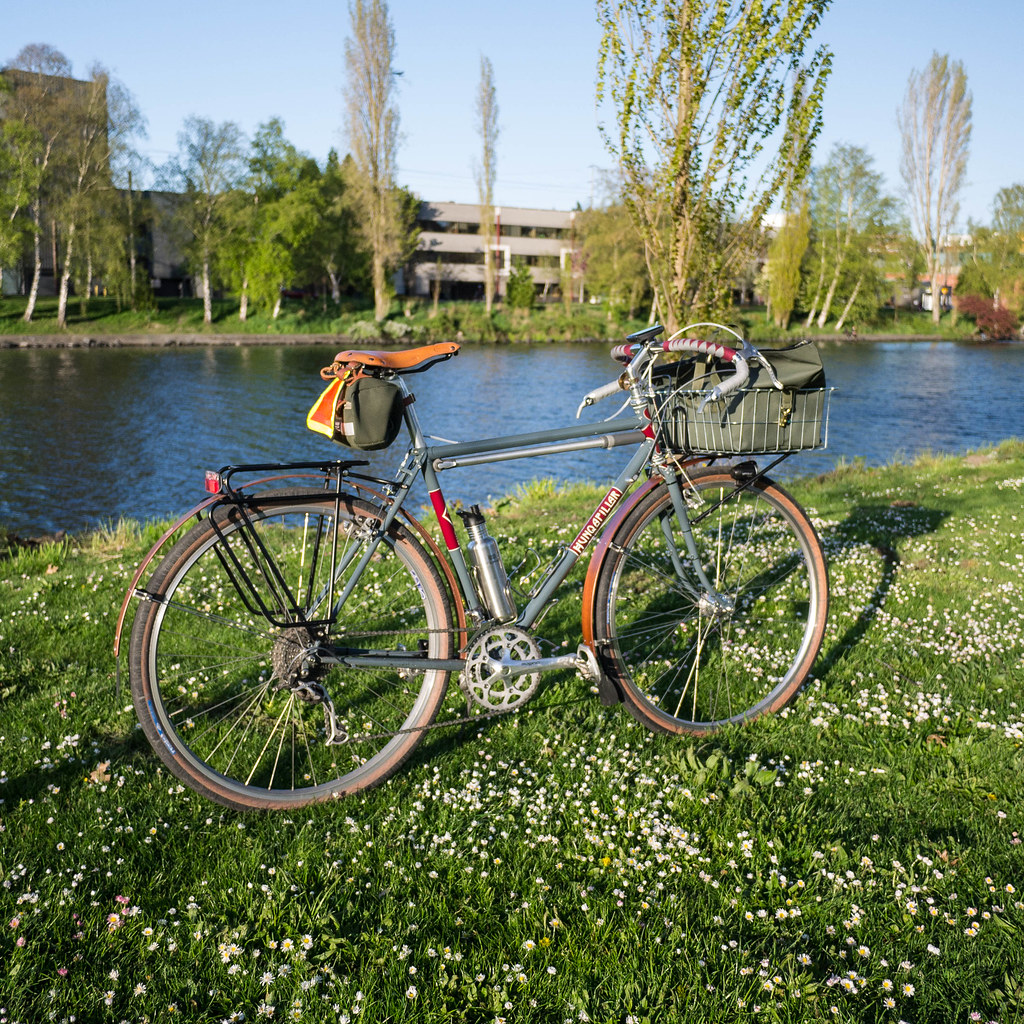
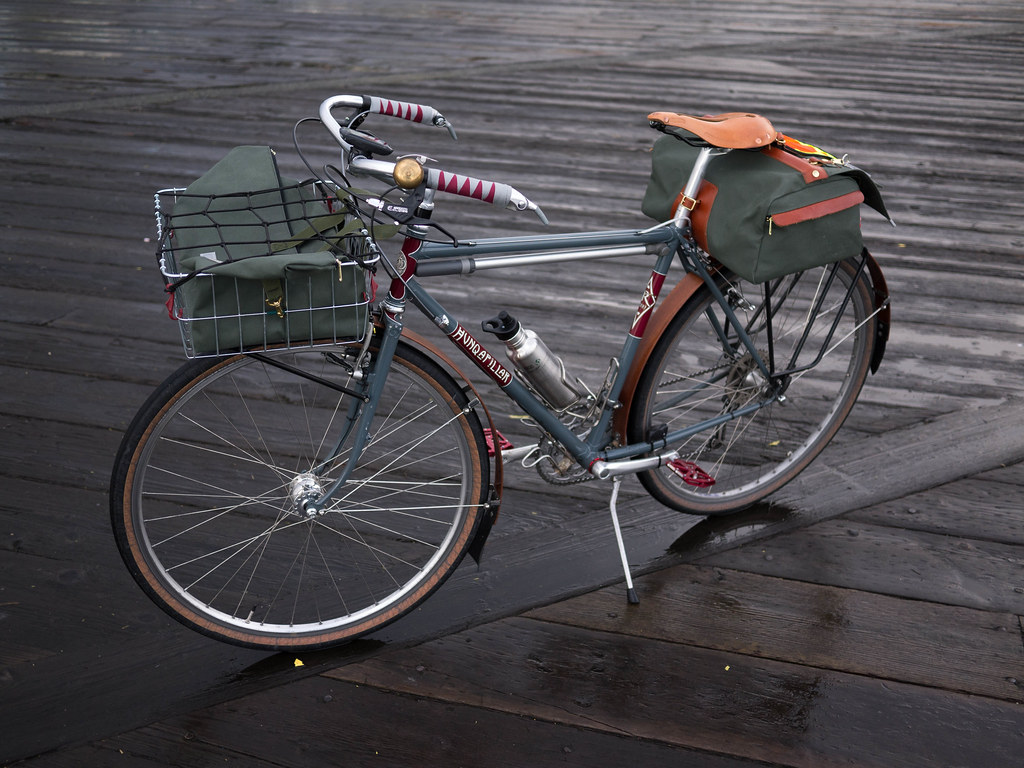
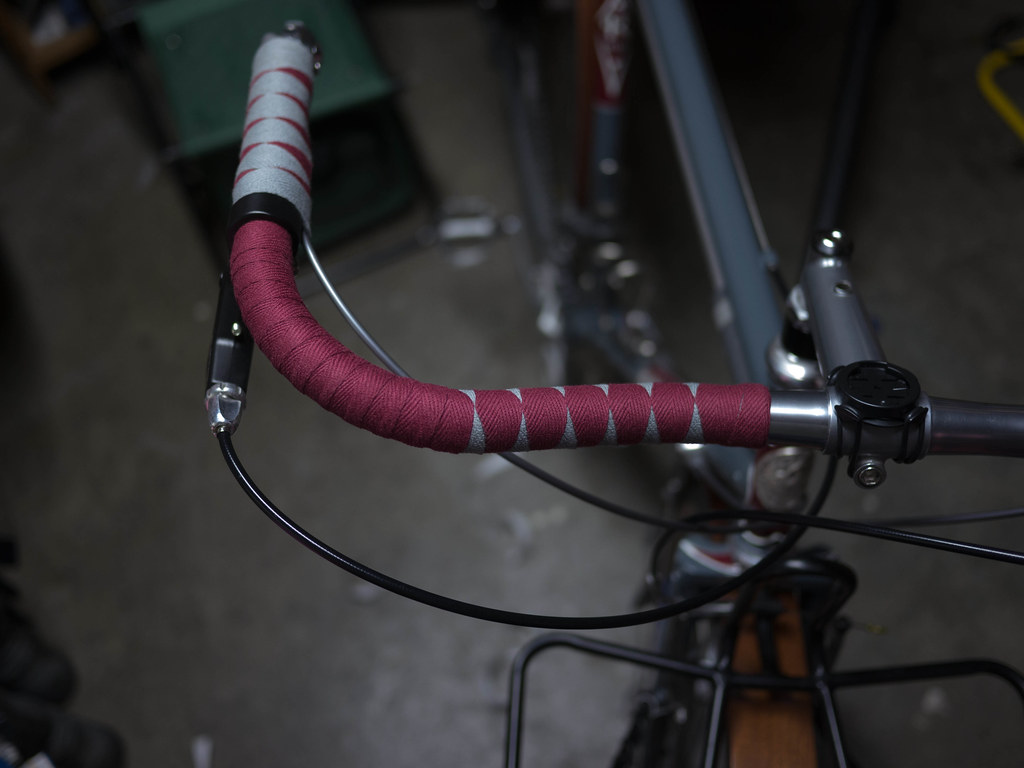
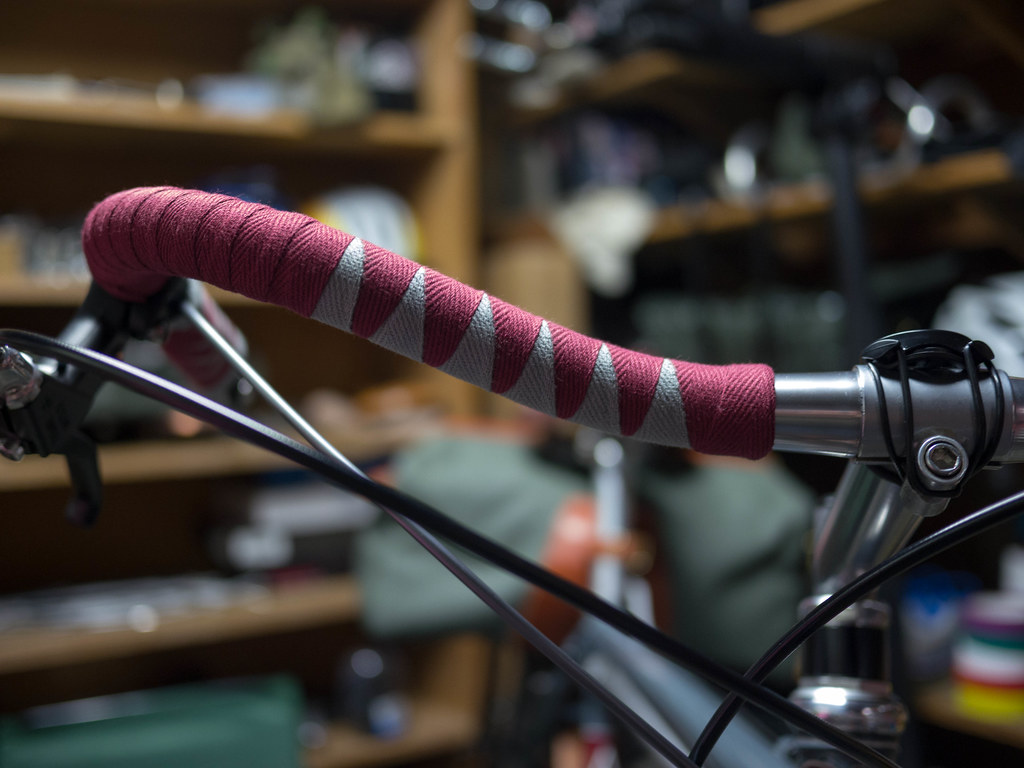
I did another diamond (harlequin) tape wrap on my Hunqapillar with Albatross bars.  I’m liking the gray and maroon cotton Newbaums tape as a match for the bike.  I will eventually put clear shellac and darken the gray tape a bit, but for now, I’m enjoying the raw cotton feel.  Here are some pics from the process:

Half-done

Cat’s view

With Dog

6 per side


Grip with Cork Underneath

Forward Grip Curves


Soften the Rivet

Tags

, , , , , , , , , ,


Rivet Pearl

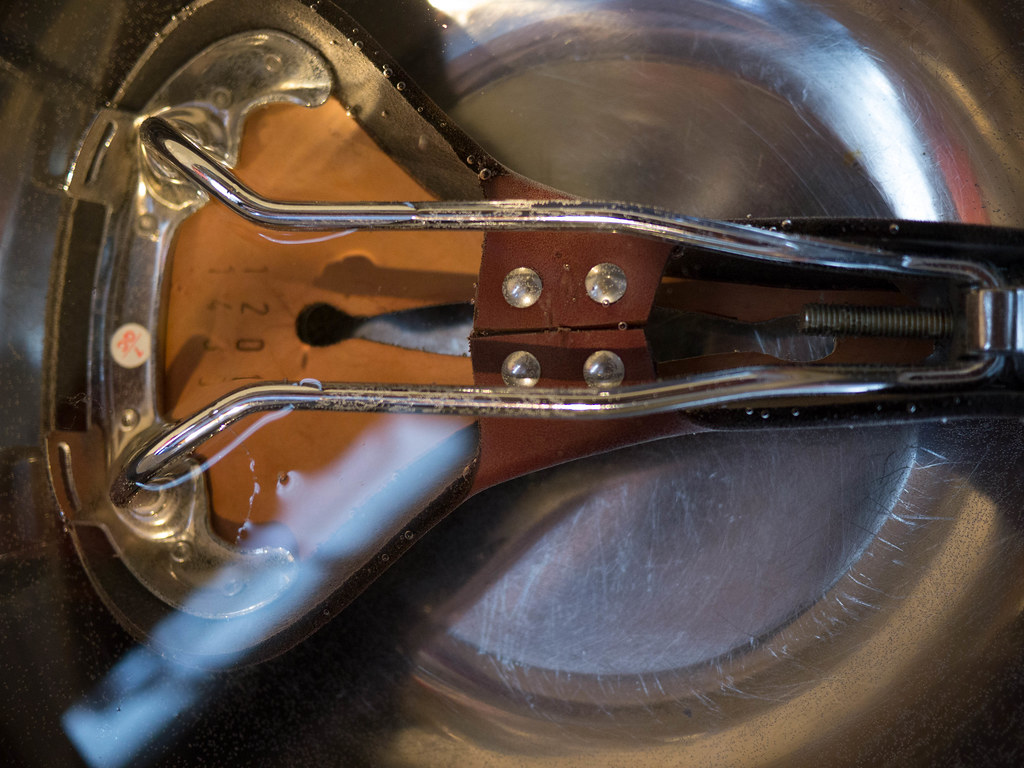
Disclaimer – you will possibly ruin your saddle if you try this, and there is no way that any manufacturer will recommend this.  However, if you are planning on selling/trading/or tossing a new leather saddle that isn’t working for you, this may be worth trying…

Further information from the manufacturer (Rivet): Using this procedure will certainly invalidate the 365-day warranty. It falls square into the “altering” the saddle category, so only do this as a very last resort! See this page for proper care of this saddle.

Have a saddle that didn’t quite break in fast enough, or ever?  Disclaimer 2: this process will probably half the life of a saddle.  But…if half the life of the saddle brings you discomfort, who cares.  Especially on a leather saddle which probably has a lifespan of several decades.  If I get 10 years from a comfortable saddle, that is far better than 20 years with only the 2nd half being bearable, right?

Here’s what you do (the following process is a summary of Lon Haldeman’s famous Brooks Break-in method):

  1. Soak the saddle in warm (100 degree ish) water for 5-10 minutes
  2. Dry it off quickly
  3. While the saddle is still warm, slather it with mink oil (or proofide, or Obenaufs)
  4. Put it on your bike and go for a ride – about 5-10 minutes – preferably with old shorts
  5. Put more mink oil on it
  6. Walk away…

The next day, if the saddle is still stiff, repeat the above procedure.  If it is more pliable, go for a longer ride and see how it feels.

Soaked

The back story on this particular saddle isn’t that interesting.  I have about 500 miles of commuting on it, and while the shape is superb, the spot where my sitz bonz sat was hard as a rock, and didn’t seem to be getting any better.  I could ride it with padded shorts for short distances, but no padz, no wayz!

I was ready to throw in the towel on this saddle, but decided that I had spent the money, and wasn’t quite ready to give up.  Now this saddle is not a pure leather variety like a classic Brooks B17 or Pro, but has a waterproof coating layer on top, so I wasn’t so sure I wouldn’t be wrecking it.  Ahhh, risk – gotta love the adrenaline.  I’ve never done the Lon Haldeman treatment on a Brooks, but I did butcher one not long ago, and that turned out OK…

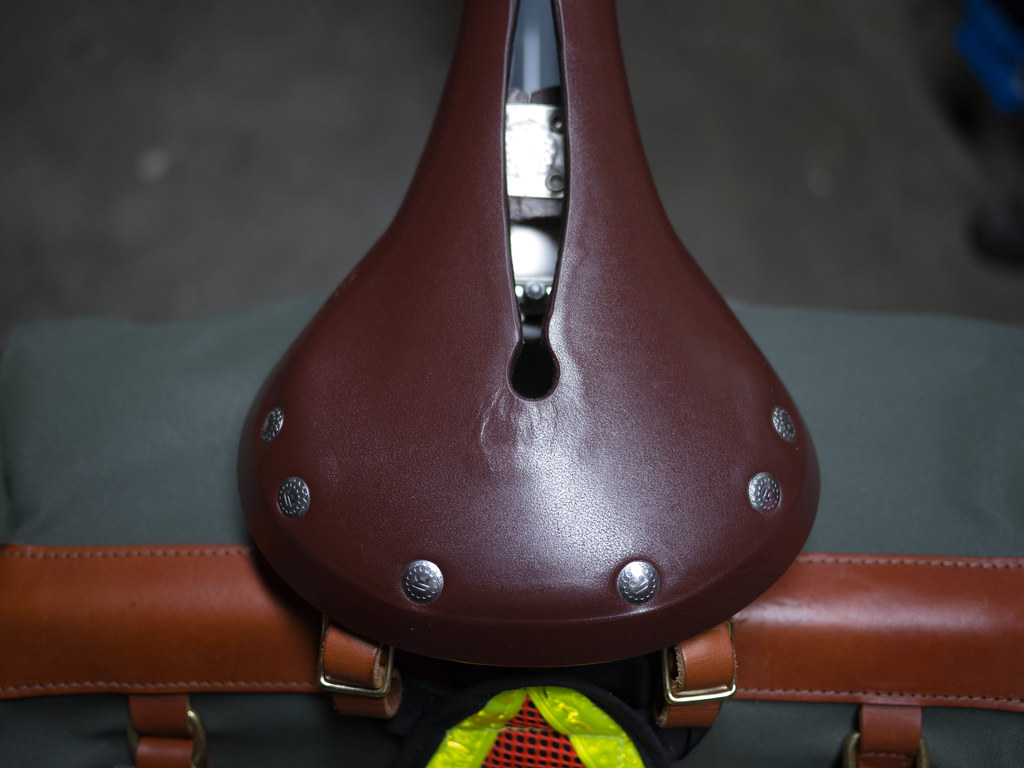
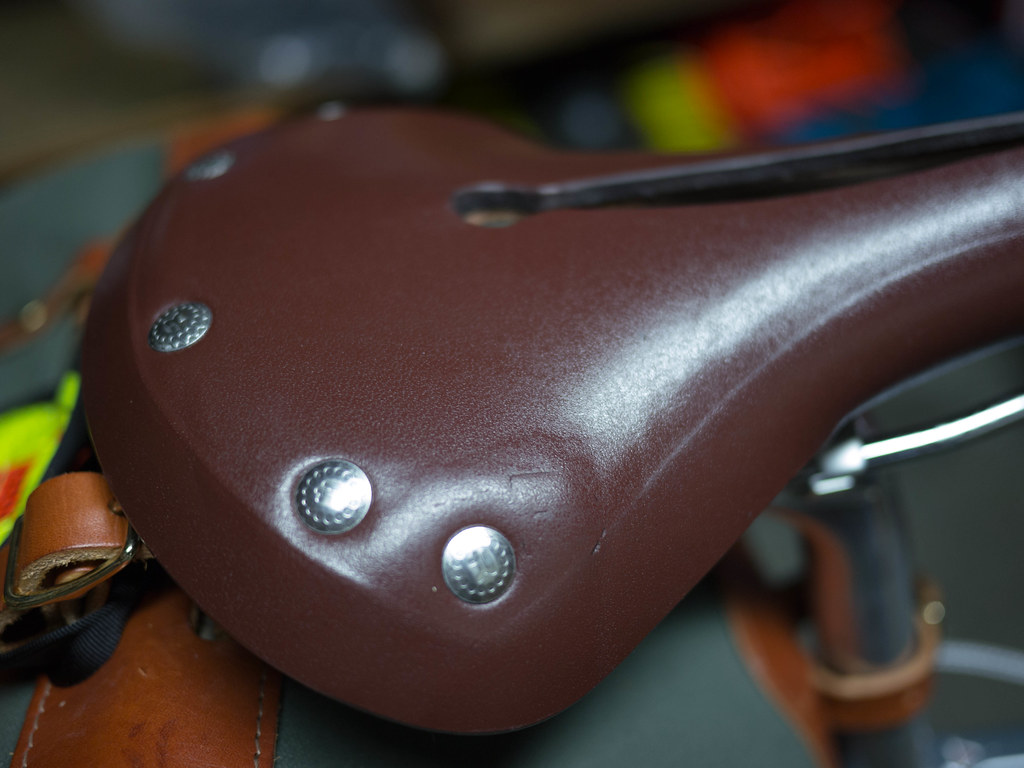
Some slight wrinkling

After the treatment, I observed a bit of a change to the top layer.  It seemed to show the underlying layers a bit more, and even exposed the frame around the side rivets.  There was no major issue around edge separation, so the saddle is still intact and solid.  The shape also remained consistent.  The leather around the right sitz area was definitely harder than the rest of the saddle, and I massaged it (with a rubber mallet, even) more than the rest of the saddle to get it to relax.  It seems to have done the trick.  Lotz of mink oil helps…

Honey, your frame is showing

I noticed on the following day’s ride that I could actually feel the steel frame through the saddle on the right side.  I scanned the saddle from above and it appeared to be ever so slightly askew – like the frame was slightly oriented to the right side.  I did what any sensible man would do and turned the saddle slightly to the right to move the trouble spot back out of the sitz area.  Voila!!!  Perfection!

The next day – 20+ miles with no padded shorts and the saddle disappeared underneath me.  Now thatz what I’m talkin’ bout!

A new saddle!

Albatross Bar Conversion

Tags

, , , , , , , , , , ,


Back when I was riding a mountain bike to work regularly, I bought Albatross bars to get a more upright position.  While I enjoyed the wide range of positions for my hands, the one issue I had was a lesser ability to get “aero” when it was windy.  In my rambling experiments, these fell out of fashion after a time and I moved on to drops.

Original Albas

I recently revived the bars when I wanted to get my camp bike set up for an upcoming Seattle/Portland Riv Ramble that will be happening near the halfway point of Packwood, WA.  I started the conversion away from the road-friendly Nitto Noodles to the more dirt oriented Midge bars.  They seemed to be too much of a compromise in that they didn’t offer the feel of drops with the big vertical differences, and didn’t have an “upright” position.

Midge Conversion

The Albatross bars are all about upright, but also flare forward of the stem for a stretched position.  There is also the near-stem narrow position that gets one in a nice aero setup, as well.  I had an older mountain bike stem from a ’92 Stumpjumper Pro that had enough reach to push the Albatross bars out far enough to get that aero position I need for the windy days, as well as enabling me to extend the bar ends back even more with bar end shifters.  Here’s what it looks like:

Albatross with long stem

I got a chance this week to test the wind theory, with a couple commutes.  May is a great month for me as the wind often shifts mid-day giving me headwinds both ways.  Using the inner hand position, I was able to get a nice aero tuck on the bike.  Holding the forward curves also kept me out of the wind, and if I bent my elbows, I could get nearly as aero as on drop bars.  The leverage from 56cm bars is another great benefit of these bars.

Bars from the back

Riding with Albas may even be safer on a commute.  For example, I take a route that runs downhill on a busy arterial on the way into work, and often cars are backed up across intersections. There is constant danger of cars/bikes/people crossing in front of me between stopped traffic.  I noticed right away that riding upright affords a much better view of traffic and potential collision fodder.  Side benefit or primary if you’re a safety hound…

Bagger

OK – I’m not fooling myself, part of why I like this setup is that it is the configuration of the Riv video that originally piqued my interest in the Hunqapillar, and it gives the bike a different, more specific setup than my other bikes.  It really is a country rambler, camp/tour bike now with the capacity to be a great commuting “truck” when I need/want to carry a lot of cargo.  As it is a stiffer bike than the Homer, it feels both heavier, and more solid when carrying loads.  That’s great if I’m not tired out, but I’ll have to evaluate it after a couple days of touring around in the hills.


Why I Love Commuting by Bike

Tags

, , , , , , ,


The last time I picked up bike commuting after a two year hiatus in Minnesota, it took a while to get back into the pattern of fitness.  I recall being very tired by the end of the 2nd commute, and was fairly disenchanted with the weather.  I stuck it out, however, and don’t even recall what drove me, but after a month or so, I realized that I was looking forward to the bike every morning.

Waiting for the train

Eventually, I lost interest in using the automobile for work unless I had a cross-town meeting for lunch.  Even then, I found myself putting off meetings like that for weeks.  I enjoy propelling myself to and from work too much.  When I got behind the wheel, I found the experience both frustrating (traffic), and frightening (speed).  The slower pace of the bicycle (as well as the quietness) acclimatized me to not be as comfortable at highway speeds.  I’m sure this was how folks felt when motorized vehicles were introduced.  The speed thing was especially interesting, as I am a soul that loves to speed along in any way I can.  I have always enjoyed downhill skiing over cross country, downhill mountain biking over climbing, and bombing hills in the big ring.  Heck – I was a sprinter in track – not the cross country racer I was built for.  I think it’s the freedom and energy I get when I’m on the edge of control and wind is whipping past.  It’s an awesome feeling!  You never get that in a cage (car).

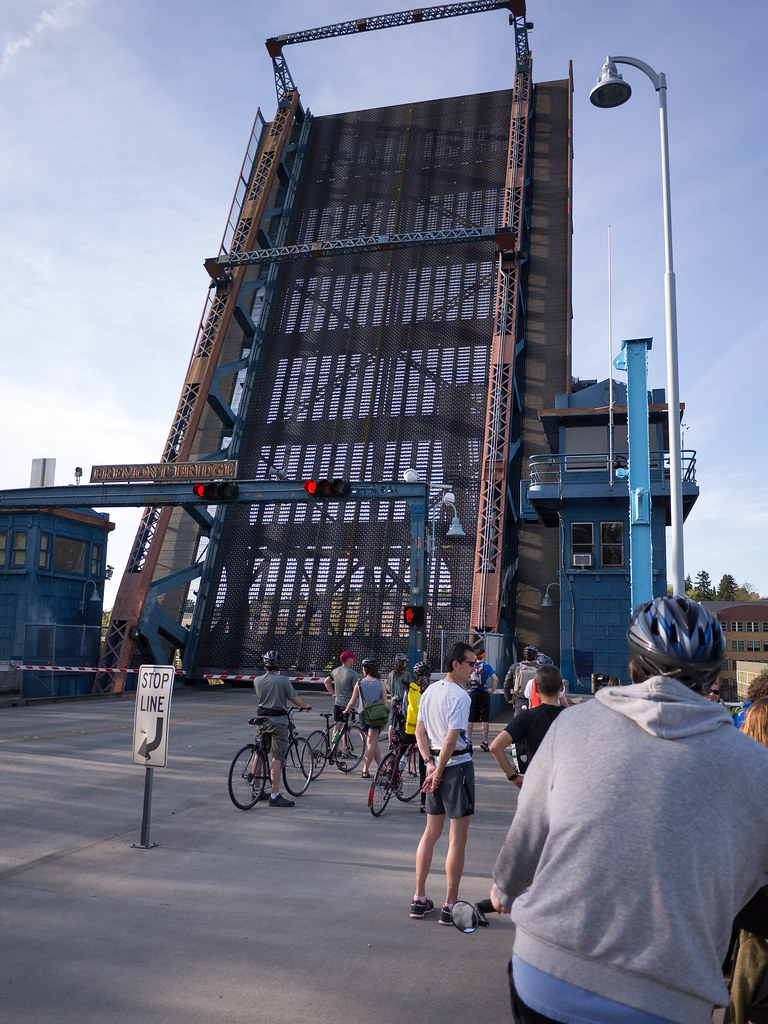
Waiting for the bridge

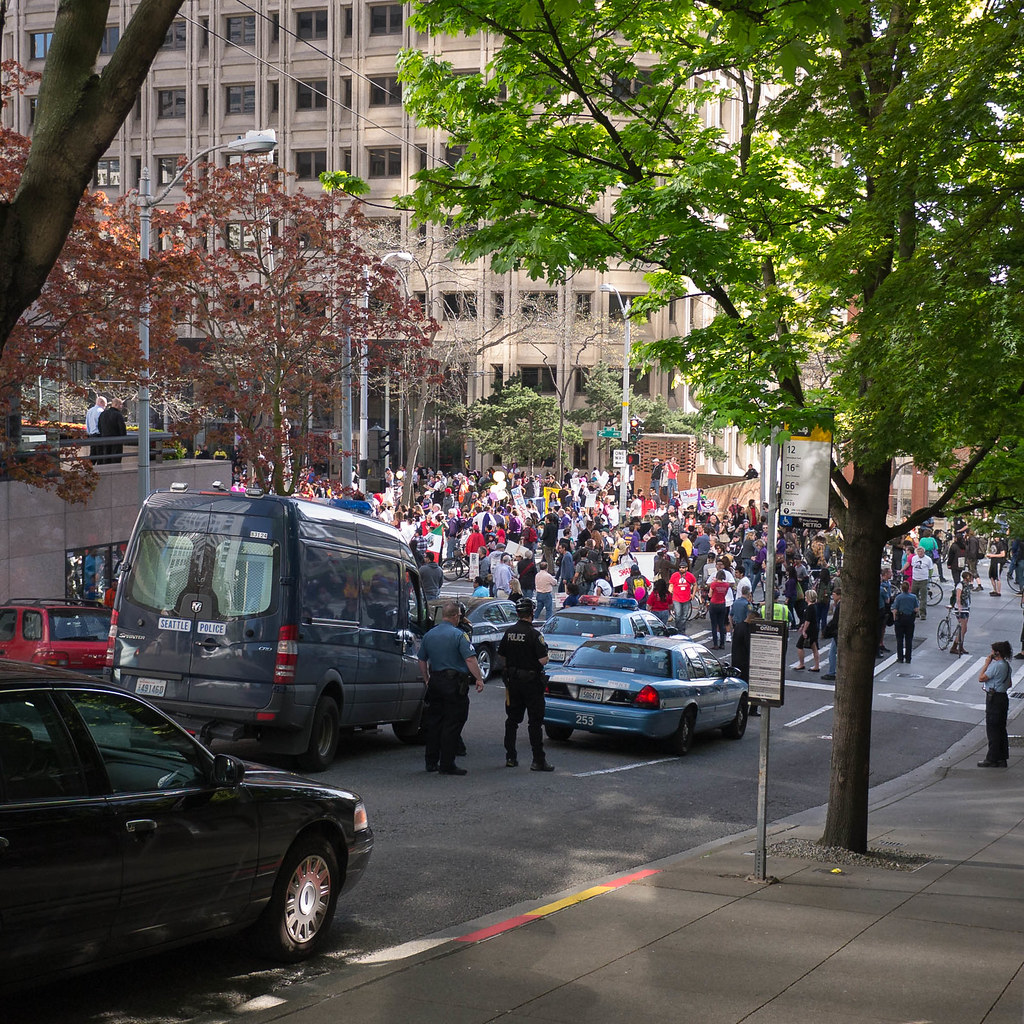
Another thing I love about the bike commute:  although the pics in this post show times even bikes have to wait, for the most part you can go as fast as you want on a bike commute and keep things legal.  You aren’t stopped by the mundane speed limit laws constantly reeling in the ridiculously over-built engines on racer-boy cars.  Nothing like seeing a vehicle that can go 180mph driving the kids to school, or the exec to work.  Talk about reigned in and collared!  On a bike, if there is a traffic issue, I go around it or find another route.  I can purposely choose a relatively empty way home even on “game days” when traffic is in gridlock.

Gridlock

At this point, my poor truck is rapidly becoming a classic Seattle-style moss and pollen collector, and I think about selling it every week.  One of these days I will realize I haven’t driven in weeks and just take the car-free plunge.

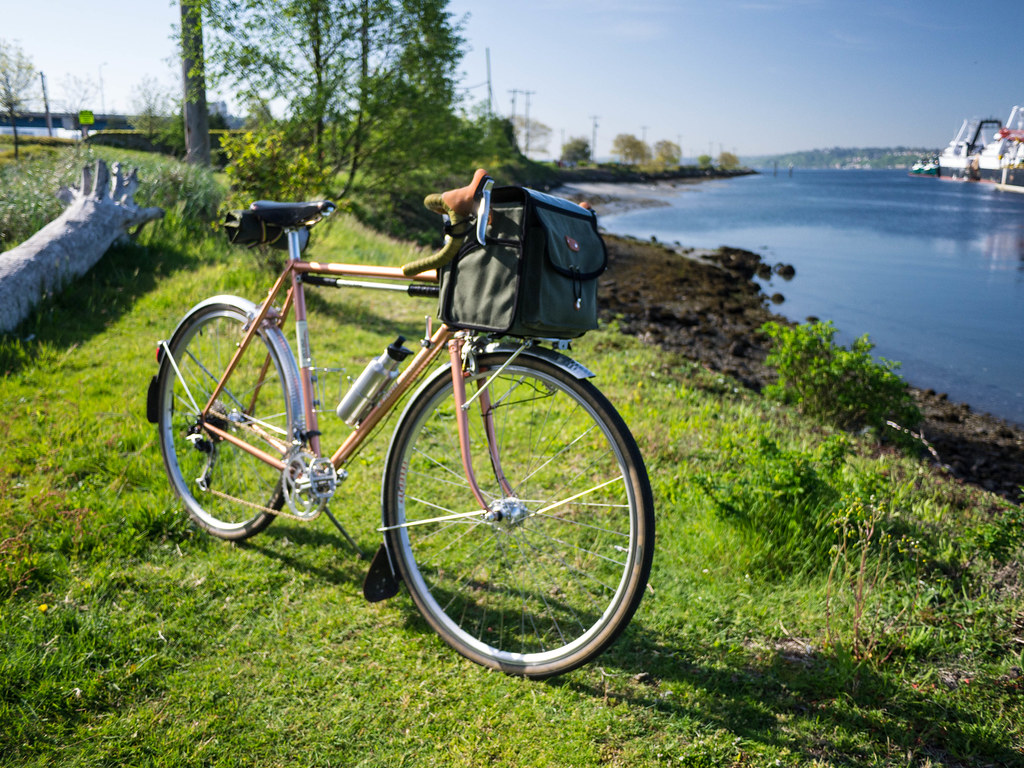
Taking the empty, beautiful road