Tags
a. homer hilsen, christmas, christmas bicycle, christmas bike, Hunqapillar, jingle bells, lights, rivendell, sleight bells, xmas, xmas bike, xmas cycle
I hope you have a very zesty, bikey New Year and 2013!

Spirit

Pair of lit bikes

Bells
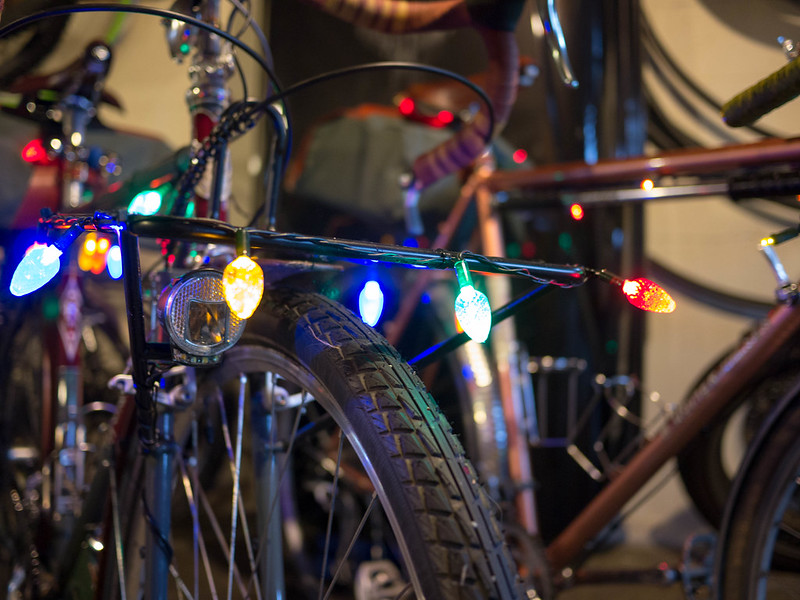
Night!

25 Tuesday Dec 2012
Posted in Cycling
Tags
a. homer hilsen, christmas, christmas bicycle, christmas bike, Hunqapillar, jingle bells, lights, rivendell, sleight bells, xmas, xmas bike, xmas cycle
Spirit
Pair of lit bikes
Bells
Night!
02 Sunday Dec 2012
Posted in Cycling
Tags
a. homer hilsen, bicycle, bike, bike commute, commute, commuter, cycling, hilsen, homer, Hunqapillar, noodles, rivendell, sackville, saddlesack, Seattle
SaddleSack Pair, a set on Flickr.
The Rivendell Sackville line of saddle bags is the nicest bags I’ve come across. Well built, and great looking aesthetically. They also hold a tone of gear. I keep tools in both of these bags, but have room for a small iPad or laptop, a change of clothes, and in the larger Medium bag, I have hauled that plus a growler of beer with room to spare.
02 Sunday Dec 2012
Posted in Cycling
Acorn Rando Commute, a set on Flickr.
I’m currently trading out my older Acorn Boxy Rando bag for the newer Tall Boxy Rando. The main reason is to better color-match my rear SaddleSack on the Hilsen. It’s not exact, but pretty close. The other reason is the regular Boxy was always a bit too small to be perfect. It sat well below the handlebar height, and I had a tough time getting things in/out of it while riding.
No such problem on the Tall. The top flap rests just above my current Noodles bar, and is just perfect. The quality of the bag is the same as the older Boxy. Super!
As with the Medium SaddleSack I have on my Hunqapillar, I leave the bag open (unlatched) while riding so I can get in and out of it easily.
18 Tuesday Sep 2012
Posted in Cycling
In my quest for light and power perfection, I added a charging setup, as well as a new mount for my headlight on my rando bike. The plan is to power it all via dynamo hub…
Via Flickr:
I added the BioLogic Reecharge adapter, and set up the light to mount under the rack so as not to interfere with the platform. This was about the only place I could fit a mount on the Mark’s Rack keeping the light under the rack bed.
20 Sunday May 2012
Posted in Cycling
Tags
a. homer hilsen, bar, cotton, fenders, harlequin, Hunqapillar, rivendell, shellac, sykes, tape, twine, wrap
I’m starting to get the hang of doing the diamond pattern bar wrap. I think the key is just doing about 10 bars to practice. The last two went so well, I didn’t even have to look up the instructions (http://www.wastedlife.org/bike/harlequin/index.html). First time for everything. So… There were two bars to get done.
I recently replaced the B115s on my Hilsen with some 41cm Noodles. I wanted to give ’em a second chance, as I found I like a narrower road (drop) bar. I chose my standard green and yellow tape as it gives good contrast. Here’s a pic post wrap:

Clean cotton bar tape
I like the Nitto bar end accents! I rode the bar this way with no comfort issues for a 20 mile commute. Now onto the shellacking! Here’s the bar after three coats of amber. It should dull up a bit after being used/doused.

Post Shellac
OK – one down. Now on to the Hunqapillar. I did a bit of adjustment to the brakes to lower them a bit. It’s always a good idea to ride the bike for a few miles before you tape it. Especially when you do the coatings that will pretty much make your setup permanent for a while. I had adjusted the bar angle on a couple of my commutes last week to get it just right, and had to bring the brake levers down a bit to compensate. I wanted a similar them with the diamond pattern on the main flats, so I went with the red and yellow, and planned to use amber to darken up the red to get a similar color to the kidney bean red of the Hunqa.

Pattern Close-Up
You can just see the mahogany sykes fenders I put on this weekend. Like! I will do a write up on these in a future post after I ride them through a rain storm. Here are some more views of the moustache bars, also with three coats of the amber on ’em.

Showing the Whole Bar
I used red twine to wrap the tape ends on the inside of the bar. It was a good match for the tape, and is almost invisible. The harlequin pattern is started with a rolled edge that makes twine (or electrical tape) unnecessary on the bar end by the shifters. It’s very clean.

More Diamonds
Nice to have this wrapped up – now I can get on to riding the heck out of this beast. The big bag/basket, fenders, and double kickstand added a few pounds to this bike, but it’s ready for some serious off-road camping, and heavy commuting now. Can’t wait for the first S24O!!


