2013 Cycling

Tags

, , , , , , , , , ,


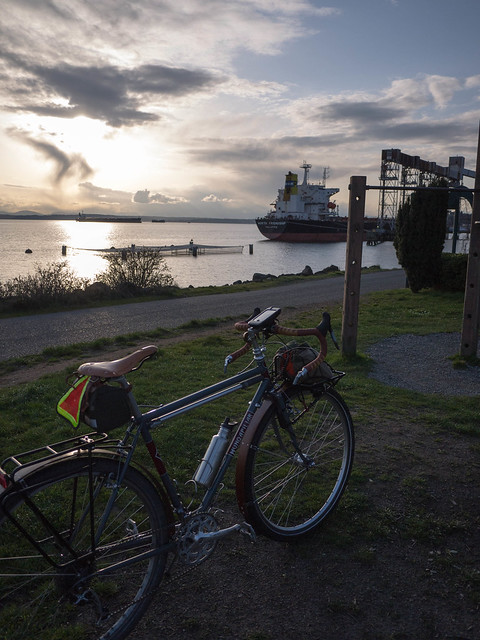
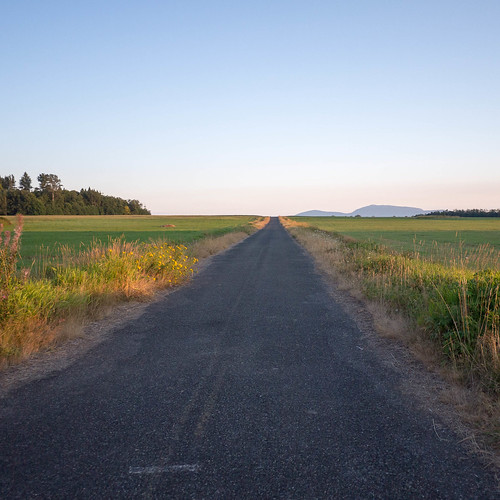
This was my best cycling year yet.  I rode over 3000 miles on my bikes in 2013, and a couple of the rides were really long.  Now, the vast majority of my miles are commuting, and I added to my commute mileage this year by taking a longer route home.  It is much more scenic, and it allows me to stay on lightly used trails for the majority of the way.  This makes my commute much less stressful, and adds a ton of scenic beauty.

Serene

HunQa-12.jpg

I rode a few events with the Seattle Int’l Randonneurs club this year.  It’s still tough to get out as much as I want – it takes a full-day commitment for most of the events, but I’m shooting for more in 2014.

Your's Truly

An early March 200k  was a good starter for me.  The ride went really well, and sold me on the Selle Anatomica Titanico X saddle.  I experienced no numbness or pain at the end of the ride.  I was also able to do this one right from home, so there was no drive to the start, or long ride home.  It helped me get the confidence I needed for August’s 300k.

Homer-85.jpg

Another highlight was a ride in early June where some new friends and I went in search of the famous Babyshoe Pass.  The folks I camped and rode with were an awesome, eclectic bunch from Portland, Seattle, and Enumclaw.

Homer-62.jpg

Homer-57.jpg

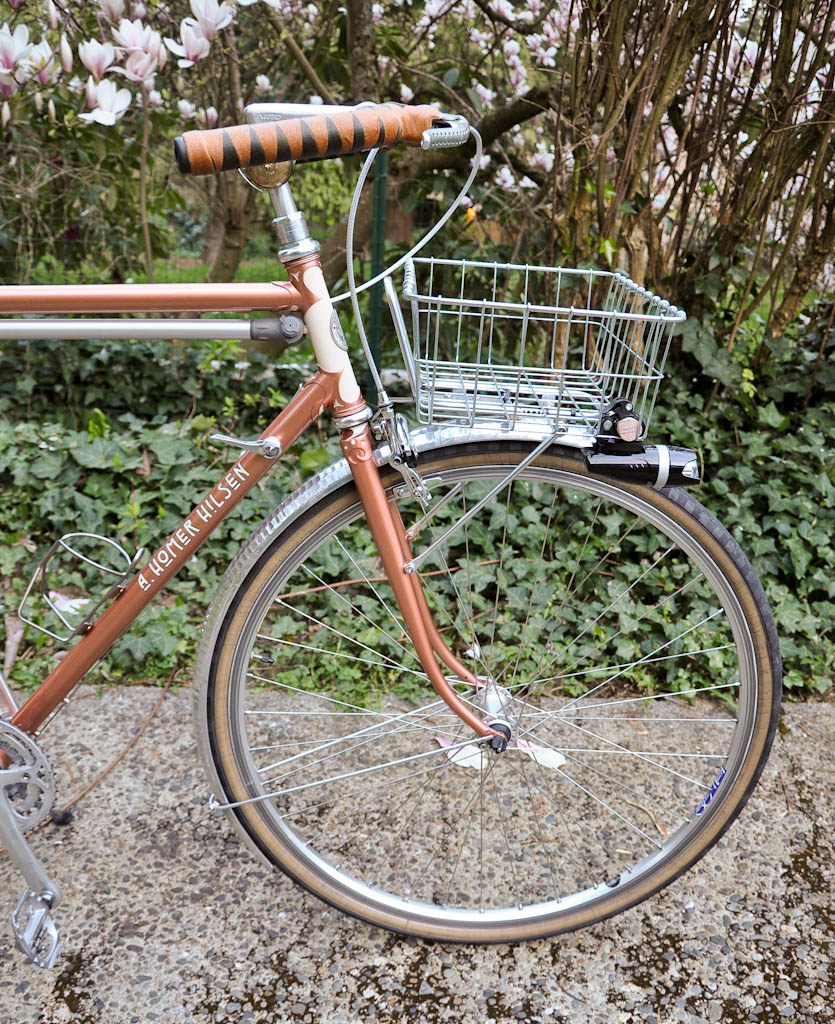
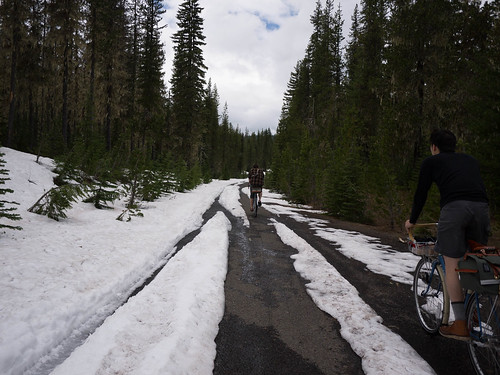
This was a ride that reminded me how much fun exploring mountain roads can be.  The 3-volcano area is one I’ll be back to explore.  I also got a taste of riding the A. Homer Hilsen set up in rando garb through a snowfield, and down a rocking mountain bike trail at speed.  Underbiking at its best.  Perhaps it would have been smarter to pick the Hunqa that day, but the AHH did just fine, even after a flat and an unplanned endo into the snow.
Homer-89.jpg

Alas, we were a few weeks early, and the snow had not melted up to the pass, so we migrated back before the summit, but the ride down was the best ride of the year, easily!

I was able to introduce a couple folks to commuting in 2013.  One of my neighbors wanted to start riding once a week.  He works near my office (downtown Seattle) so I showed him a few routes that I use regularly, and tried to give him enough advice to keep him safe.  Another friend bought a new bike for the first time in years, and we rode home off and on for a few months.  We also did a nice ride around North Seattle and found a good trail in Llandover Woods. Unfortunately, we found that the trail was closed to bikes (after we traversed it…)

TroyD

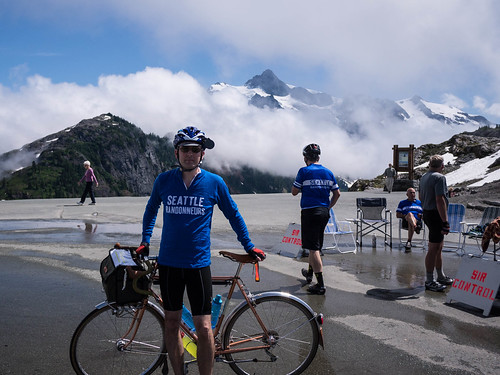
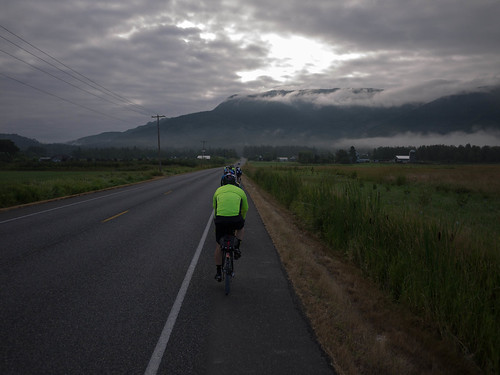
The apex of the riding year was my first 300k in August.  This was both awesome (Artists Point) and brutal (needed lots of advil to get home).  My knee gave out just past the 200k mark while I was riding with a fast group.  I dropped off the back when I started to feel like I couldn’t push down on the pedal with my right leg.  I stopped and stretched in a field by the side of the road for a bit, and limped along for another 50k before I found a gas station where I could buy ibuprofen.  This helped ease the pain so I could continue riding, but I was basically using my left leg and only lifting with my right.  That ride was tough and took all my willpower to get through.  I felt elated at the end, however.  It was amazing to go so far in one day.
300k-8.jpg

300k-5.jpg

300k-17.jpg

Happy New Year!  I hope you all get out and ride more this year!

Locks and Gardens

Tags

, , , , , , , ,


I took the Hunqapillar out on a 19-miler today to get some biking in the New Year. It was a beautiful, warmish day with nice light. The route I’m starting to make into a training ride takes me on a loop through some of the more scenic parts of north Seattle.

BH-1.jpgBH-2.jpgBH-3.jpgBH-4.jpgBH-5.jpgBH-6.jpg
BH-7.jpgBH-8.jpgBH-9.jpgBH-10.jpgBH-11.jpgBH-12.jpg
BH-13.jpgBH-14.jpgBH-15.jpgBH-16.jpgBH-17.jpgBH-18.jpg
BH-19.jpgBH-20.jpgBH-21.jpgBH-22.jpgBH-23.jpgBH-24.jpg

Locks and Gardens, a set on Flickr.

I start the ride from Maple Leaf and make my way through the U of W campus. I use trails through Fremont and lower Magnolia to the Ballard Locks. There was little activity there, so it was a breeze to cross over to the north side of the canal.
I picked up the trail to Golden Gardens. At that point the climbing starts with a nice quick rise to Crown Hill. Several ridges take be back through Greenwood to Maple Leaf.

Cycling Stats

Tags

, , , , , , , , , , , , , , ,


Being a geek, I have been collecting data on my rides for the past 5 years.  I’ve gone through several approaches, and certainly don’t have a vast knowledge of all that’s out there, but I’ll tell you what works for me these days.

When I moved back to Seattle and started bike commuting again I discovered I could use my new phone (iPhone 3gs) with an app called Trail Guru written by Tim Park.  It quickly became my favorite app, although I tried quite a few.  Having a GPS built into the phone was one of the “killer apps” for the burgeoning smart phone market, and this was something I used twice daily.  Lo and behold, sometime in 2011, Trail Guru stopped working, and there was no word from Tim.  Eventually, the app fell out of the App Store, and I had to move on.  Unfortunately, the web site went offline and so did my data.

This soured me on the smartphone idea for a while.  I picked up a Garmin eTrex 20 for an upcoming brevet.  This would solve another problem with the smartphones – my iPhone was good for a max recorded time of  about 4 hours when the GPS app was active, even with the display turned off.  The Garmin should last 20+ hours, and used AA batteries that I could bring along for spares.  Unfortunately, things didn’t work out too well – I did the ride, but on a commute home a week later, the unit popped off the mount on my handlebars and was gone forever.  After this short-lived experiment, I went back to the phone again.  Besides the mount problem, the Garmin software was prehistoric.  It was clunky, confusing, and getting the data on the computer was much harder than it should be.  OK – I expect wireless in everything these days, people!!

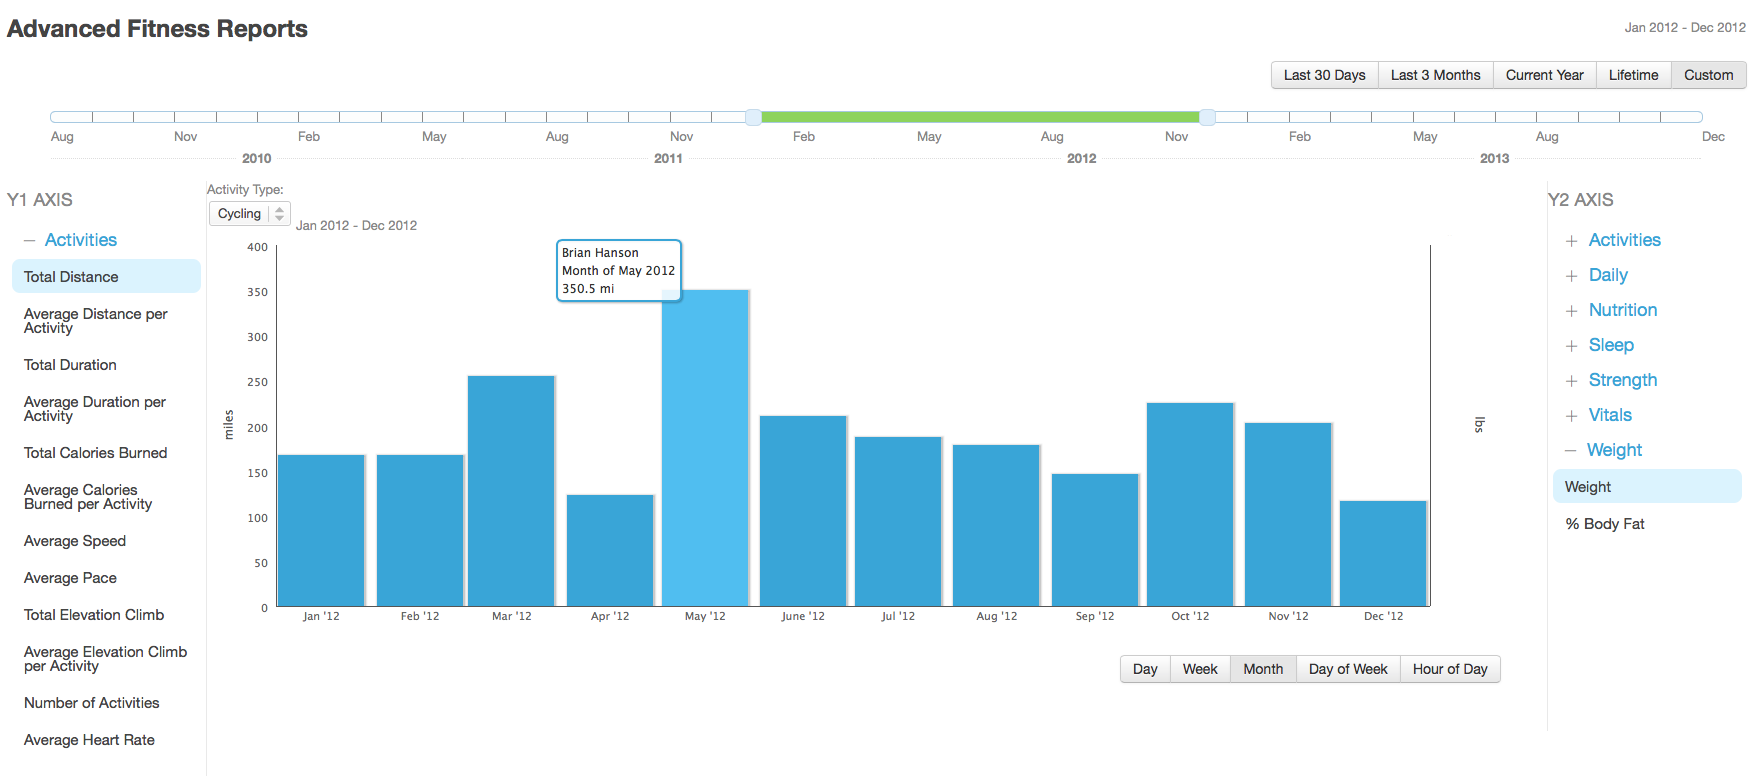
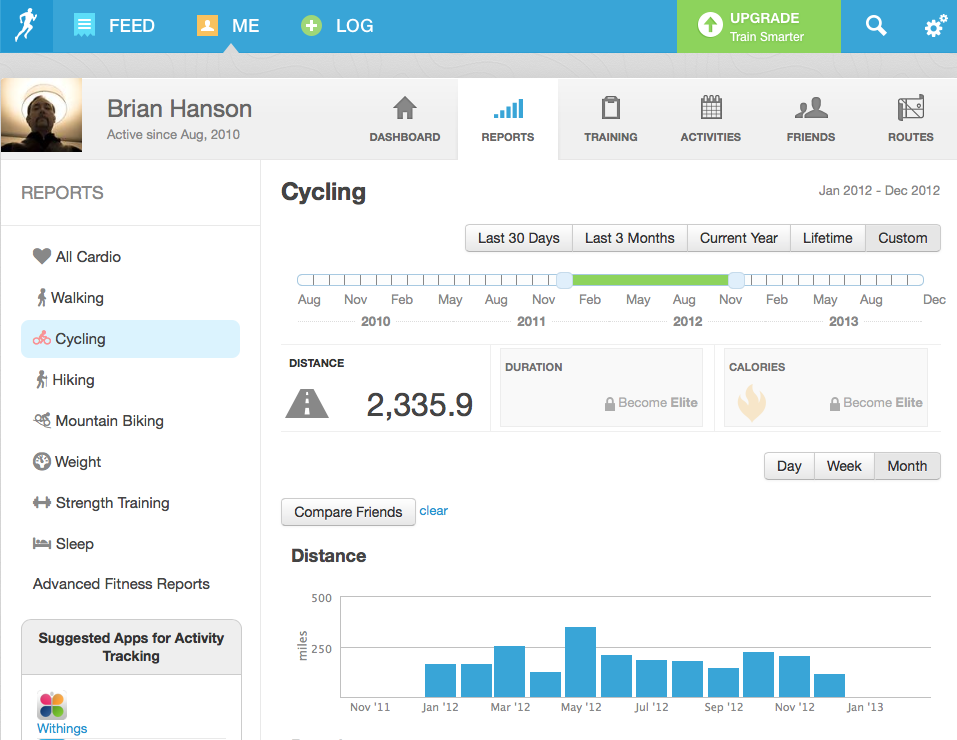
I started using RunKeeper (iOS app) and, although it wasn’t specifically made for a cyclist, I really like the reporting available.  It does a great job of letting you see your data and jumbling it around however you like.  Here’s an example of the “advanced fitness reports” page from their site:

RunKeeper

One of the downsides, however, was the subscription based “elite” membership you need to see a lot of the reports.  The other thing I didn’t like about it was the simple cycling screen that wasn’t adjustable.  It only showed a select group of data points, and this was not negotiable.  That said, I used it for all of 2012, and it was rock solid reliable, and simple to use.  

RunKeeper Total 2012

I was lured away by a post in one of the cycling groups I follow that mentioned Cyclemeter.  This app was a phone-only application, but it tied into various websites for data display on a computer.  That said, most of the data is displayed very well on the iPhone itself.  You can export it via .csv as well, so it’s simple to save the data and work on it in Excel or whatever you like.  (at this point, Cyclemeter allows saving its database to iCloud)

Cyclemeter3                 Cyclemeter2                 Cyclemeter1

I liked the display versatility better than RunKeeper, and tied it into dailymile.com for viewing on the web.  This site is a social media site that focuses mainly on the community aspect of workouts, so it doesn’t do a lot of advanced analytics, but if you just want a place to log your mileage, it works.

Daily Mile 2013

This is a view I built in Excel from a data dump directly from Cyclemeter.  Much more versatile, but a bit more work.

2013 Cycling Stats

This leads me to the problem of having a speedometer on the bike.  I tried a handlebar mounted iPhone case for a while, but found it a bit too bulky and over the top.  I never lost it, or got it wet, but it wasn’t exactly svelte.  The other problem was battery.  I couldn’t really use it as a display for anything longer than an hour or two without draining the battery.  The combination of LCD and GPS puts too much hurt on battery life.  I wanted to do longer rides with the Seattle Randonneurs, and a 200k takes me about 9-10 hrs.  I could get by barely by using my dyno hub to charge the phone during the day, but for any ride that goes into the night, I would lose that capability.  All the power coming from the dyno would need to be used for my front and rear lighting.

I became convinced that the newer Garmin Edge GPS units for cycling would be better.  I picked up an Edge 810 and within a month brought it back to REI.  Garmin still hadn’t fixed the confusing software, and to top it off, the hardware routinely shut off in the middle of a ride.  The whole point of this device is to be on and track a ride from start to finish.  I tried a few firmware updates, but it never worked the way I wanted it to, so I returned it.  Back to the phone.

I had a 300k coming up in August of 2013, so I knew I needed to be able to keep my phone alive for up to 20 hours.  After doing some research and chatting with a co-worker who had just been to China.  I purchased a RAV Power external battery pack.  I brought this on the ride, and recharged the phone 3 times during my 16 hour ride.  When I returned, it still had half its charge.  It didn’t weigh much either.  OK, I found the power solution, now I needed a display.

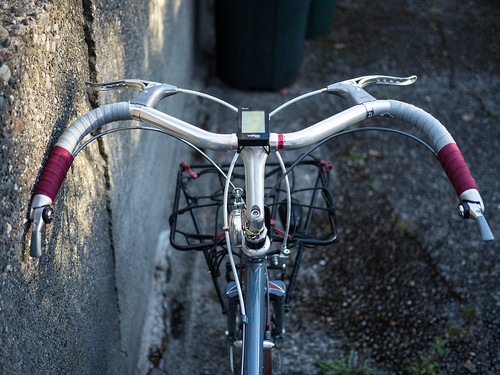
Wahoo Fitness had the answer with the RFLKT bike computer.  It is essentially a small bike computer that displays info from your phone application via Bluetooth.  It is customizable, and allows you to see things like speed, time, distance, heart-rate, battery remaining, music playing, etc…  It also lets you control the application with the 4 buttons on the device, and they can be programmed to do things like start/stop the app, control your music, scroll through multiple pages (handy if you want a main data page, and other pages for maximums, heart rate data, etc…) This thing is awesome, and has been rock solid.  It integrates nicely with CycleMeter, is small and lightweight, has a lighted screen for visibility at night, and works every time I get on the bike, 3-5 days a week.

BH-6.jpg

This is going to be my solution for a while.  I believe that Garmin is in a losing battle with smartphone app developers at this point.  Especially with the new M7 coprocessor that the newest iPhone has.  Smartphone GPS apps are the future, at least until smart watches become the norm, or Google Glass.  These apps are far superior, and quicker to update/innovate.

Blinkie Lights are Obnoxious

Tags

, , , , , , , , , , ,


Lights at Night are Nice

For a few years on my commute from North Seattle into Downtown, I was often annoyed when an oncoming cyclist held up his hand to block my light from his eyes.  I noticed that it was the same guy, and my reaction was initially anger.  I was like how dare you act like my lights are annoying you when they are necessary for my safety in the darker times of my commute.  I am just now starting to understand this fella’s angst…

I bought into the common wisdom that more must be better, and so was on the path of MORE wattage, MORE blinks, MORE patterns, etc.  These lights are bright, so they must be MORE safe since drivers have to notice a blinking light in a sea of steady night lighting.  FUD.  It seems that in search of constant upgrades for new sales, “excessive” products are often pushed here in America – the land of fake safety.  When does this really end?  When cyclists are relegated to wearing bright lime-green reflective strobe encrusted LED sumo safety suits?  I can just see the headlines.

“Cyclist killed.  Was not wearing the ACME strobe suit.  No charges for the motorist who explained – I never saw him…”

Nice Focused Beam Headlight

After using blinking lights front and rear for a few years, I’ve now switched to steady dynamo lights powered by my front hub.  Besides the amazingly better light coverage and visibility I get from my Schmidt and B&M lights, I’ve formed into the opinion that blinking lights are, at best, less effective than steady beams, and most of the time just pointlessly dangerous for both the rider, and the people they are approaching.  Most of the popular “blinky” lights are toys for the uninitiated fearful commuter to waste money on and throw away after a season or two.  It has also been argued that blinking lights can actually draw drivers (drunk?) into collisions with cyclists, much like moths to a flame.  Update – another link on the “moth effect“.

If you are using a blinking front light, I would question that you have any ability to see what you’re riding toward.  Judging distance is greatly impaired under strobe light.  Just try playing baseball, football, soccer, or basketball under a strobe.  Tennis would be hilarious.  So would car racing.  Hmmm – or bicycle commuting.  I’m actually surprised people manage to keep it together as much as they do, though I would bet that most folks turn off the forward strobe after doing this for a few months, and the people I see using them are just the endless stream of the newly initiated to the glory of the new commute method where they also get exercise.

Saw it a mile away...

OK – for those that graduate from using blinking lights, what’s with the flashlight beams?  Why do manufacturers continue to just repackage flashlights into a bike mount?  This type of light has no cutoff to keep light from being directed directly into the eyes of oncoming traffic (or cyclists).  This is completely idiotic – it’s relatively simple and cheap to use mirrored reflectors to put all that nice light below head-level and on the road in front of you where you need it.  Cars haven’t had these kinds of lights for 40 years.  If normal traffic (which even on a bike path, we are a part of) used circular beam flashlights, everyone would have to have tinted front windows, and we would likely have many accidents caused by oncoming blinding lights.  When someone with a 600 lumen flashlight beam is coming at me on the Burke-Gilman path, I have to look away from them, and not track their progress as I approach.  That’s just not safe.  I always worry that I’ll miss the unlit pedestrian that is between us, or worse, veer into the approaching cyclist or their buddy pedaling next to them.  Wow – how annoying are these devices!  Wake up folks – you are just pissing off your fellow bikers and making things less safe.

Courtesy and common sense can make cycling a lot safer and more enjoyable:

  • If you are on a bike/pedestrian path, use a steady beam and point your flashlight at the road to keep the beam beneath oncoming cyclist’s eyes.
  • Better yet – get a good European focused, purpose-made bicycle light.
  • If you have folks riding behind you, turn off the blinking red lights.  My steady red twilight is visible a mile away too.  It doesn’t need to blink.  Get some real fenders, too.

Some questions to ponder:

  1. Is your priority seeing the road in front of you, or merely being as visible as possible from the front?
  2. If you are worried that cars won’t see you and turn or pull out in front of you, can you take other action to minimize the accident potential here?  Maybe not just bomb the hill with a big light to protect you?
  3. Don’t you want to see the road obstruction that may take you down?  Steady light in front of you is pretty useful.
  4. Do you feel that your need to be seen should be at the cost of your fellow riders safety?  It’s not.
Don't do this

Don’t do this

Give steady lights a chance.  If you are really concerned with your safety, read the stats.  You are 33x more likely to be killed in a passenger car, and 7x more likely to be killed as a pedestrian or on a motorcycle.  Bikes are a safe and healthy method for commuting.  Your visibility and view of the road ahead is made better with good, safe, focused European standard dynamo or battery lights like those made by Busch & Muller or Schmidt.  These are not too different from the modern lights on automobiles that keep the light focused and bright where you need it.  Think about your fellow cyclists, too.  It’s a growing community, and we need to be kind and safe around each other.

Use this!

Use this!

Low Trail Rides

Tags

, , , , , , , , , , , , , , ,


Having the good fortune to live and ride in Seattle near good local bike shops has its blessings.  I stopped in FreeRange Cycles on Tuesday and tried out a couple of new rides that sport a low trail geometry with a bent towards the randonneuring crowd (me).  Both are a bit of a departure for me in that they are TIG welded steel frames.

Soma Grand Randonneur

The Soma Grand Randonneur was recently shipped, and is a very compelling deal.  It is a $500 frame/fork combo that was designed by Mike Kone of Boulder Bicycle and Rene Herse fame.  Note: Soma is doing some great combo design deals lately.  First Grant Petersen‘s design on the San Marcos, and now a low-trail guru’s take on a commodity frame.  You’d be hard pressed to not want both!

The bike I rode is a 55cm (small for me) with a large porteur rack on the front.  Good to add some weight and see how it feels with a bit of front load.  In my short ride, I felt immediately at home on the bike, and really felt some of the benefits of the different front-end geometry.  It was quick handling, but forgiving – not twitchy.  As I slowed to a stop, I noticed there was none of the flopping I have on my higher trail bikes if I let go of the handlebars.  OK – that’s kind of nice.  But the thing I liked more is that on a slow climb, I didn’t have the bars slightly twisting back and forth with my pedal strokes.  It tracked well at low speeds.  Hmmm – I may like this sort of thing.

On turns, at medium and higher speeds, there was no uncertainty of where I was going.  Perhaps it didn’t feel like it was “on rails” like my Rivendells, but there was no bad effects I could ascertain.  As for riding no-handed, it was about like my Miyata.  Not great, but doable, and I wonder if it’s not due to the high saddle, low bars on this slightly too small frame for me.

Cycles Toussaint Velo Routier

On to the other bike – a new effort out of Canada. Cycles Toussaint is a Calgary company recently formed (2012) with two bike models.  The version I rode was a demo Velo Routier sent to Kathleen at FreeRange to see if there is interest in the area.  It’s a smart-looking white frame that was nicely built up in a traditional rando effort.  It was slightly bigger at 57cm, so more in line with my size (I would probably go with a 59-60cm frame).

The only real difference in ride character this bike had in comparison with the Soma GR is that it tracked better for me no-handed.  I won’t guess why other than perhaps the lack of a rack, the size being more in line with what I normally ride, or some build difference (tires?).  Other than that, the bike handled much like the Soma.  Deliberate, comfortable, and non-eventful.  At $500, this bike is at the same price point, and it may come down to looks for you if you are in the market.  To my eye, the Toussaint is prettier, and I liked the additional seat-stay peg so you can choose to mount a top-tube frame pump, or a smaller seat-stay pump.  Overkill?  Maybe, but I like pump-pegs – call me nuts…

Similarities:

  1. Steel
  2. 650b
  3. Low 30mm trail
  4. Integrated fender mounts
  5. $500!
  6. Threaded 1″ steerer tube for threaded headset (yeah!)
  7. Room for fenders and 42mm tires
  8. Tubing – both are double-butted with .8/.5/.8 on small sizes, and .9/.6/.9 on larger frames

Differences:

  1. Color
  2. Tube diameters – thinner seat-stays on the Toussaint
  3. Fork bend – prettier curve on the Toussaint
  4. Bottle bosses – 2 on Toussaint, 3 on Soma
  5. Front rack mounts – Soma has rack and low-rider mounts, Toussaint has rack mounts
  6. Sizes – Toussaint comes in 4 sizes – 51-60cm, Soma fits more riders with 6 sizes from 49.5-65cm
  7. Rear hub spacing – 130mm for Toussaint, and 132.5 for Soma